Accessing restricted domain resources
This guide shows how to access restricted websites or services using NetBird Networks with domain resources. Domain resources are useful when the target service is behind a load balancer with frequently changing IP addresses.
Example scenario
A company hosts an accounting application at accounting.example.com on AWS infrastructure in the EU Central region. The application runs on an EC2 instance behind a load balancer.
The company wants to implement zero-trust access with role-based permissions:
- Finance team: HTTP/HTTPS access to
accounting.example.com(ports 80 and 443) - Support team: SSH access to the backend at
example.com(port 22)
Prerequisites
Before starting, ensure you have:
- NetBird clients installed on finance and support team devices
- Routing peers configured in the AWS VPC using setup keys
Create a network
- Navigate to
Networks>Networksin the NetBird dashboard - Click
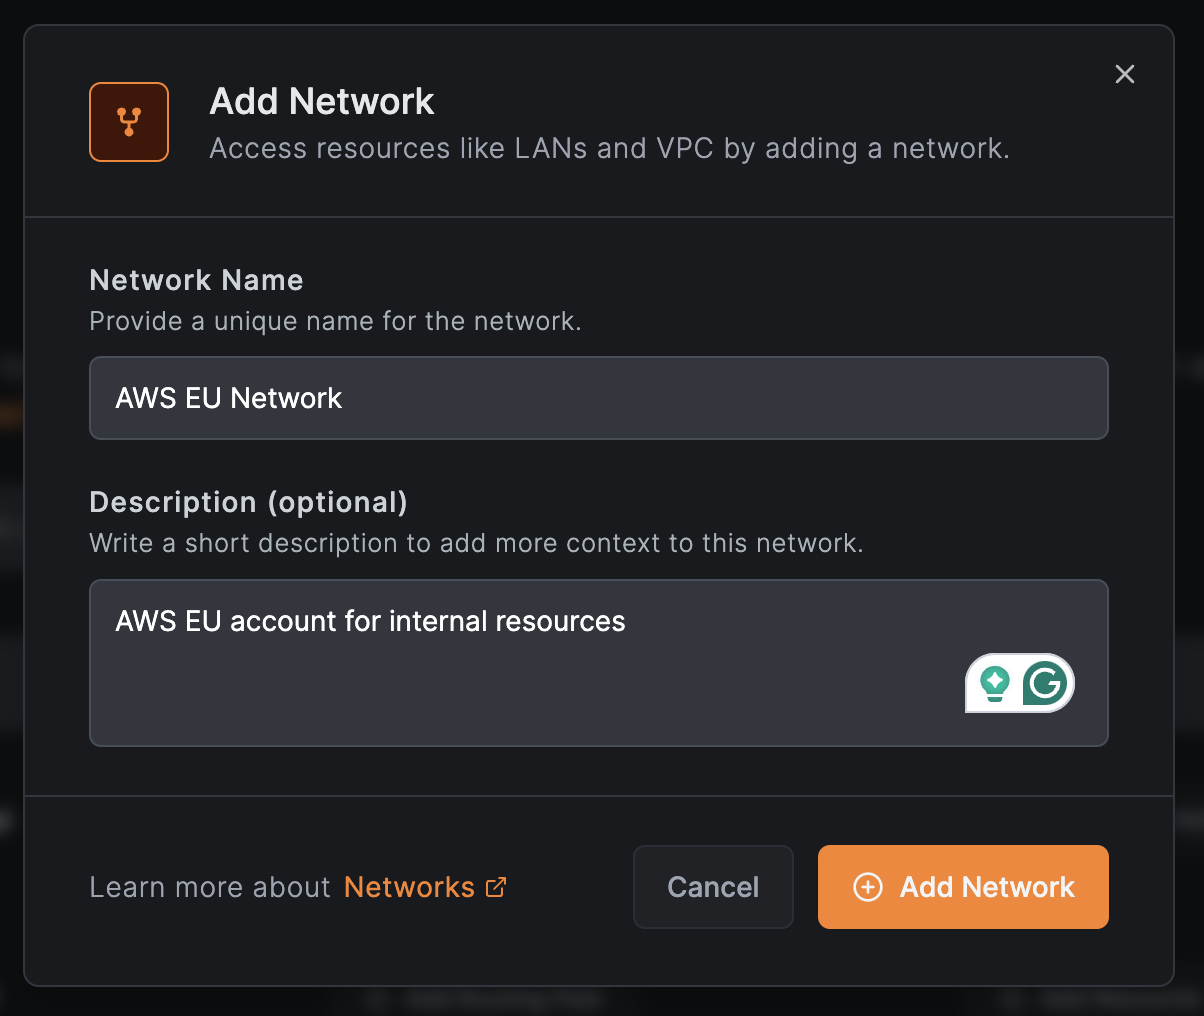
Add Network - Enter a name (e.g.,
AWS EU Network) and optional description - Click
Add Network
Add routing peers
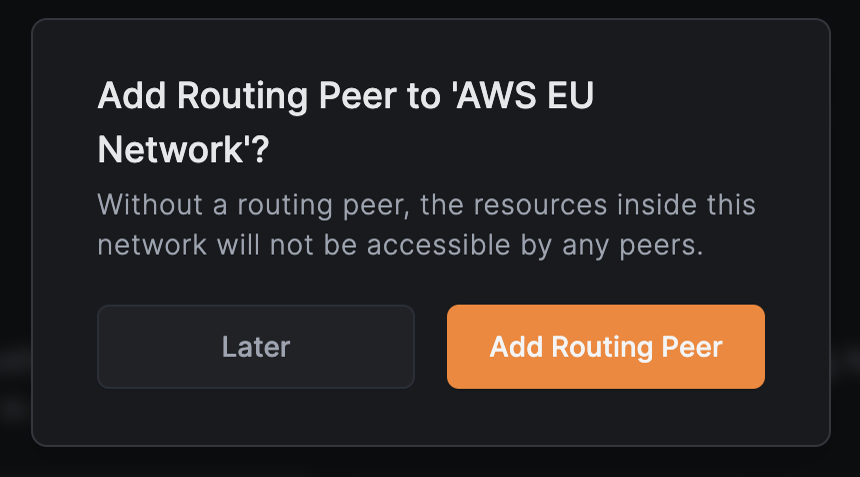
Click Add Routing Peer to enable access to the network's resources.
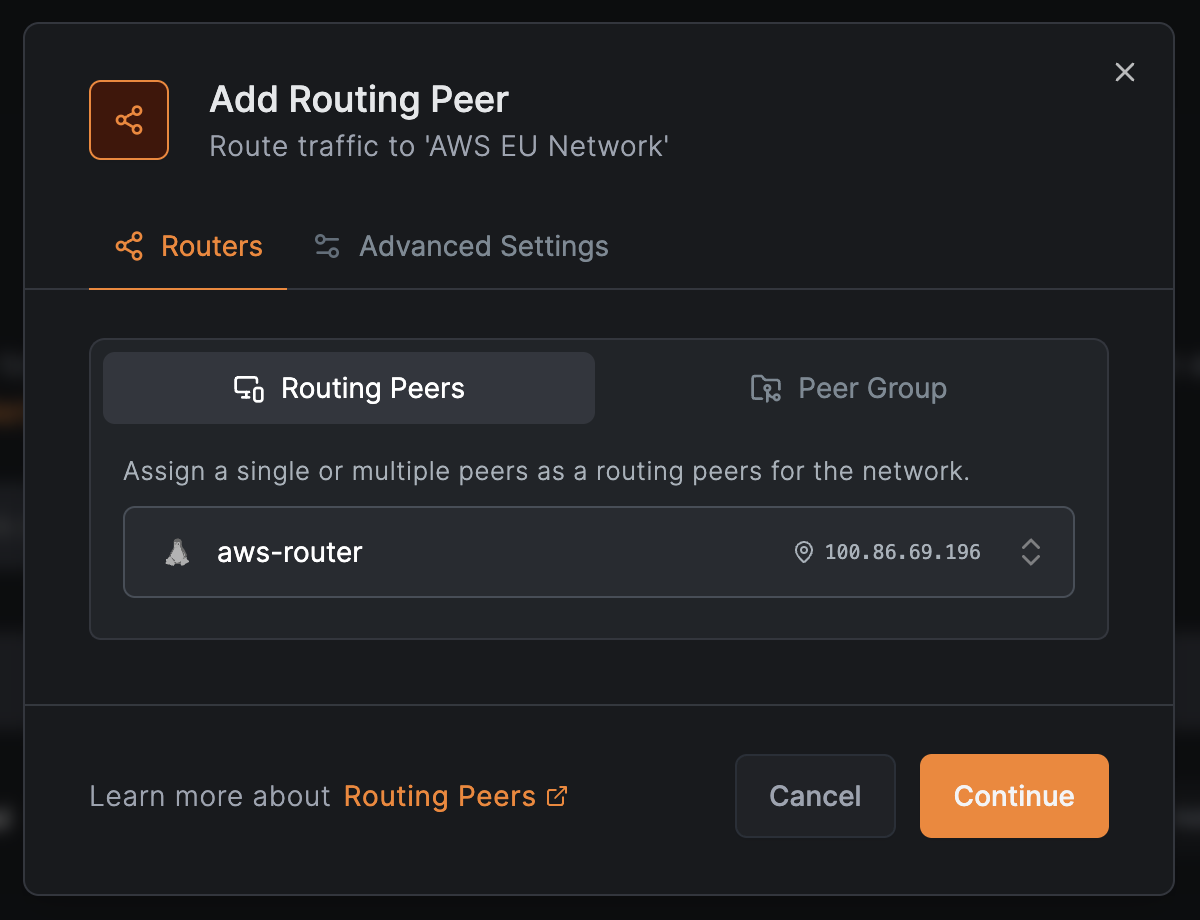
In the next window:
- Select
Routing Peersto add a single peer (e.g.,aws-router) - Or select
Peer Groupto add multiple peers for high availability - Click
Continue
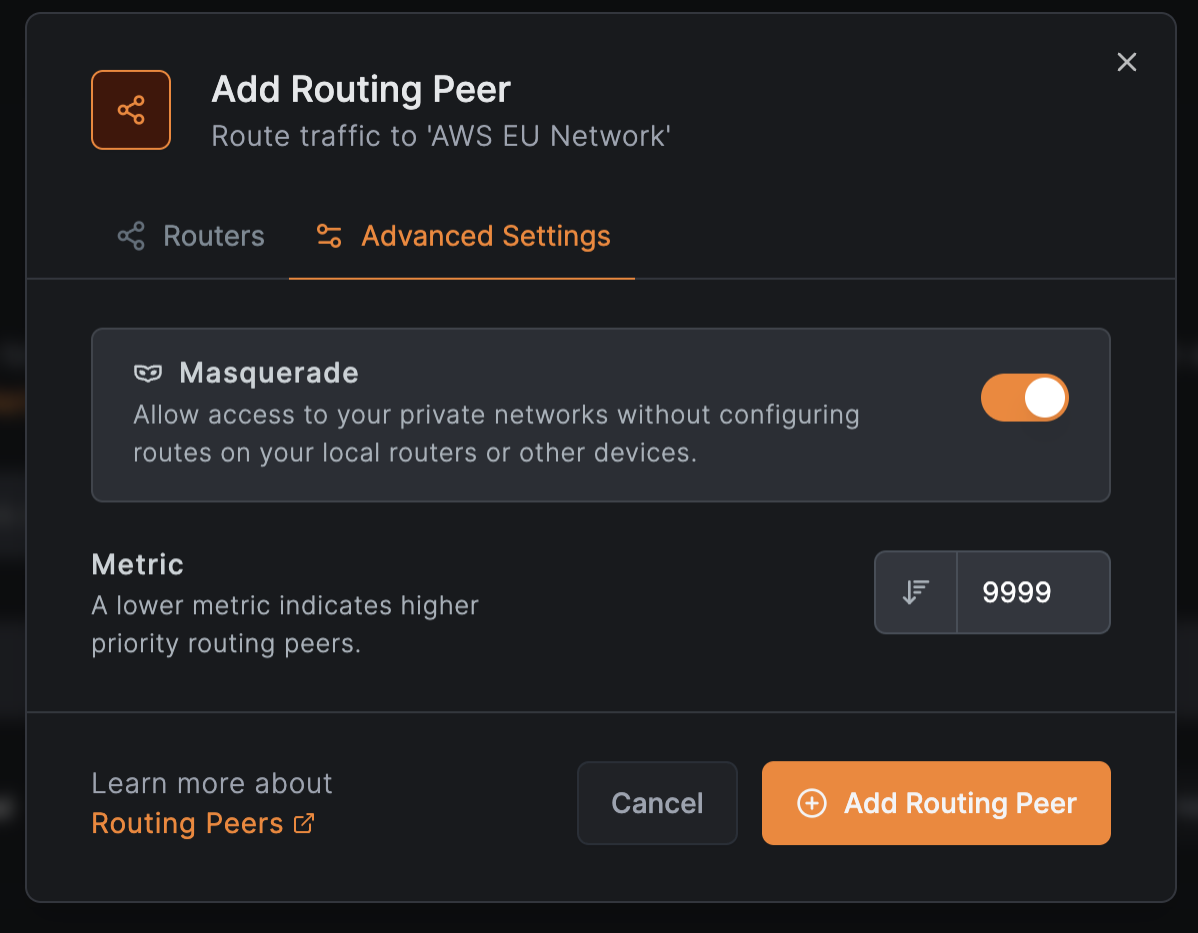
In Advanced Settings:
- Enable
Masqueradeto access private networks without configuring local routers - Set
Metricto prioritize routers (lower values = higher priority) - Click
Add Routing Peer
Add the accounting subdomain resource
Click Add Resource to add the accounting website.
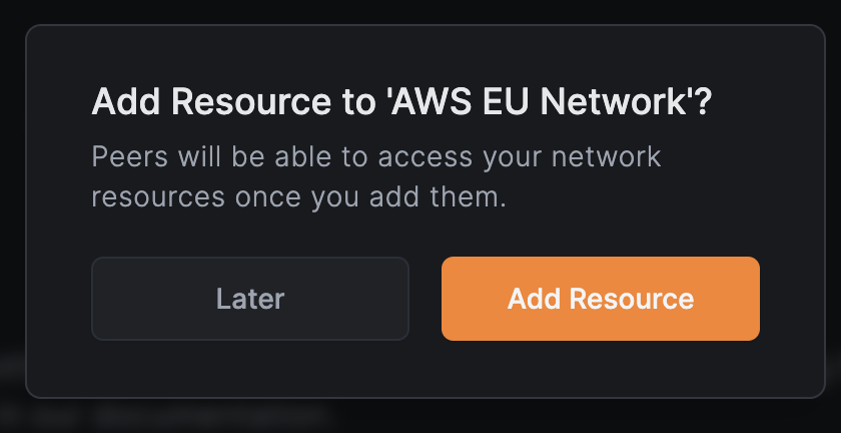
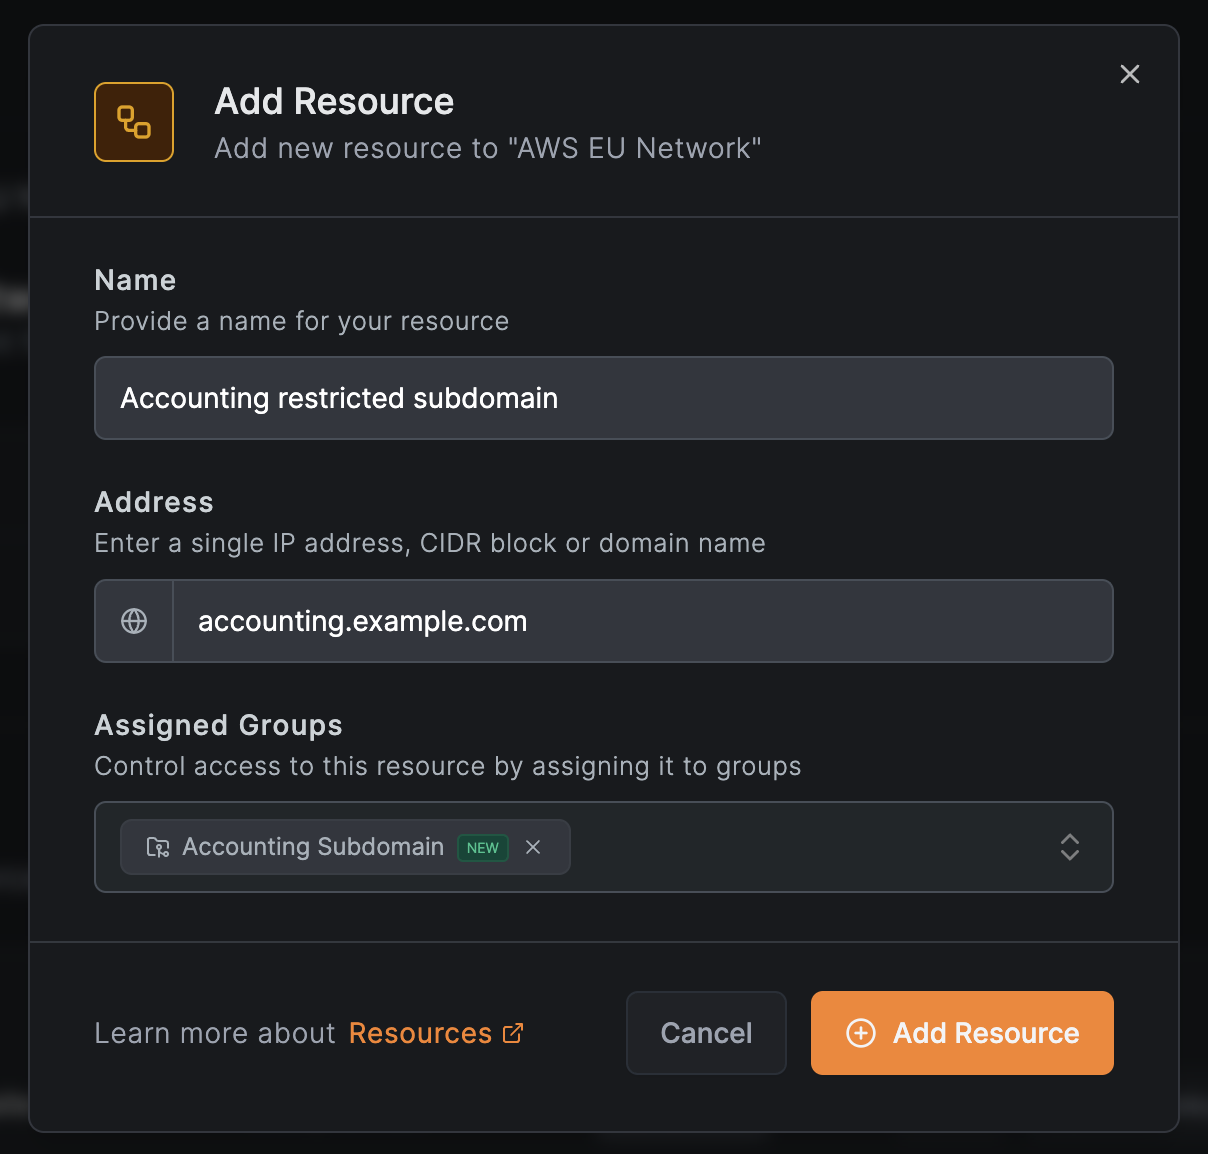
Configure the resource:
- Name:
Accounting restricted subdomain - Address:
accounting.example.com - Assigned Groups: Select or create a group (e.g.,
Accounting Subdomain) - Click
Add Resource
Create an access policy for the finance team
Click Create Policy to define access for the finance team.
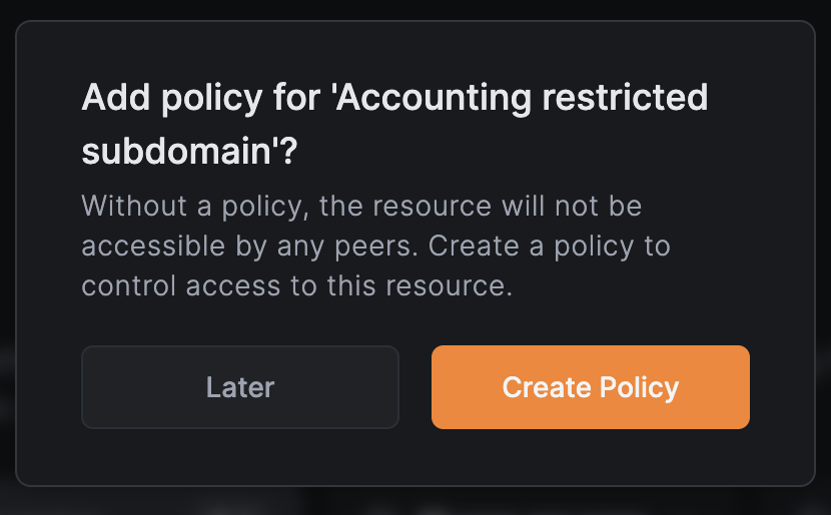
Configure the policy:
- Protocol:
TCP - Source:
Finance(the finance team group) - Destination:
Accounting Subdomain(auto-populated) - Ports:
80and443
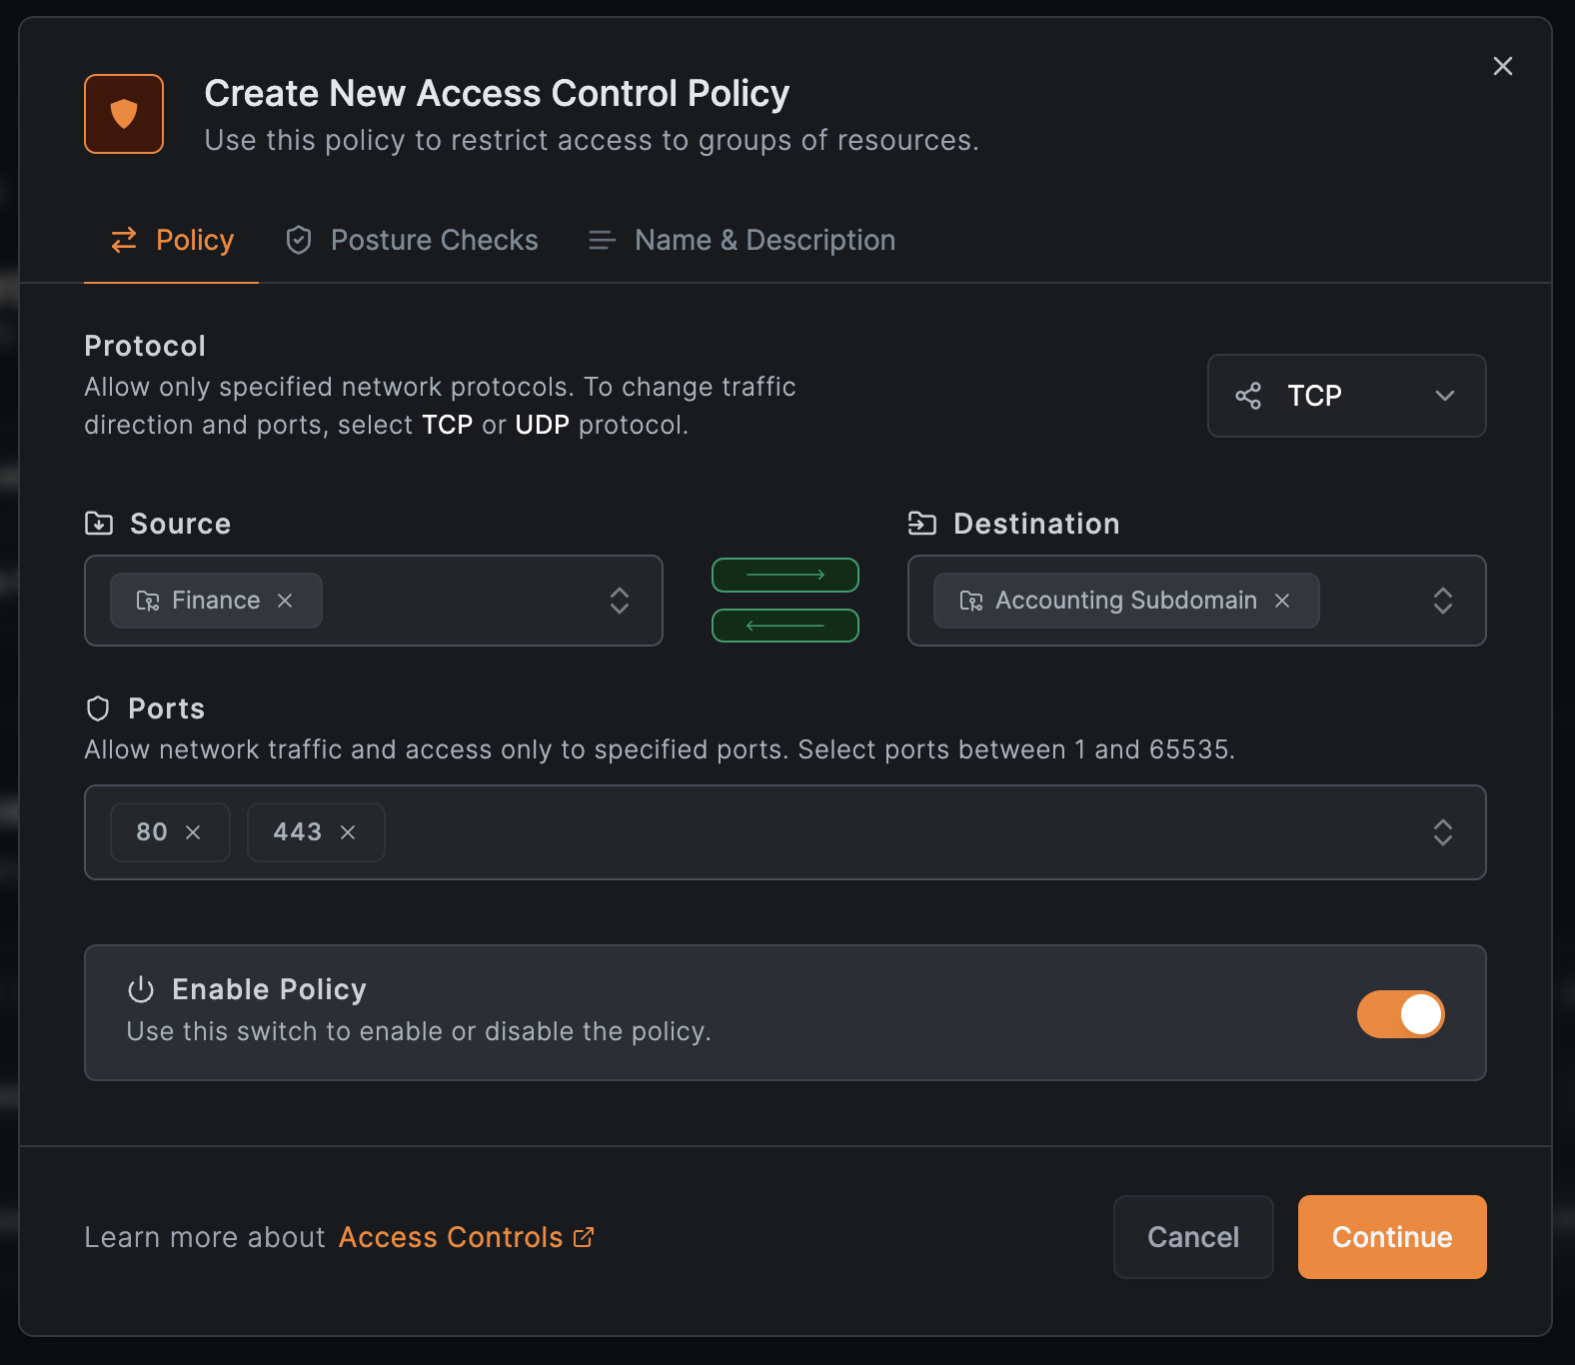
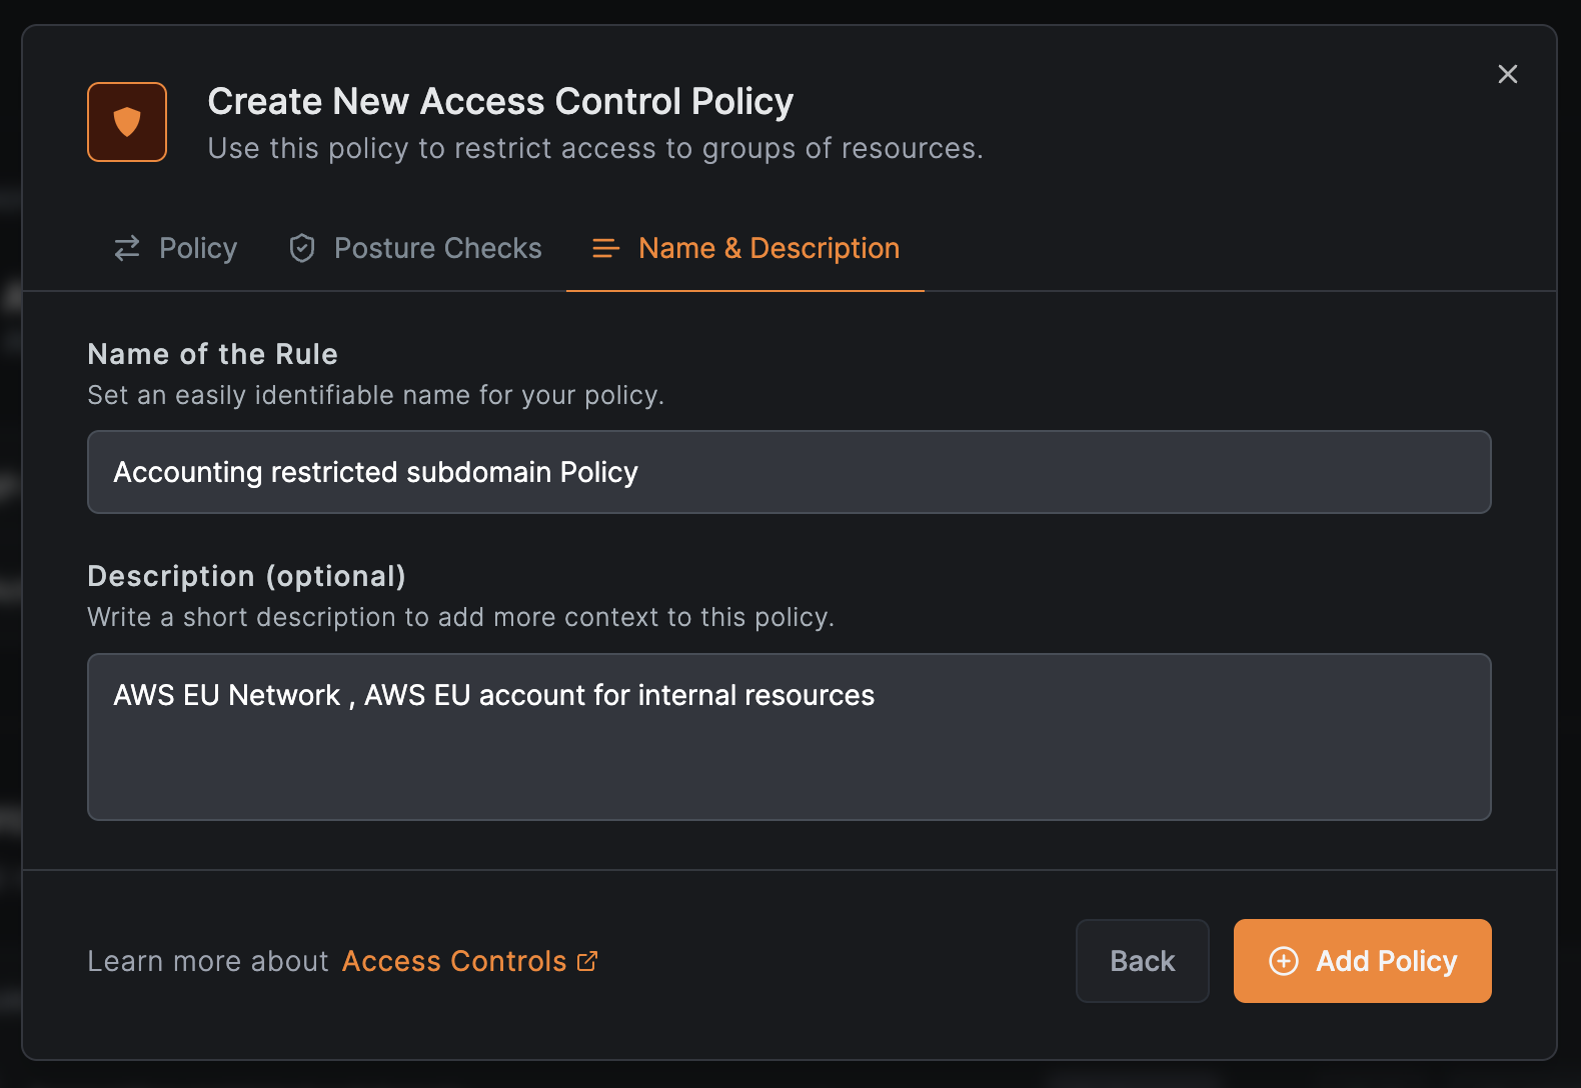
Click Continue to optionally add posture checks, then Continue again. Enter a policy name (e.g., Accounting subdomain Policy) and click Add Policy.
Add the top-level domain resource for support
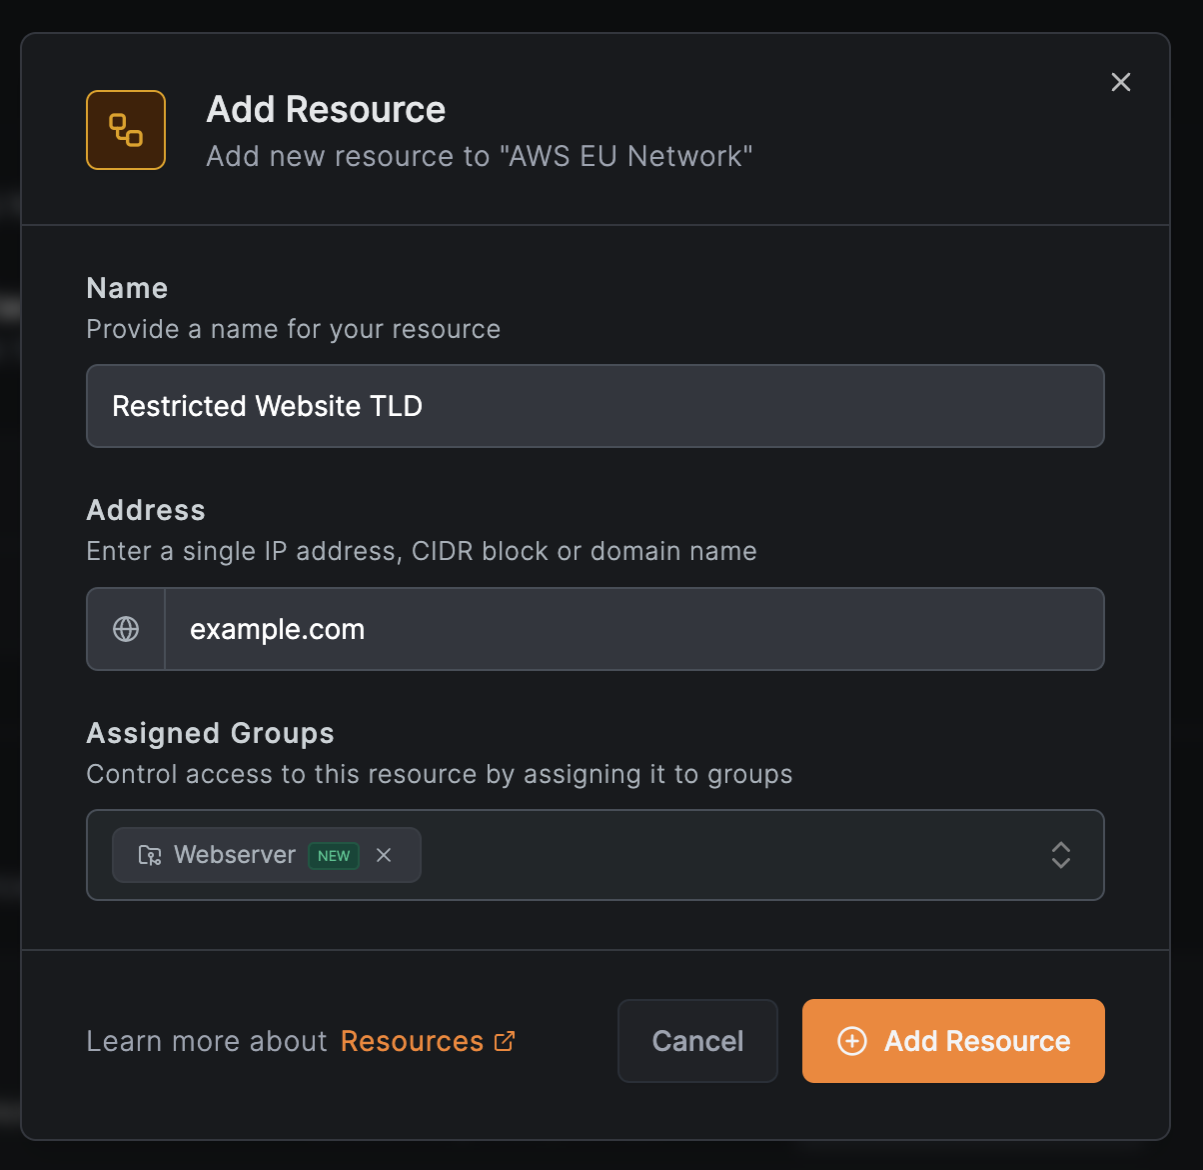
The support team needs SSH access to the backend at example.com. Add a new resource:
- In the
AWS EU Networkscreen, clickAdd Resource - Configure:
- Name:
Restricted Website TLD - Address:
example.com - Assigned Groups: Select or create a group (e.g.,
Webserver)
- Name:
Create an access policy for the support team
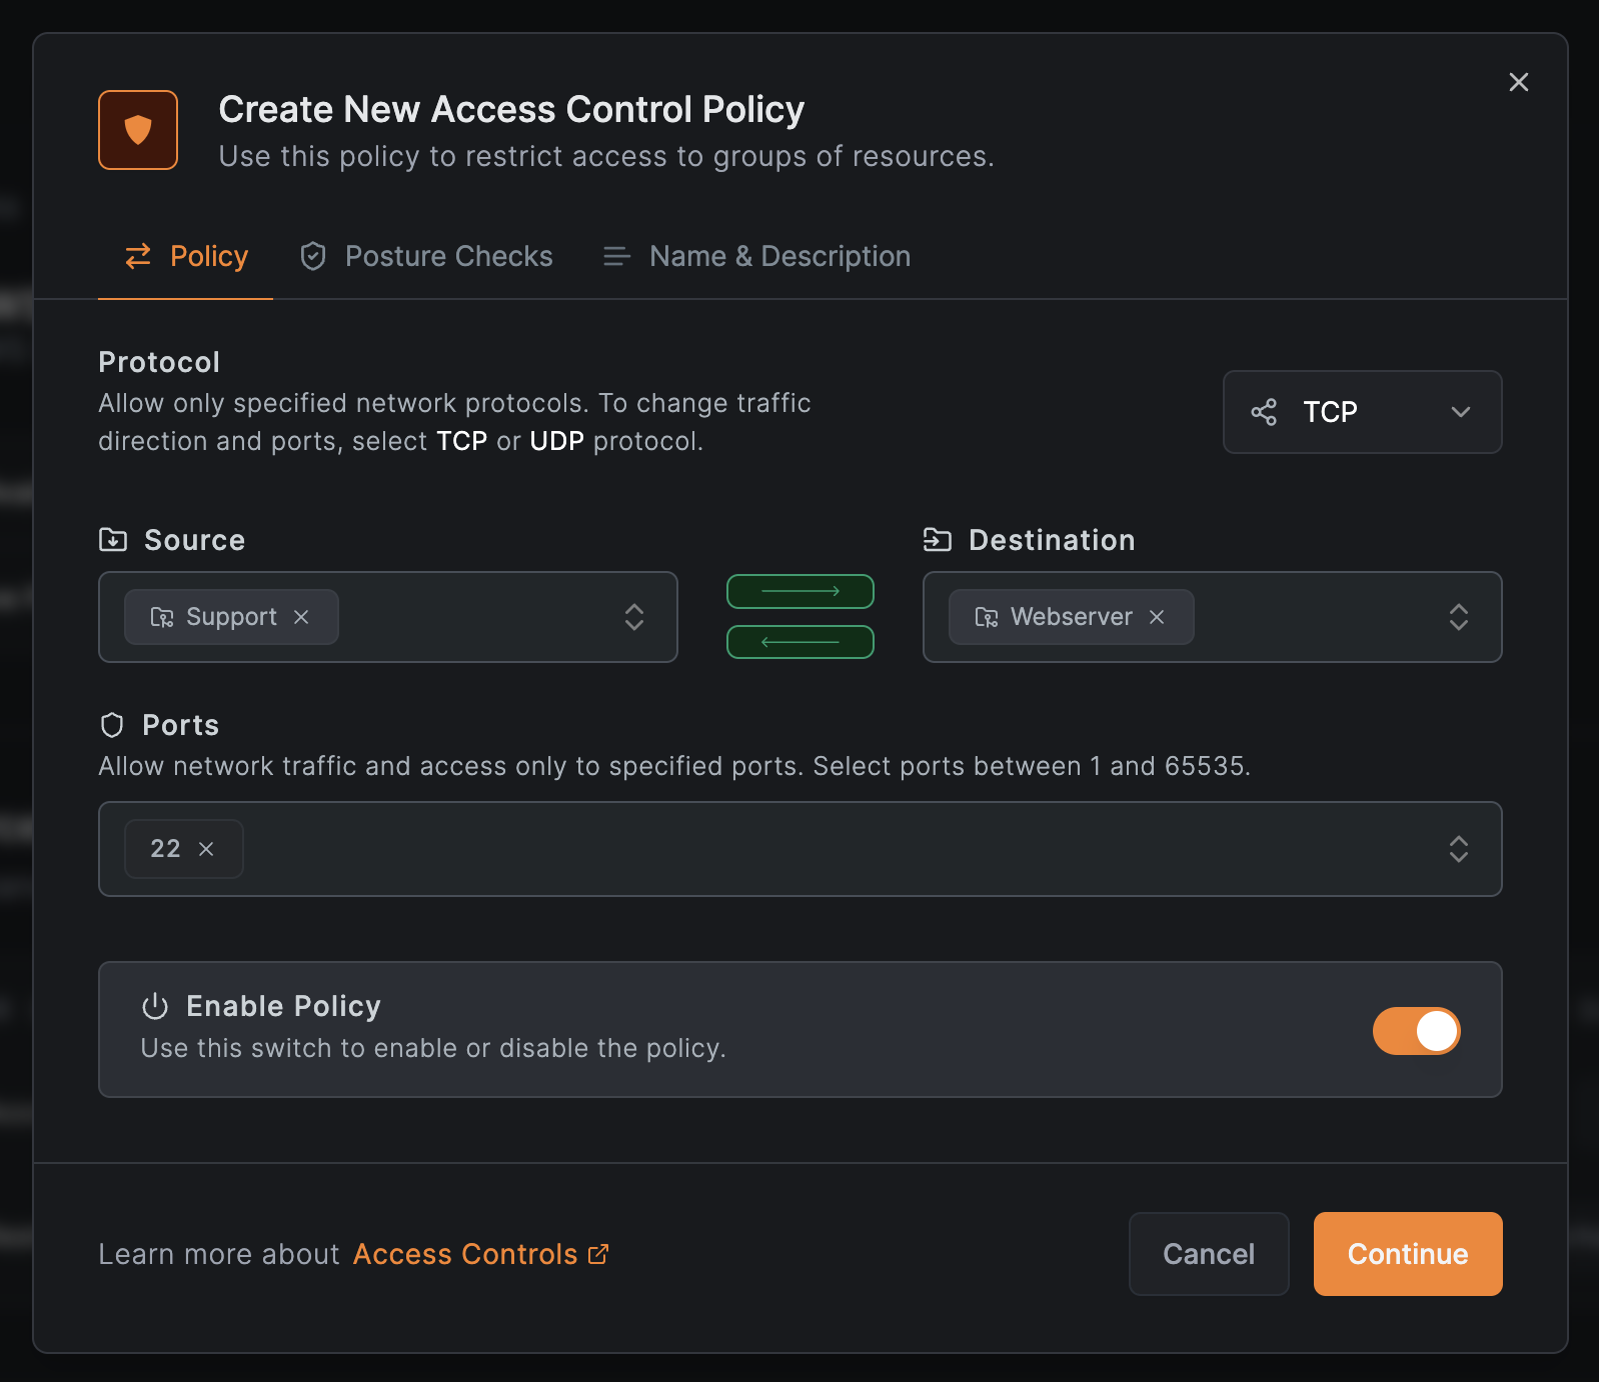
Create a policy for SSH access:
- Click
Add Policynext to theRestricted Website TLDresource - Configure:
- Protocol:
TCP - Source:
Support - Destination:
Webserver - Ports:
22
- Protocol:
- Click
Continue
- Optionally add posture checks, then click
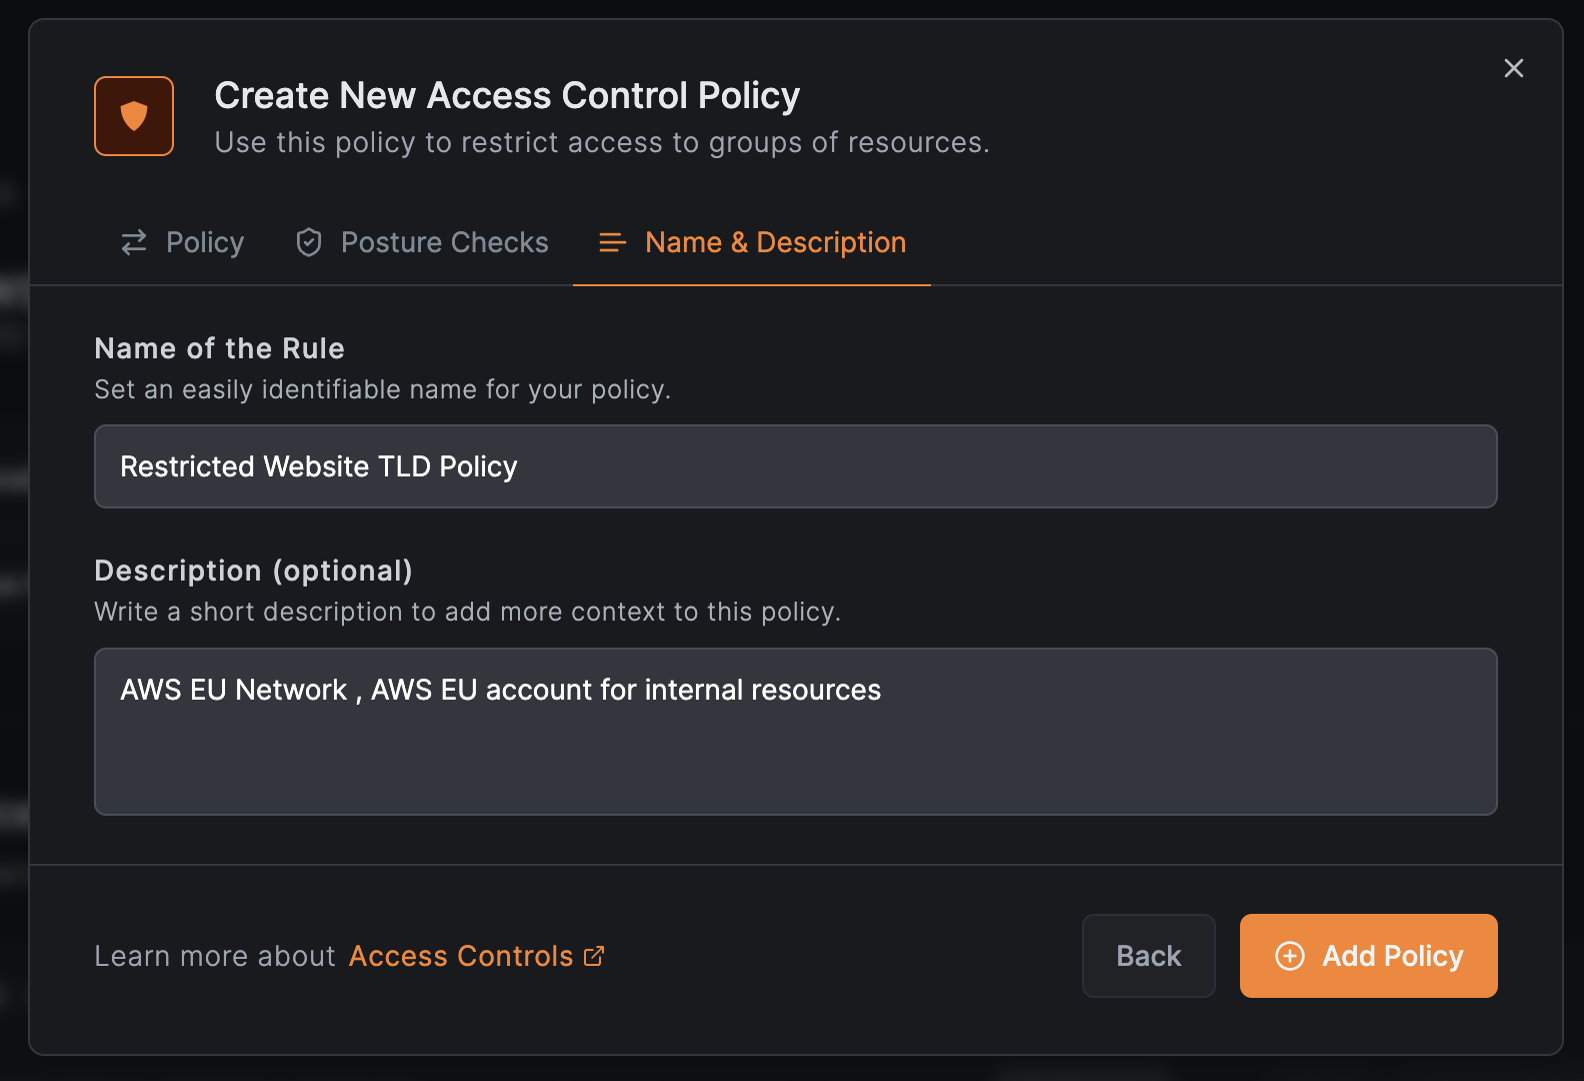
Continue - Enter a policy name (e.g.,
Restricted Website TLD Policy)
Verify the configuration
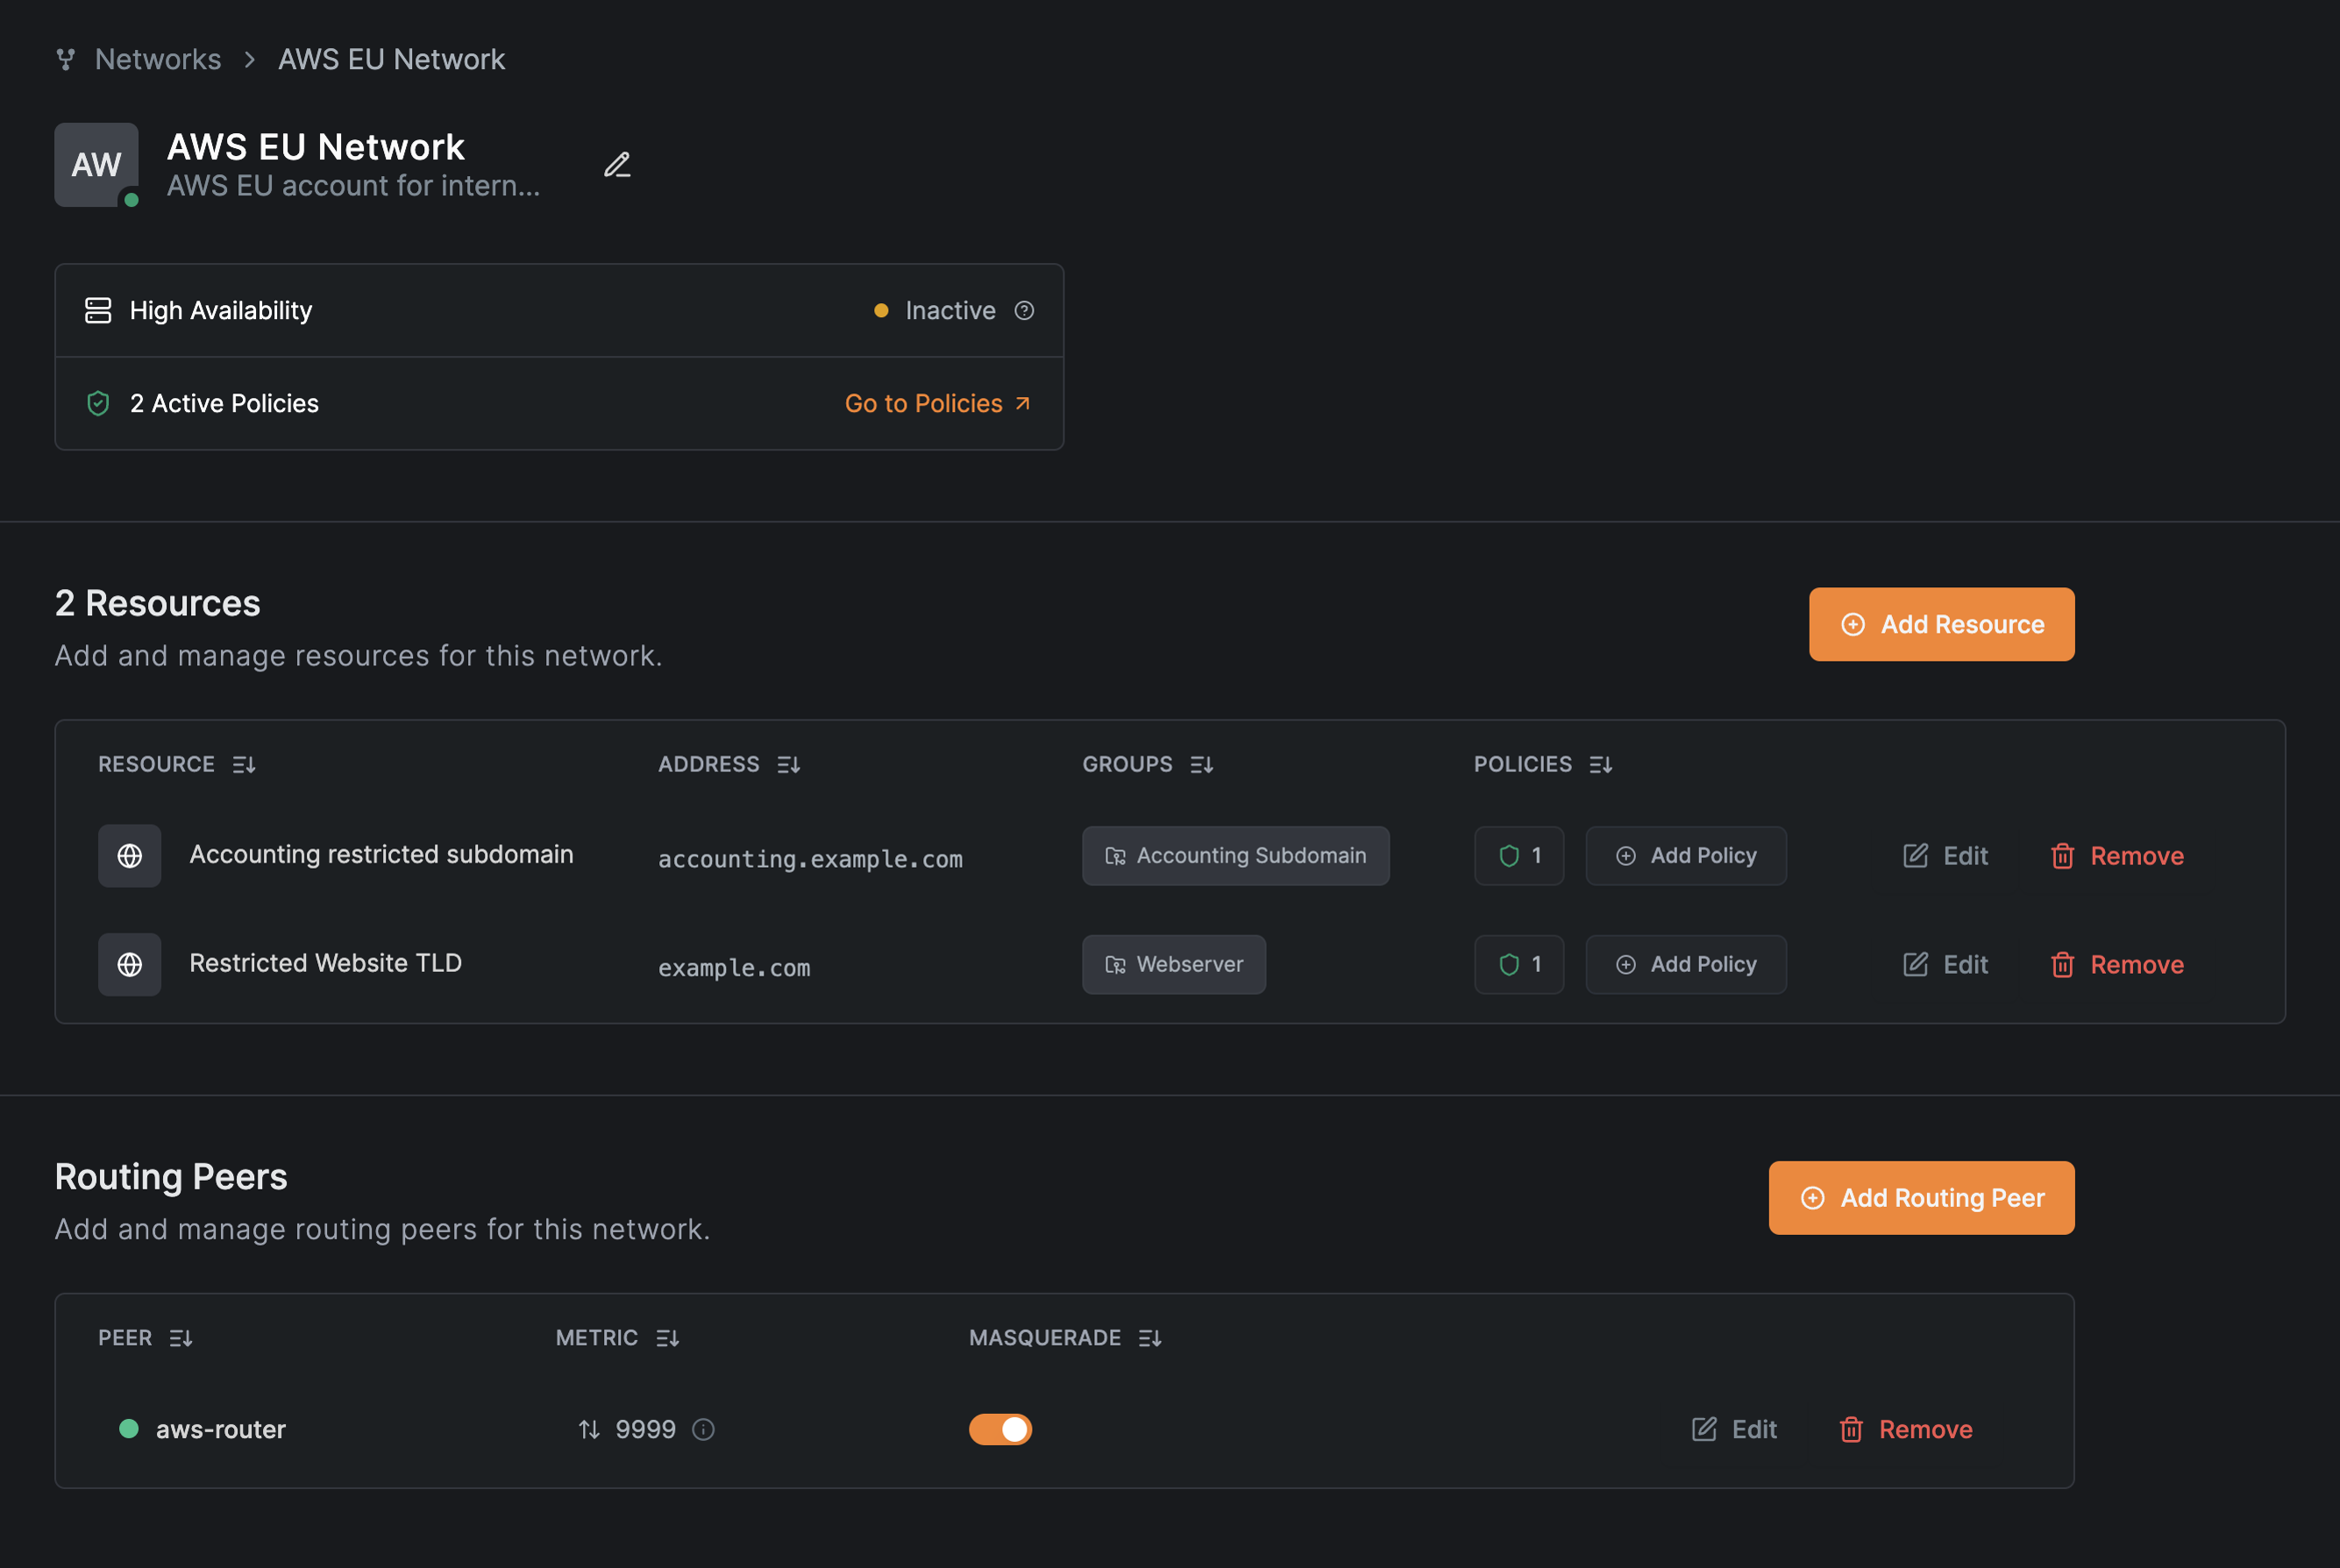
The completed network shows both resources with their access policies:
Use the NetBird CLI to verify access. From a finance team workstation:
$ netbird networks list
Available Networks:

  - ID: Accounting restricted subdomain
    Domains: accounting.example.com
    Status: Selected
    Resolved IPs: -

  - ID: Internal Web Services
    Domains: *.company.internal
    Status: Selected
    Resolved IPs: -
From a support team workstation:
$ netbird networks list
Available Networks:

  - ID: Internal Web Services
    Domains: *.company.internal
    Status: Selected
    Resolved IPs: -

  - ID: Restricted Website TLD
    Domains: example.com
    Status: Selected
    Resolved IPs:
      [example.com]: 93.184.215.14, 2606:2800:21f:cb07:6820:80da:af6b:8b2c
Each team sees only the resources they have access to, with appropriate port restrictions enforced by the access policies.

