Windows Installation
The NetBird client (agent) allows a peer to join a pre-existing NetBird deployment. If a NetBird deployment is not yet available, there are both managed and self-hosted options available.
- Download the latest Windows release:
- Execute the installer and proceed with the installation steps
- This will install the UI client in the
C:\Program Files\NetBirdand add the daemon service - After installing, you can follow the steps from Running NetBird with SSO Login.
To uninstall the client and service, you can use Add/Remove programs
Running NetBird with SSO Login
Desktop UI Application
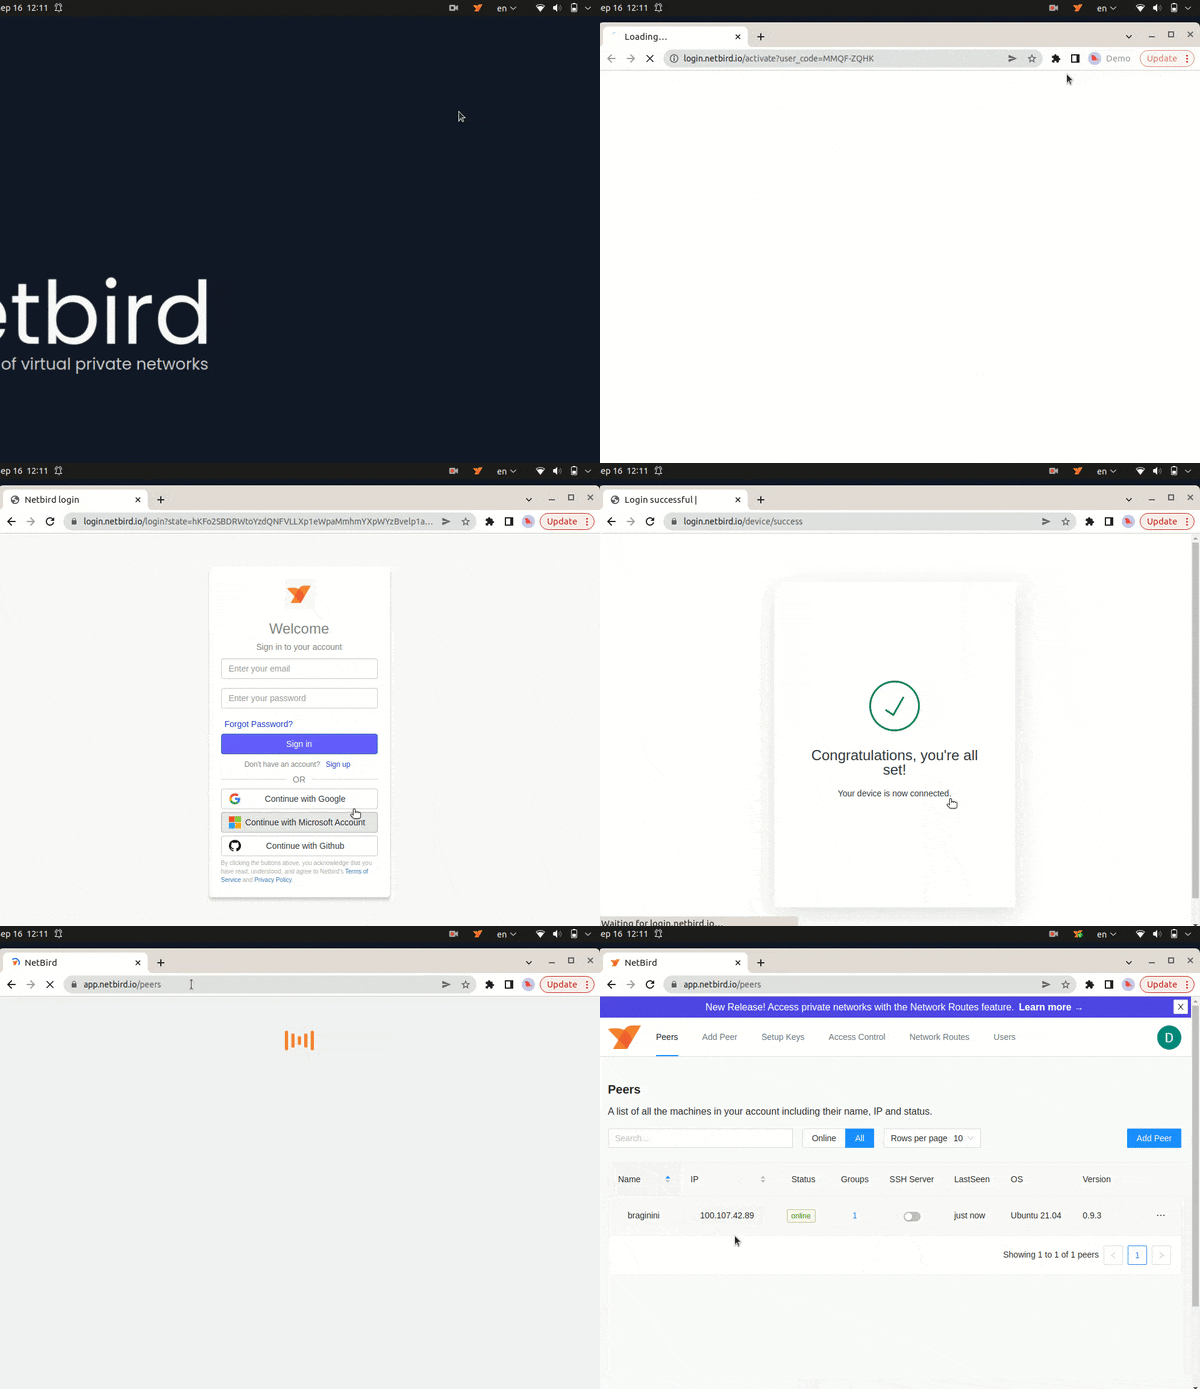
If you installed the Desktop UI client, you can launch it and click on Connect.
It will open your browser, and you will be prompt for email and password. Follow the instructions.

CLI
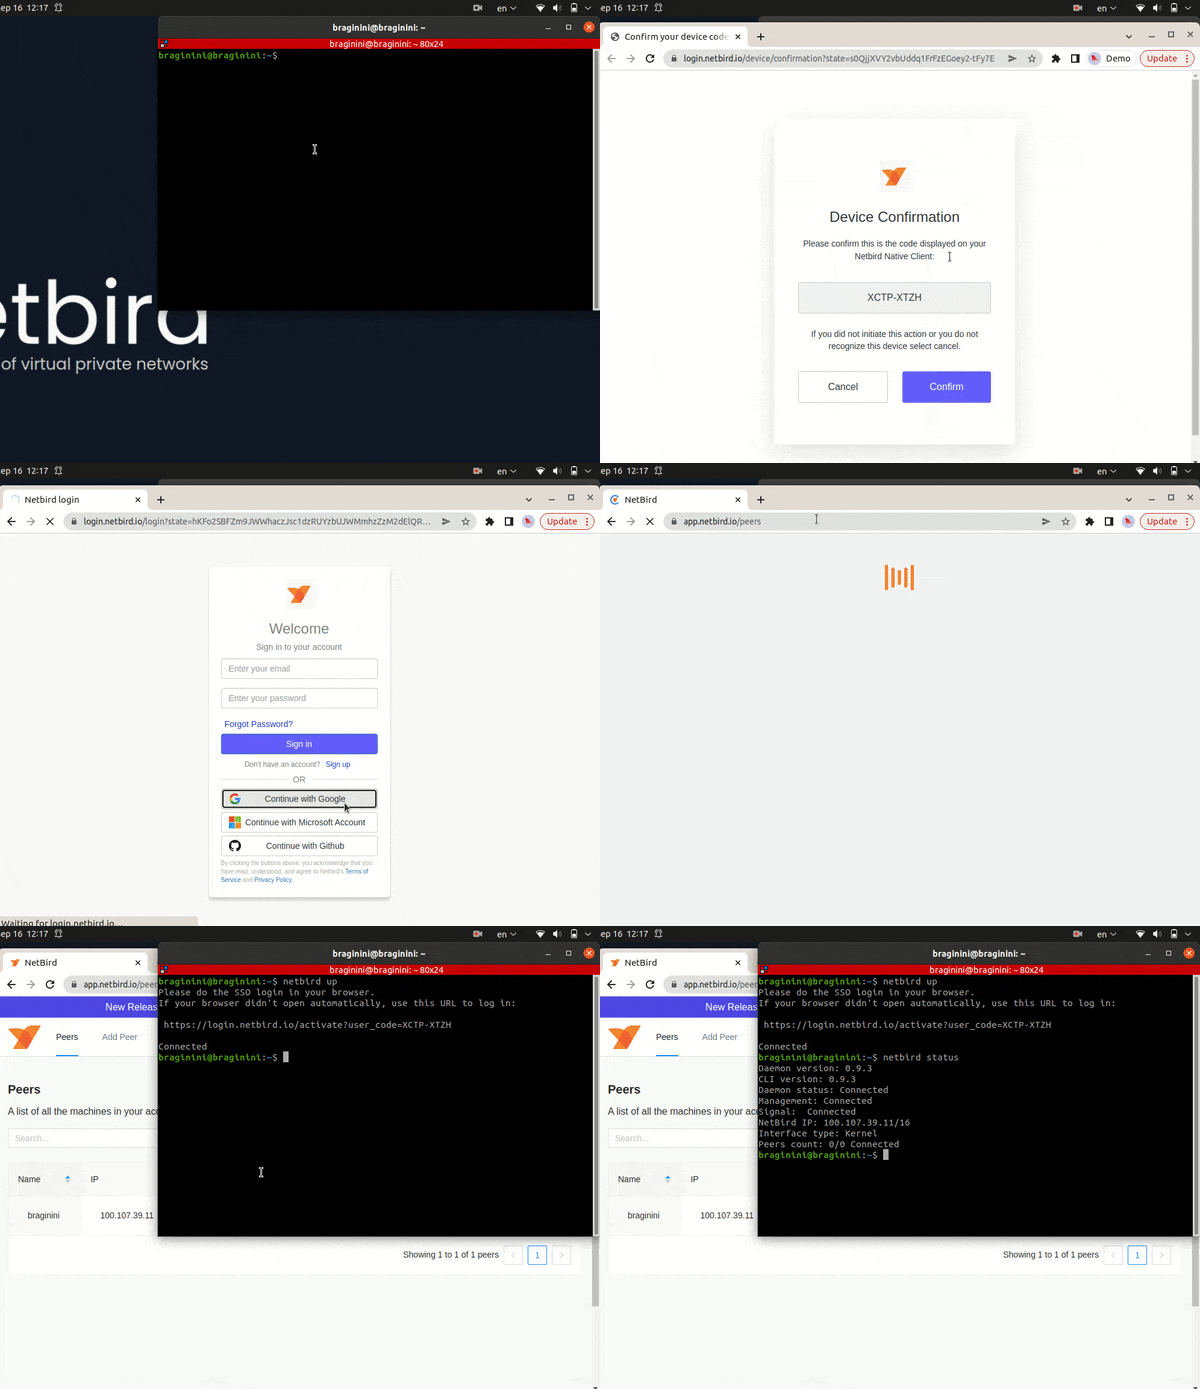
Alternatively, you could use command line. Simply run
netbird up
It will open your browser, and you will be prompt for email and password. Follow the instructions.

Check connection status:
netbird status
Running NetBird with a Setup Key
In case you are activating a server peer, you can use a setup key as described in the steps below.
This is especially helpful when you are running multiple server instances with infrastructure-as-code tools like ansible and terraform.
- Login to the Management Service. You need to have a
setup keyin hand (see setup keys).
For all systems:
netbird up --setup-key <SETUP KEY>
Alternatively, if you are hosting your own Management Service provide --management-url property pointing to your Management Service:
netbird up --setup-key <SETUP KEY> --management-url http://localhost:33073
You could also omit the
--setup-keyproperty. In this case, the tool will prompt for the key.
- Check connection status:
netbird status
- Check your IP:
netsh interface ip show config name="wt0"

