Self-Hosting Quickstart Guide (5 min)
NetBird is open source and can be self-hosted on your servers. If you would like to learn more about the architecture please refer to the Architecture section.
This is the quickest way to try self-hosted NetBird. It should take around 5 minutes to get started if you already have a public domain and a VM.
Infrastructure requirements
- A Linux VM with at least 1CPU and 2GB of memory.
- The VM must be publicly accessible on TCP ports 80 and 443, and UDP port 3478.
- A public domain name that resolves to the VM's public IP address (e.g.
netbird.example.com).
Software requirements
- Docker with docker-compose plugin (Docker installation guide) or Docker with docker-compose version 2 or higher
- jq - install with
sudo apt install jqorsudo yum install jq - curl - install with
sudo apt install curlorsudo yum install curl
Installation Script
Download and run the installation script:
curl -fsSL https://github.com/netbirdio/netbird/releases/latest/download/getting-started.sh | bash
Once finished, you can manage the resources via docker compose. The quick start script generates a full, production-ready NetBird installation. If you'd like to customize the install or gain a better understanding of the files
generated by the script, including the docker compose file, please refer to our Configuration files guide.
Reverse Proxy Selection
The script will prompt you to select a reverse proxy option:
Which reverse proxy will you use?
  [0] Traefik (recommended - automatic TLS, included in Docker Compose)
  [1] Existing Traefik (labels for external Traefik instance)
  [2] Nginx (generates config template)
  [3] Nginx Proxy Manager (generates config + instructions)
  [4] External Caddy (generates Caddyfile snippet)
  [5] Other/Manual (displays setup documentation)

Enter choice [0-5] (default: 0):
For this quickstart guide, select option [0] (Traefik) - just press Enter to use the default. This option includes a Traefik container in the Docker Compose that handles TLS certificates automatically via Let's Encrypt, requires no additional configuration, and makes it easy to enable the NetBird Proxy in the next step.
If you already have a reverse proxy (Traefik, Nginx, etc.) and want to use it instead, the script will guide you through the setup. See the External Reverse Proxy Configuration guide for detailed instructions on each option.
Enable the NetBird Proxy Service
When you select the built-in Traefik option ([0]), the script asks whether you want to enable the NetBird Proxy service:
Do you want to enable the NetBird Proxy service?
The proxy allows you to selectively expose internal NetBird network resources
to the internet. You control which resources are exposed through the dashboard.
Enable proxy? [y/N]:
The script then automatically generates a proxy access token, creates a proxy.env configuration file, and starts the proxy container alongside the other services. Point a wildcard DNS record (e.g. *.netbird.example.com) to your server's IP address so that service subdomains resolve correctly.
CNAME Record for Proxy Domain
For certificates to work properly, ensure you have the proper records set with your domain name registrar. The first A record below should already be setup prior to starting the quick start script.
| Type | Name | Content | Proxy status (Cloudflare) |
|---|---|---|---|
| A | netbird | YOUR.SERVER.IP.ADDRESS | DNS only |
| CNAME | *.netbird | netbird.example.com | DNS only |
If you skipped the proxy during initial setup, you can add it later by following the Enable Reverse Proxy migration guide.
CrowdSec IP Reputation (Optional)
When the proxy is enabled, the script also offers to add CrowdSec for automatic IP reputation blocking. A local CrowdSec LAPI container syncs community threat intelligence and the proxy checks every incoming connection against it. You can enable CrowdSec per service in enforce or observe mode through the dashboard.
Generated Files
The script generates the following files:
| File | Description |
|---|---|
docker-compose.yml | Docker Compose configuration with all services |
config.yaml | Combined server configuration (management, signal, relay, STUN) |
dashboard.env | Environment variables for the dashboard container |
proxy.env | Environment variables for the proxy container (only when proxy is enabled) |
For options 2-4, additional configuration files are generated (e.g., nginx-netbird.conf, caddyfile-netbird.txt, or npm-advanced-config.txt).
See an example config.yaml file in the NetBird GitHub repository for a complete configuration example.
Initial setup (Onboarding)
The script deploys NetBird without any users. Once complete, you'll need to create your first user:
- Open your browser and navigate to
https://netbird.example.com - You'll be redirected to the setup page (
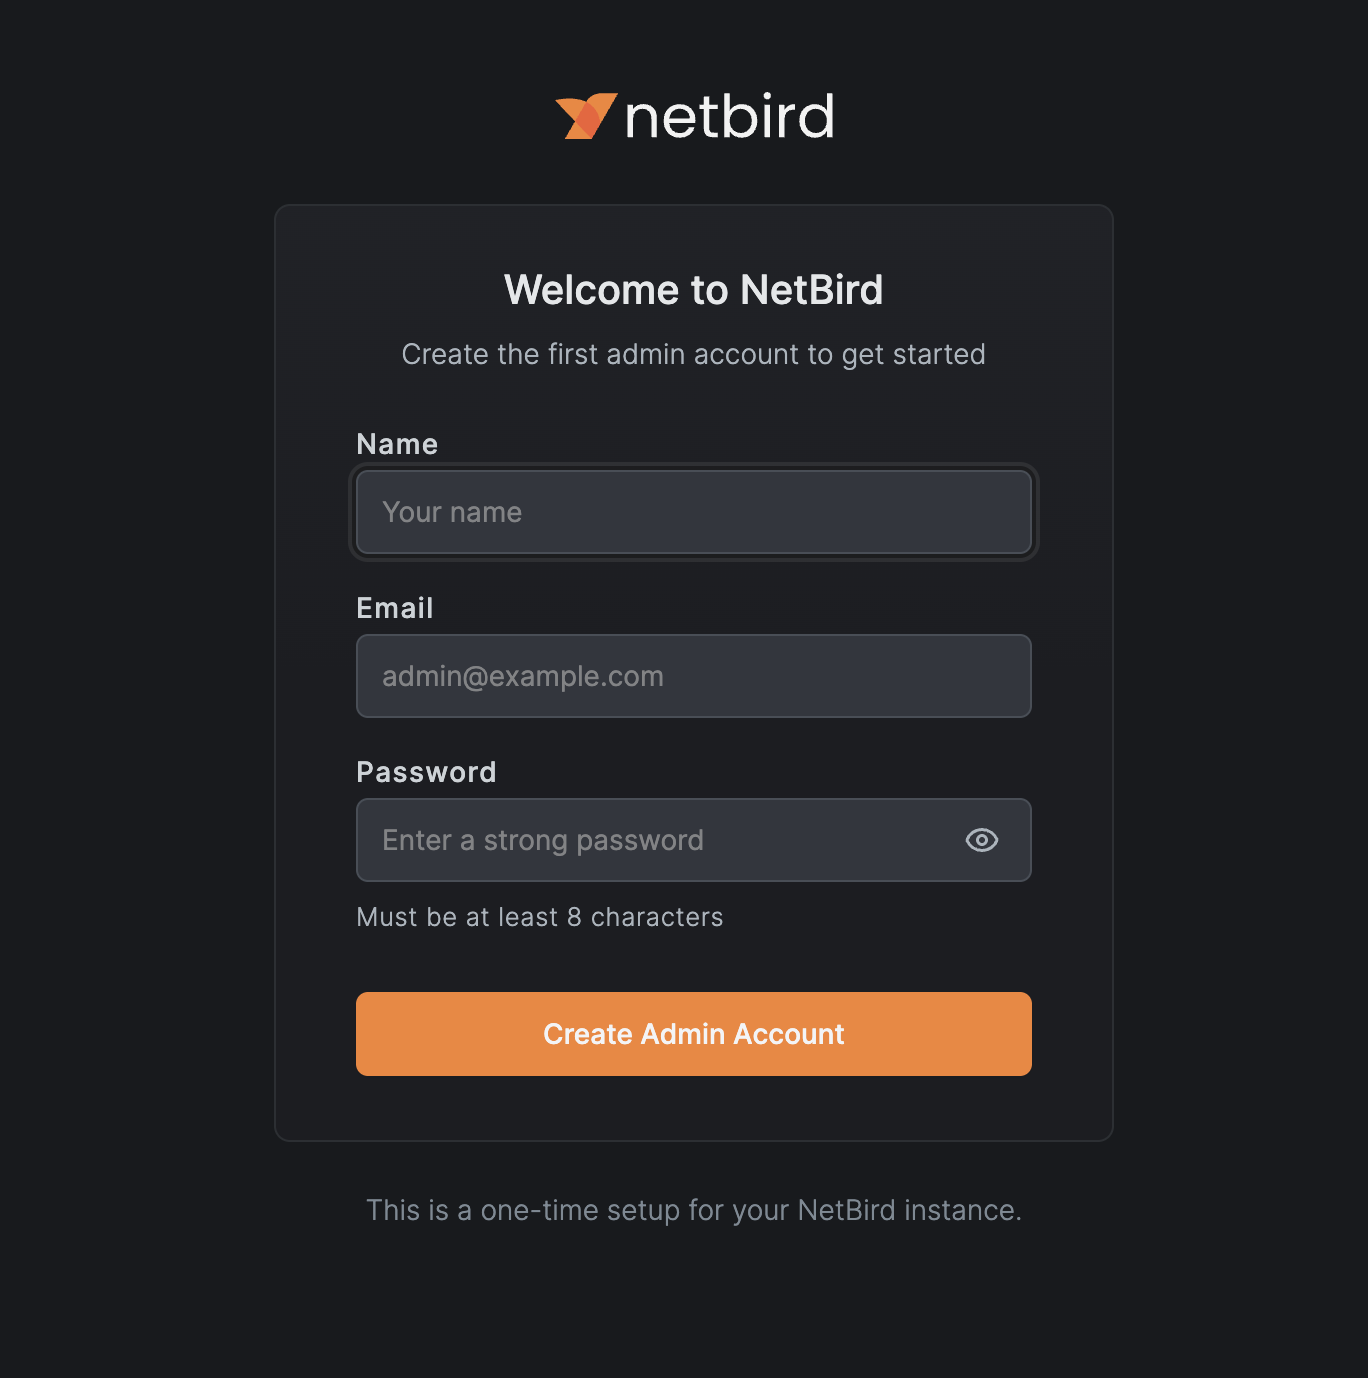
/setup) - Create your admin account:
- Enter your email address
- Enter your name
- Enter a password
- Click Create Account
You can then log in with your email and password.
The /setup page is only accessible when no users exist. After creating the first user, it redirects to the regular login page.
For automated deployments, you can create the first owner user through the setup API and optionally receive a Personal Access Token for bootstrapping resources. See Automated setup with a Personal Access Token.
Add More Users
NetBird includes built-in local user management powered by an embedded Dex server, allowing you to create and manage users directly from the Dashboard without requiring an external identity provider. You can also add external identity providers for SSO authentication alongside local users.
Local User Management
Create and manage users directly from the NetBird Dashboard. No external identity provider required.
Identity Providers
Connect external identity providers like Google, Microsoft, Okta, or self-hosted IdPs for SSO authentication.
Maintenance
Once your NetBird instance is running, refer to these guides for ongoing maintenance:
Scaling Your Self-Hosted Deployment
Split your NetBird deployment into multiple nodes to scale your deployment.
Configuration Files Reference
Learn more about the configuration files generated by the quick start script and how to customize them.
Troubleshoot
-
I can't access the
/setuppageThe setup page is only available when no users exist. If you've already created a user, go to the main login page instead.
-
I forgot my admin password
You can create a new user via the API using a PAT (Personal Access Token) from an existing admin, or reset the database to start fresh.
-
SSO provider not appearing on login page
Check that the connector is properly configured in Settings → Identity Providers. Ensure the redirect URL is correctly configured in your IdP.
For more troubleshooting help, see the Troubleshooting guide.
Get In Touch
Feel free to ping us on Slack if you have any questions.
- NetBird managed version: https://app.netbird.io
- Make sure to star us on GitHub
- Follow us on X