Configuring Exit Nodes for Internet Traffic
Exit nodes route all internet-bound traffic from your devices through a designated routing peer. This guide explains how to configure default routes for internet traffic.
This feature requires NetBird version 0.27.0 or later.
Concepts
Default Routes
A default route (0.0.0.0/0 for IPv4) directs all internet traffic through a designated routing peer.
When IPv6 overlay addressing is enabled for the peer, the management server automatically creates a matching ::/0 route so that both IPv4 and IPv6 internet traffic flow through the exit node. Peers without IPv6 enabled have their IPv6 traffic blocked to prevent leakage.
Routing Peer
The routing peer acts as the exit node for internet traffic. It applies masquerading so that traffic appears to originate from the routing peer's public IP address.
For the mental model — see How Routing Peers Work — Exit node mode.
Distribution Groups
Peers in the distribution groups send their internet traffic through the routing peer once it connects.
The minimum access policy required for peers to use an exit node is Users (source) → Routing Peer (destination) over ICMP. Ensure a policy with this configuration exists for the distribution groups assigned to the exit node route.
Exit Node Selection and Auto Apply
Administrators configure exit nodes from the dashboard and can enable Auto Apply to have clients automatically use the exit node.
- Auto Apply: When enabled, clients automatically use the exit node. Users can still disable it manually on their device.
- Client override: If a user selects or deselects an exit node on their device, that choice takes precedence over the server configuration.
The client user's explicit selection or deselection always takes precedence on that device.
Auto Apply requires NetBird client version 0.55.0 or later.
Existing Exit Node Routes
Exit node routes created before the Auto Apply feature was introduced are treated as having Auto Apply enabled. This preserves the previous behavior where exit nodes were applied automatically.
Clients running v0.55.0 or later auto-apply these routes unless the user has explicitly selected or deselected an exit node. Administrators can change the Auto Apply setting at any time.
Configuration Steps
1. Open the Servers list
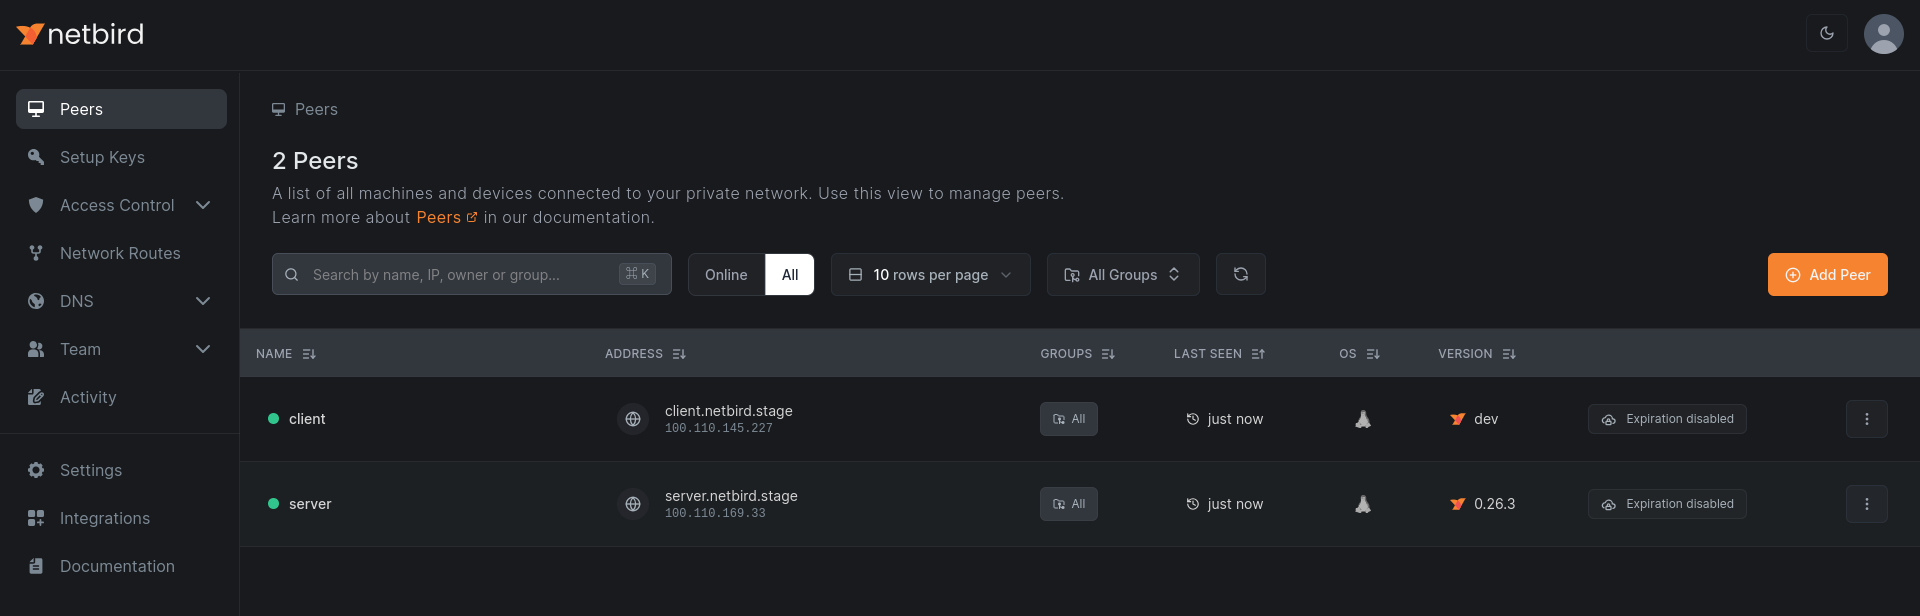
Navigate to the NetBird dashboard and open Peers (exit nodes are typically unattended machines like a VPS, router, or always-on host).
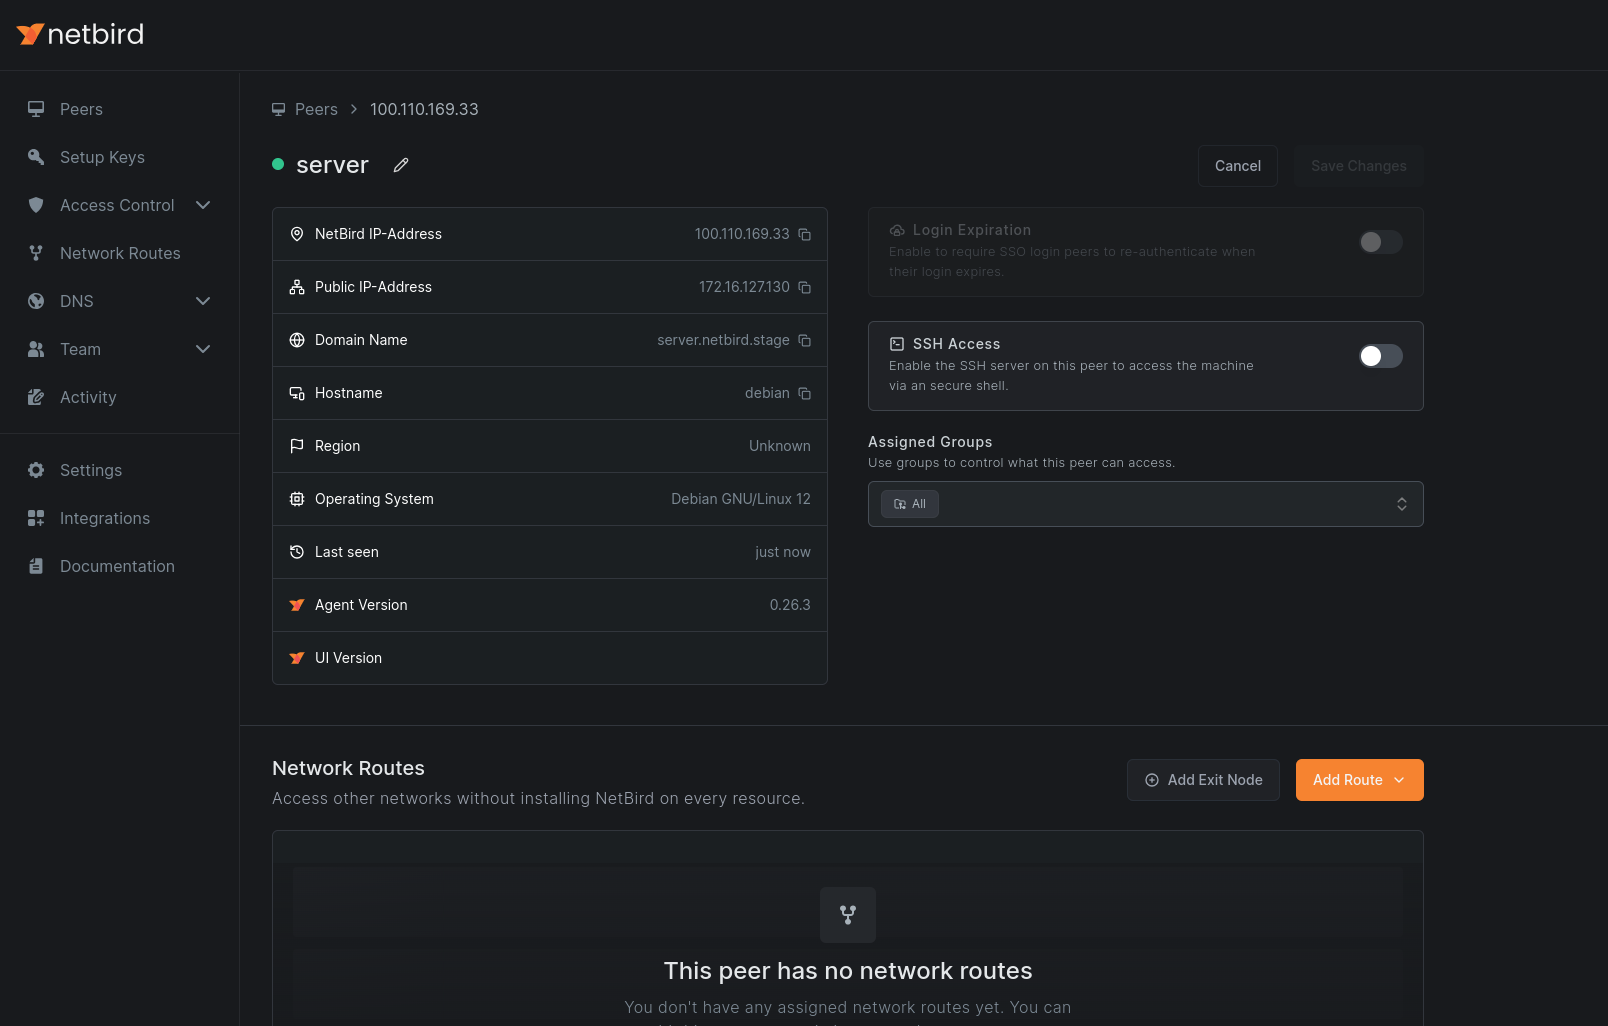
2. Select the Routing Peer
Choose the peer that will serve as your exit node.
3. Configure the Exit Node
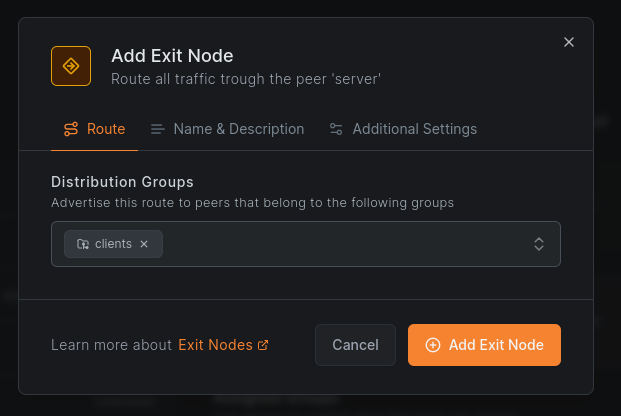
Click Add Exit Node. In the dialog, assign one or more distribution groups to specify which peers should use this exit node.
To make the exit node available without automatic activation, disable Auto Apply. Users can then enable it manually.
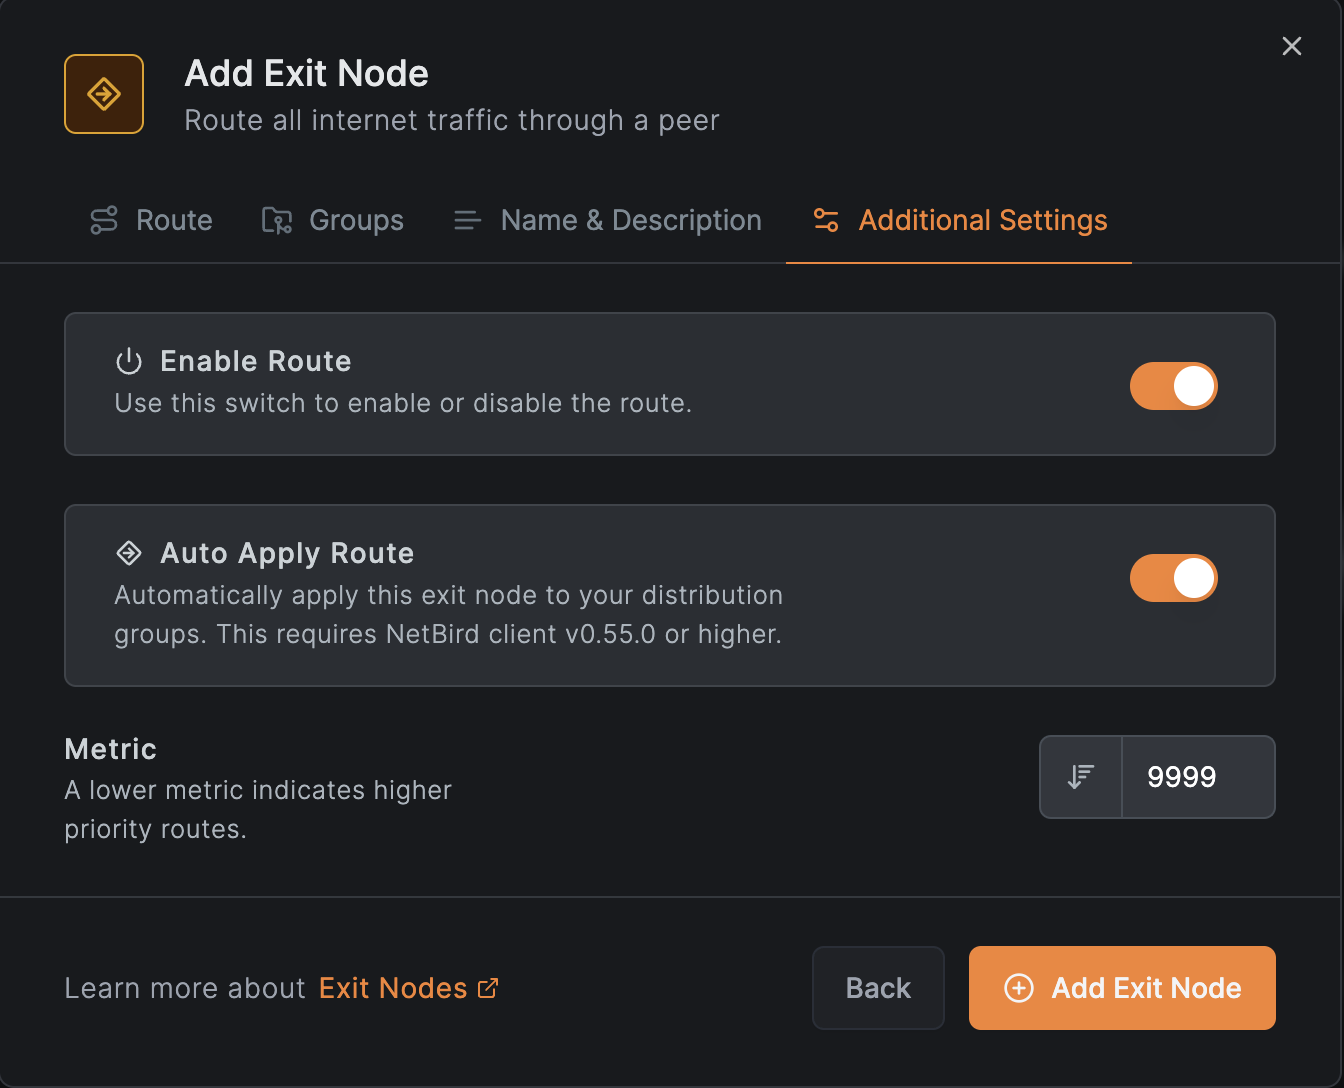
Click Add Exit Node to complete the configuration. Masquerading is enabled by default.
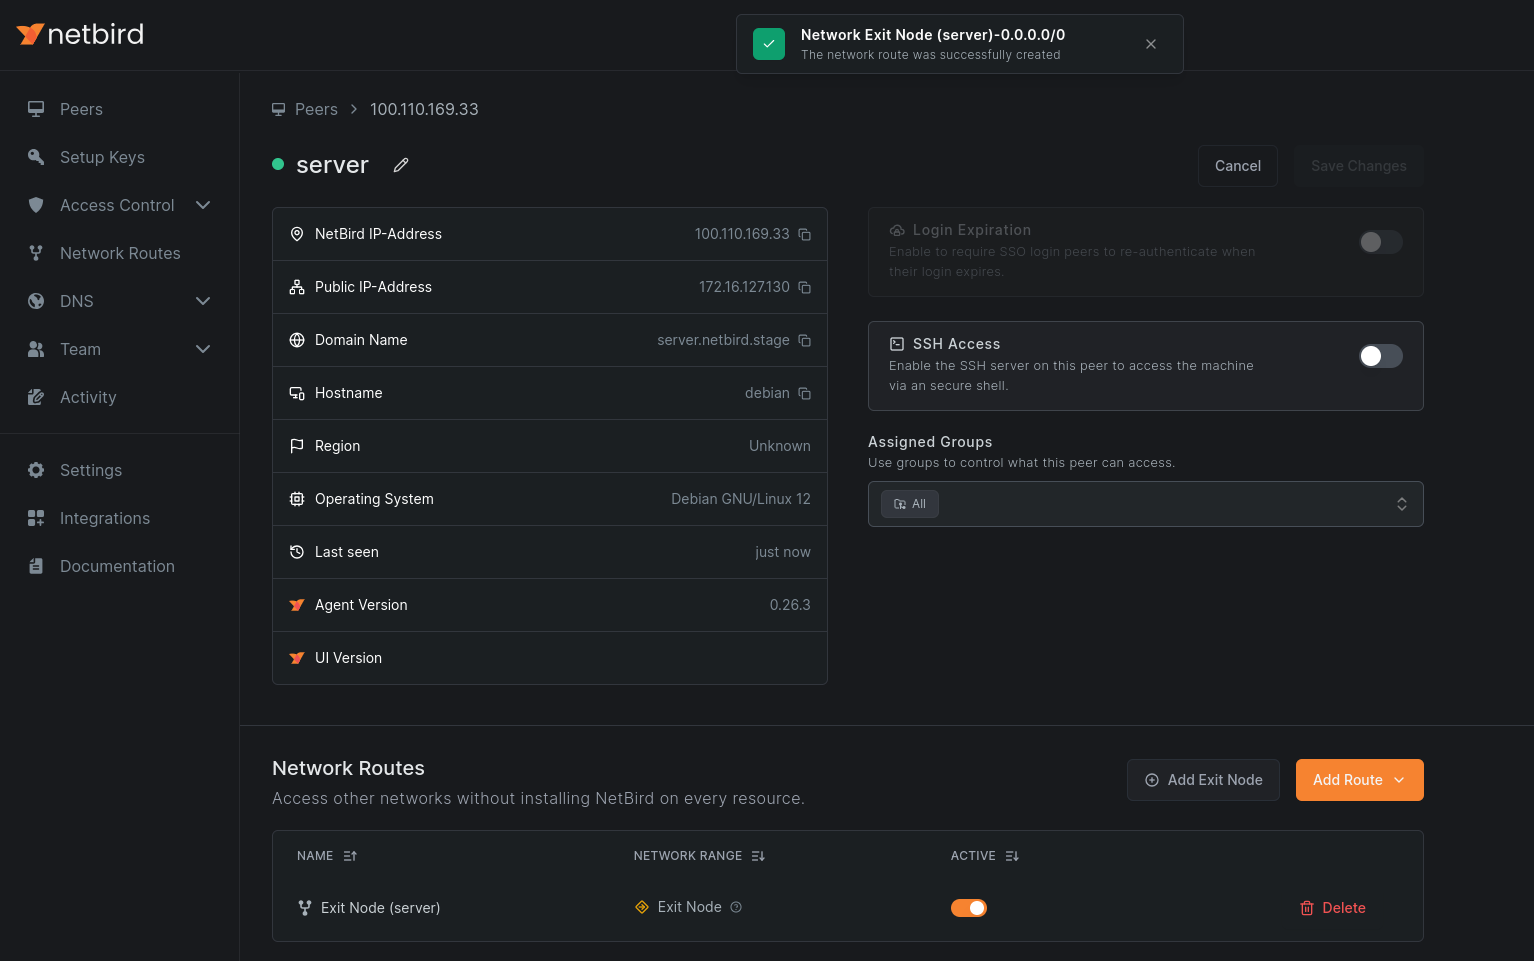
4. Verify the Configuration
Check the peer view to confirm the routing peer is marked as an exit node.
5. Configure DNS
Add a DNS server with the match domain set to ALL. Local DNS servers may not be accessible from the routing peer, and this also prevents DNS-based location leaks.
See Manage DNS in your network for details.
Geo-Based Exit Node Routing
Some compliance setups require a device's location to decide its tunnel mode. A common example: company devices must send all internet traffic through a corporate exit node while traveling abroad, but keep a normal split tunnel at home, where only internal resources go through NetBird.
You can build this with a Country and Region posture check attached to the access policy of a 0.0.0.0/0 Network resource. In the Networks model, a posture check on the access policy controls whether a peer receives the resource's routes at all. Peers that pass the check receive the default route and switch to a full tunnel. Peers that fail it never receive the route and keep their split tunnel, with direct internet access and all other NetBird resources working as before. When a peer's location or the check itself changes, connected peers converge to the new state within about a minute, without reconnecting.
Build this in Networks. Adding a posture check to an exit node created as a Route does not work: the default route still installs on every peer in the distribution groups, and devices failing the check lose internet entirely.
The following example builds this goal: any device outside the United States sends all its internet traffic through the exit node, while devices inside the US keep their split tunnel. Traveling employees' devices are in the group remote-workers, and the exit node peer is in the group exit-nodes.
1. Create the Posture Check
Navigate to Access Control → Posture Checks, click Add Posture Check, and select Country and Region. On the Block tab, add United States, then save the check as "Outside the US".
Peers located in a blocked country fail the check, so the full-tunnel policy below stops applying to them and they keep their split tunnel. Peers anywhere else pass the check and get the full tunnel. NetBird determines the location from the public IP the peer uses to reach the management service, resolved with MaxMind's GeoLite2 City database, and shows it as country and city on the peer in the dashboard. On self-hosted deployments, the management server needs the database configured; see Geolocation Database.
2. Create the Network Resource
Navigate to Networks and create a network for the location that hosts your exit node, for example us-datacenter, or reuse an existing network if the exit node peer already routes one. Add a resource named internet-egress with the address 0.0.0.0/0, optionally assign it to a new group internet-egress, and add your exit node peer as the routing peer. Keep Masquerade enabled: without it, forwarded traffic leaves the exit node with the device's overlay IP as its source address, and replies never find their way back.
If you create the resource through the API, set "enabled": true explicitly on the resource and "masquerade": true on the routing peer. The API reference marks both fields as required; when omitted, the API currently defaults them to disabled.
3. Create the Access Policy
Navigate to Access Control → Policies and add a policy from remote-workers to the internet-egress group (or the resource directly, if you skipped the group), protocol ALL. Before saving, open Posture Checks, browse for "Outside the US", and attach it.
This policy is all the exit node needs to forward internet traffic; no additional policy to the routing peer itself is required.
Also set a DNS server with match domain ALL; see Configure DNS above. Without it, devices keep sending DNS queries to their local resolver outside the tunnel, so a full-tunnel device still reveals its location through DNS even though all other traffic is tunneled. The nameserver applies to the whole group, and both tunnel modes handle it correctly: full-tunnel devices reach it through the exit node, while split-tunnel devices reach the same nameserver over their normal direct path. Resolution keeps working on both.
4. Verify
On a device outside the US, run netbird networks ls and confirm the internet-egress network is selected. Then check the device's public IP (for example with curl ifconfig.me): it should be the exit node's IP.
On a device inside the US, the same checks show no internet-egress network, the device's own public IP, and working internet. Internal NetBird resources remain reachable on both devices.
Performance Expectations
An exit node carries each device's entire internet traffic through a single WireGuard tunnel, and a single tunnel is processed largely on one CPU core of the exit node. This caps each device's throughput at single-tunnel speed: typically a few Gbps on a modern server CPU running Linux kernel WireGuard. The exact figure depends on the exit node's per-core speed, the tunnel MTU, and traffic direction (see the benchmark assumptions), but it does not grow with parallel streams.
Because this is a fixed cap rather than a percentage cost, what you observe depends on your internet line rate:
- On links up to about 1 Gbps, an exit node typically adds little to no throughput loss.
- On multi-gigabit links, full-tunnel throughput tops out at the tunnel cap, so a large relative drop against a 5 or 10 Gbps line is expected behavior, not a misconfiguration.
A common mistake is scaling the wrong dimension: adding CPU cores to the exit node or running more parallel streams on a device does not raise that device's ceiling, because the tunnel still serializes on one core. Per-core CPU speed does raise it, so for fast individual clients pick the exit node hardware with the fastest single-core performance available. More cores raise the aggregate capacity across many devices; see Sizing Routing Peers for measured per-size numbers.
If throughput lands well below a few Gbps, check these before resizing hardware:
- Relayed connection. Run
netbird status -don the device and confirm the connection to the exit node shows type P2P. Relayed traffic is significantly slower than a direct connection. - Userspace WireGuard. Devices on Windows and macOS, and peers running in userspace mode, reach well below kernel-mode numbers.
- Exit node limits. If the connection is P2P and both ends run kernel WireGuard, check the exit node's CPU load, the tunnel MTU, and the traffic direction against Tuning for more throughput.
IPv6 Support
IPv6 overlay addressing requires NetBird v0.68.0 or later on both the routing peer and the clients.
When IPv6 is enabled in your account settings and the exit node peer supports it, the management server automatically generates a ::/0 route alongside the 0.0.0.0/0 route. No additional configuration is needed.
For peers that do not have IPv6 enabled (older clients, or accounts with IPv6 disabled), IPv6 traffic is blocked at the tunnel interface to prevent unintentional leakage through the exit node.
You can disable IPv6 on individual clients with the --disable-ipv6 flag:
netbird up --disable-ipv6
See IPv6 Overlay Addressing for more details on enabling IPv6 for your account.
High Availability
Exit nodes support high availability configurations. See Creating Highly Available Routes for more information.