Authenticate to NetBird with Single Sign On (SSO)
NetBird works out of the box with popular Identity Providers (IdPs) such as Google Workspace, Microsoft Entra ID, and Okta, offering seamless Single Sign-On (SSO) for your users.
It also supports social logins including Google, GitHub, and Microsoft accounts.
For other OIDC (OpenID Connect)-compliant IdPs like Authentik, Keycloak, JumpCloud, and others, NetBird provides full support, though some additional configuration is required to complete the integration.
This guide covers the setup for cloud-hosted NetBird. If you are using the self-hosted version, please refer to the self-hosted documentation.
Google, Microsoft, and GitHub
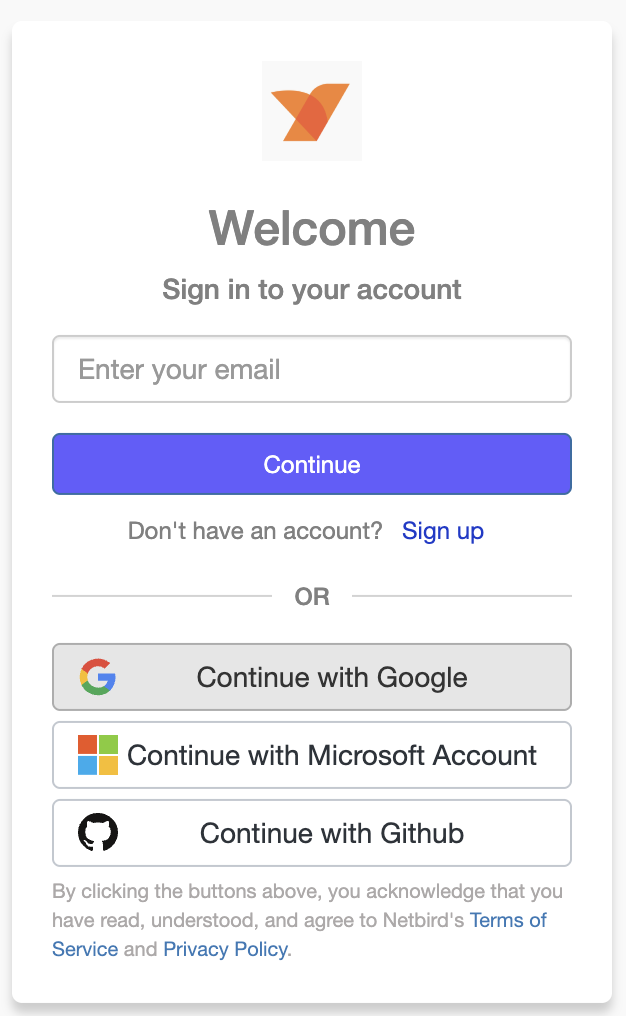
If you're using Google Workspace, Microsoft Entra ID, or a supported social login, you can simply sign in with no extra setup—just click the appropriate button on the login page:
Okta
Okta is a cloud-based identity and access management service designed for enterprise use. It provides single sign-on, multifactor authentication, user management, and lifecycle management capabilities. Okta offers extensive integration options with thousands of pre-built connectors, adaptive authentication, and comprehensive API access management.
The detailed setup steps for Okta integration, including SSO configuration and user/group provisioning, are available in our Provision Users and Groups from Okta documentation.
NetBird's Okta integration enhances user management by allowing you to utilize Okta as your identity provider. This integration automates user authentication in your network, adds SSO and MFA support, and simplifies network access management to your applications and resources.
Setup OktaOIDC-compliant IdPs
For OIDC-compliant Identity Providers such as Authentik, Keycloak, JumpCloud, and Auth0, you'll need to configure the IdP to integrate with NetBird. Below are the steps to set up different OIDC-compliant IdPs with NetBird.
Support for OIDC-compliant IdPs is available on the Team plan and higher. The Free plan supports Google, Microsoft, and social logins.
Authentik
Authentik is an open-source identity provider focused on flexibility and security. It serves as a self-hosted alternative to commercial solutions like Okta and Auth0, providing single sign-on (SSO), multi-factor authentication (MFA), access policies, user management, and support for SAML and OIDC protocols. Authentik includes audit logging, password policies, and full API access for automation.
Setup AuthentikKeycloak
Keycloak is an open-source Identity and Access Management solution aimed at modern applications and services. It's one of the most popular self-hosted IDP solutions with extensive documentation and community support. Keycloak provides single sign-on, social login, user federation, fine-grained authorization, and supports OpenID Connect, OAuth 2.0, and SAML 2.0 protocols.
Setup KeycloakJumpCloud
JumpCloud is a cloud-based directory platform that provides identity, access, and device management in a unified solution. It offers single sign-on, multi-factor authentication, directory services, device management, and network access control, providing a comprehensive approach to managing users, devices, and applications from a single platform.
Setup JumpCloudAuth0
Auth0 is a flexible, drop-in solution to add authentication and authorization services to your applications. It's a managed service that offers extensive customization options, developer-friendly APIs, universal login, social identity providers, and advanced security features like anomaly detection and breached password detection.
Setup Auth0Duo Security
Duo Security is a cloud-based security platform that provides secure access through single sign-on (SSO), multi-factor authentication (MFA), and device trust. Duo offers comprehensive identity verification and access policies to protect applications and data, with a focus on zero trust security architecture.
Setup Duo SecurityZitadel
Zitadel is an open-source, API-first identity infrastructure platform built with multi-tenancy at its core. It provides single sign-on, passwordless authentication, role-based access control, and supports OpenID Connect, OAuth 2.0, and SAML.
Setup Zitadelcidaas
cidaas is a cloud-native Identity and Access Management platform that supports OpenID Connect, OAuth 2.0, and SAML 2.0. It provides single sign-on, multi-factor authentication, user self-service, and fine-grained authorization.
Setup cidaasAWS Cognito
AWS Cognito is a fully managed customer identity and access management (CIAM) service from Amazon Web Services. It provides authentication, authorization, and user management for web and mobile applications, with native support for OpenID Connect, OAuth 2.0, and SAML 2.0.
Setup AWS Cognito