Provision Users and Groups From Your Identity Provider
Updated
Managing private network access in a business environment is a critical yet often cumbersome task. As companies grow and evolve, the manual process of granting access for new employees and revoking it for departing ones becomes increasingly time-consuming and error-prone. This challenge strains IT resources, poses significant security risks, and impacts productivity.
NetBird's IdP-Sync automates user access management to private networks by integrating with your identity provider (IdP) and automatically provisioning users and groups. This integration ensures that changes to groups and users are synchronized from your identity provider to NetBird, granting appropriate network access to new users and immediately revoking access for departing employees.
NetBird allows you to use synchronized groups to create access control policies, or update network configurations like DNS, eliminating the need for manual grouping.
This feature is only available in the cloud version of NetBird in the Team plan and above.
This video guide walks you through an example integration with Microsoft Entra ID, covering both user onboarding and offboarding scenarios:
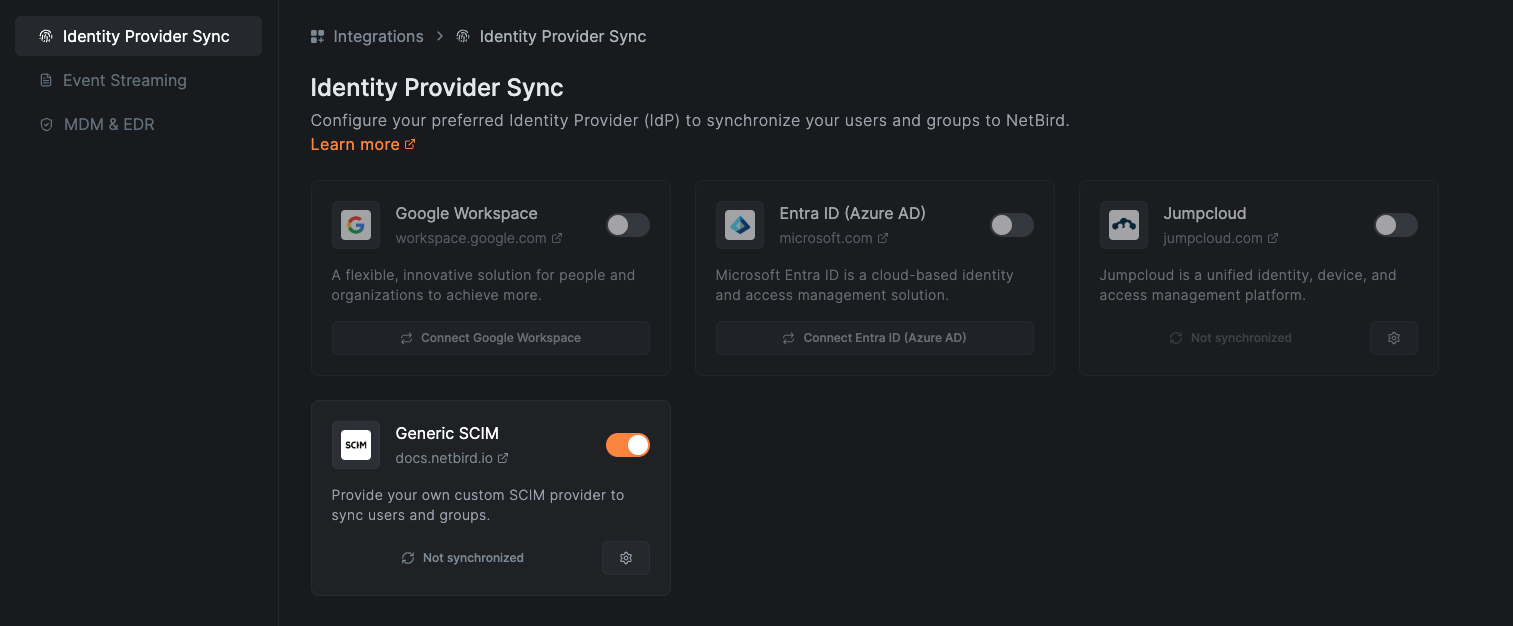
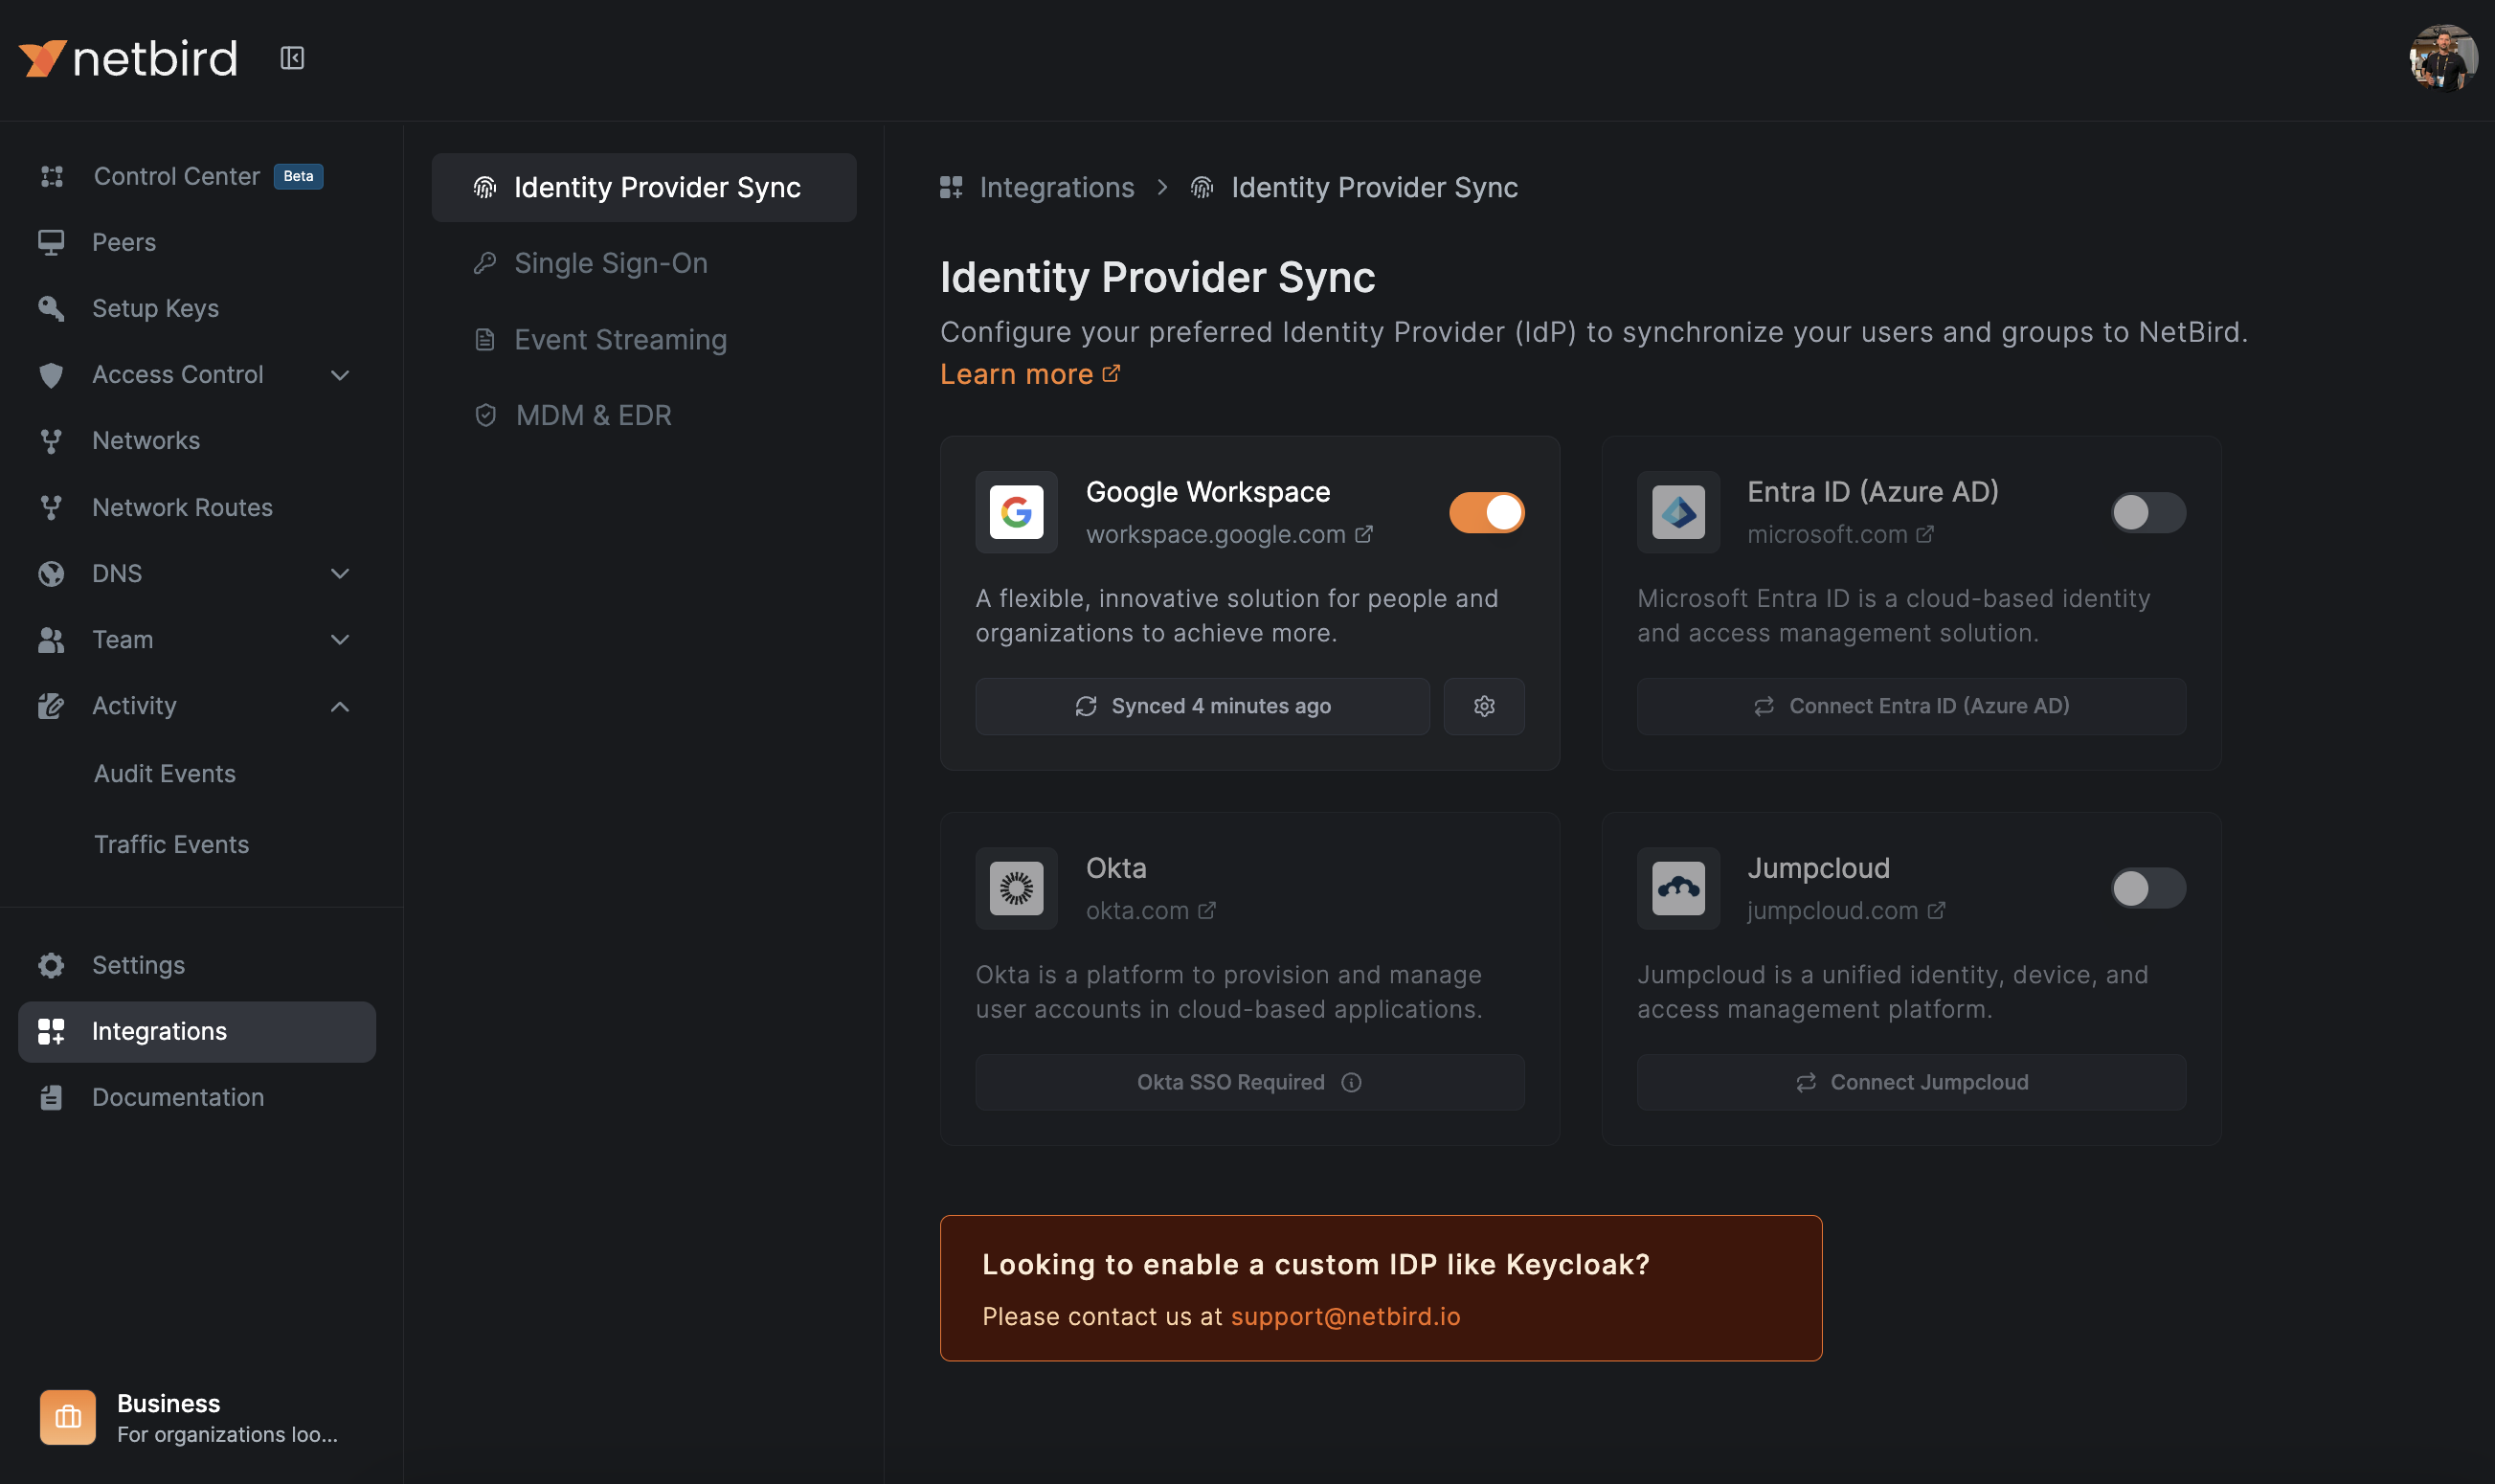
Supported Identity Providers
NetBird provides native support for syncing with the most popular identify providers. For detailed setup and configuration steps, select an IdP from the section below:
Generic SCIM
NetBird provides a way to sync users and groups from any identity provider that supports the SCIM (System for Cross-domain Identity Management) protocol. SCIM is a standardized protocol that works with most modern identity providers, although configuration varies between providers.
If your provider is not listed above, contact us at support@netbird.io for assistance with your specific IdP setup.