Deploy NetBird on Vultr
Updated
Launch a self-hosted NetBird control plane directly from the Vultr Marketplace. The marketplace image is one of the fastest ways to get a production-ready NetBird instance running. You provide a domain and email in Vultr's deploy form, set two DNS records, and the install script handles the rest. No terminal required to get started.
What's included
The marketplace image runs a modified version of the NetBird Quickstart script with the recommended defaults baked in:
- Traefik for automatic TLS via Let's Encrypt, included in the Docker Compose stack.
- NetBird Proxy enabled by default so you can expose internal resources from the dashboard. See the Reverse Proxy overview.
- CrowdSec for IP reputation and intrusion detection. See CrowdSec IP Reputation.
- Local user store for the first admin account so you can sign in without configuring an external IdP.
Before you start
- A Vultr account.
- A public domain name you can point at the new instance (e.g.
netbird.example.com). - Access to your domain's DNS records.
Deploy the instance
- Sign in to the Vultr customer portal and click Deploy.
- Pick a location close to most of your users. For a team spread across regions, choose one that minimizes average latency.
- Choose Shared CPU — NetBird is not CPU-intensive — then select a plan with at least 2 GB of memory.
- (Optional) Leave Automatic Backups enabled. Recommended but not required.
- Click Configure to continue.
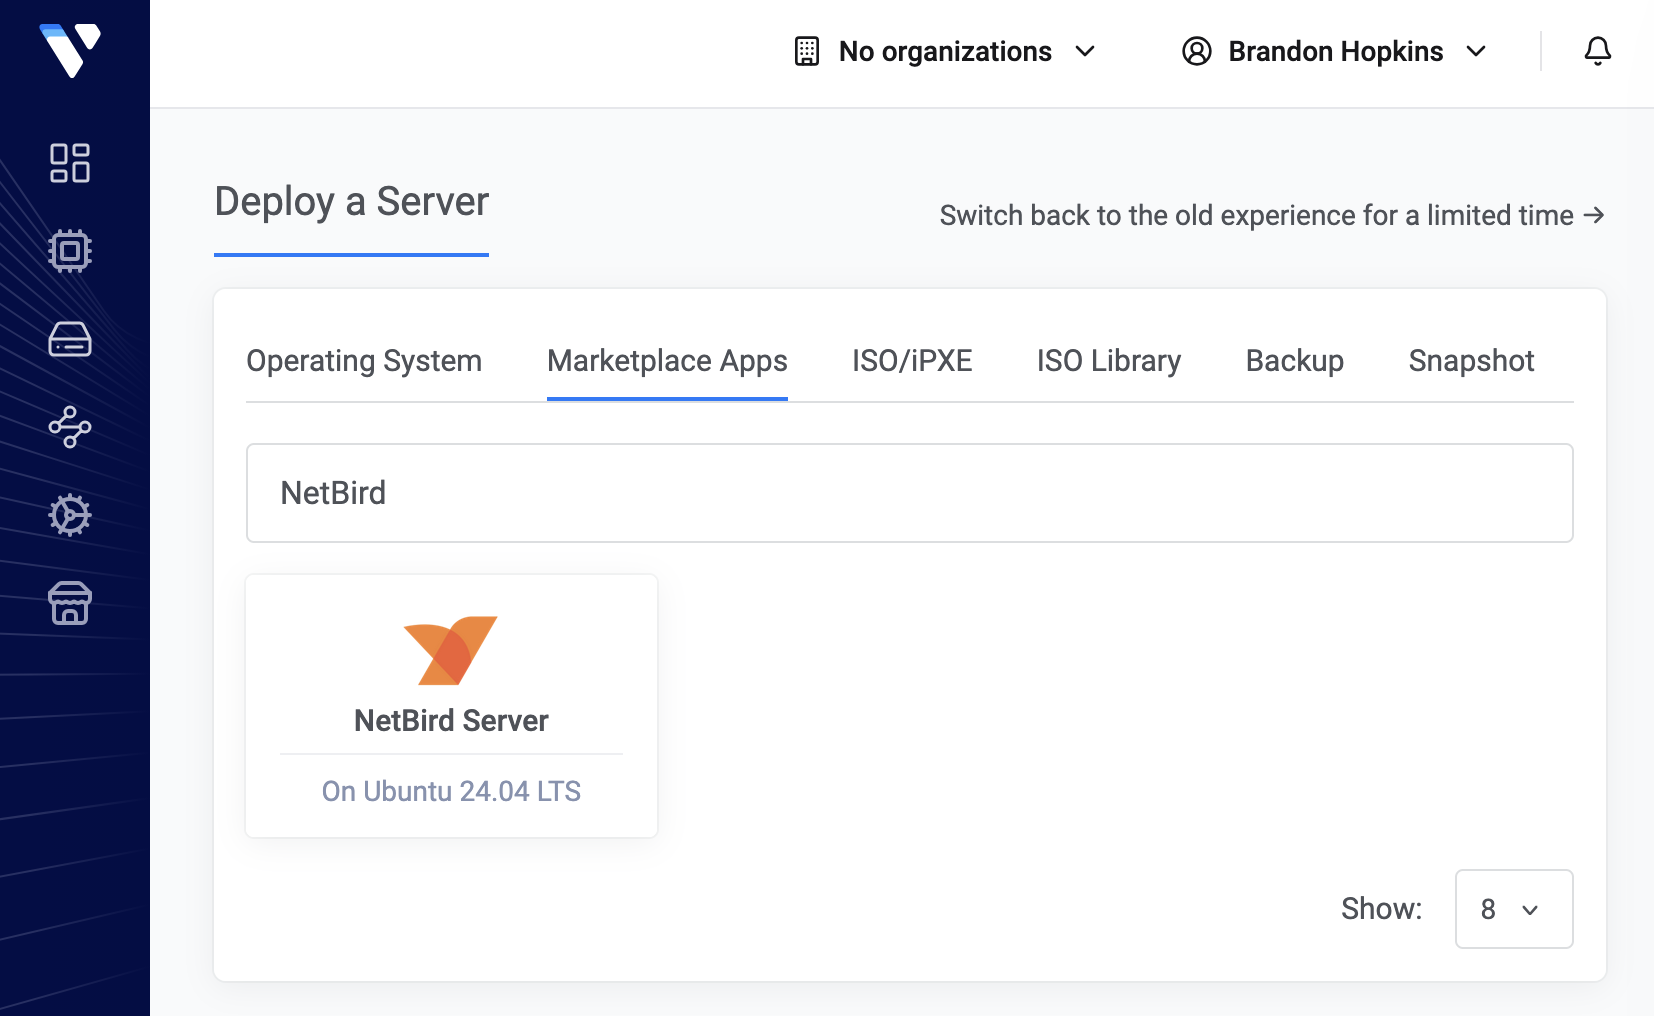
- Open the Marketplace Apps tab and search for NetBird.
- Fill in the NetBird app fields:
- Email address for Let's Encrypt expiration notifications.
- Domain the instance will be reachable at (e.g.
netbird.example.com).
- Under Server settings, set a hostname and optionally enable IPv6 (supported in NetBird v0.71+).
- Click Deploy.
Tip: Reserve an IP in Vultr (Products → Network → Reserved IPs) before deploying and attach it during step 8. With the IP known in advance you can create your DNS records ahead of time so they have already propagated by first boot, letting Let's Encrypt issue certificates immediately instead of waiting on DNS. The reserved IP also stays with you across instance rebuilds.
Set your DNS records
After deploying, the install script waits for your domain to resolve before continuing. Open View Console on the instance to watch progress. Meanwhile, copy the instance's public IPv4 address from the Vultr dashboard and add the following records at your domain registrar:
| Type | Name | Content |
|---|---|---|
| A | netbird | YOUR.SERVER.IP.ADDRESS |
| CNAME | *.netbird | netbird.example.com |
The wildcard CNAME is required for the NetBird Proxy to issue certificates for exposed resources.
Using Cloudflare? Set both records to DNS only (uncheck the orange proxy cloud). Cloudflare's proxy interferes with Let's Encrypt's HTTP-01 challenge.
Once DNS resolves, the script finishes setup automatically and you'll see NetBird setup is complete in the console.
Sign in
Open your domain in a browser (e.g. https://netbird.example.com) and create your first local admin user. After signing in, follow the Get started with NetBird walkthrough to add your first peer, or skip straight to the dashboard if you've used NetBird before.
For details on managing local users, see Local User Management.
Harden the instance
The Vultr instance ships with a root password. Before relying on the deployment, lock the server down:
- Disable root SSH login. Create a non-root user with
sudoaccess and setPermitRootLogin noin/etc/ssh/sshd_config. - Use SSH keys, not passwords. Add your public key to the new user's
~/.ssh/authorized_keysand setPasswordAuthentication noin/etc/ssh/sshd_config. - Restart SSH with
sudo systemctl restart sshonce you have confirmed key-based login works in a second session.
Maintaining your deployment
The NetBird stack lives in /opt/netbird on the instance, including the docker-compose.yml and environment files. If the dashboard shows an Update available banner, SSH in and upgrade by pulling the latest images and restarting the containers:
cd /opt/netbird
docker compose pull
docker compose up -d
Refresh the dashboard and the banner should clear. See the Upgrade guide for the full procedure, including migration notes and rollback steps.