Authentik with NetBird Self-Hosted
Updated
Authentik is an open-source identity provider focused on flexibility and security. It serves as a self-hosted alternative to commercial solutions like Okta and Auth0, providing single sign-on (SSO), multi-factor authentication (MFA), access policies, user management, and support for SAML and OIDC protocols.
Management Setup (Recommended)
Add Authentik as an external IdP directly in the NetBird Management Dashboard. This is the simplest approach and recommended for most deployments.
Prerequisites
- NetBird self-hosted with embedded IdP enabled
- Authentik instance with admin access
Step 1: Create OAuth2/OpenID Provider in Authentik
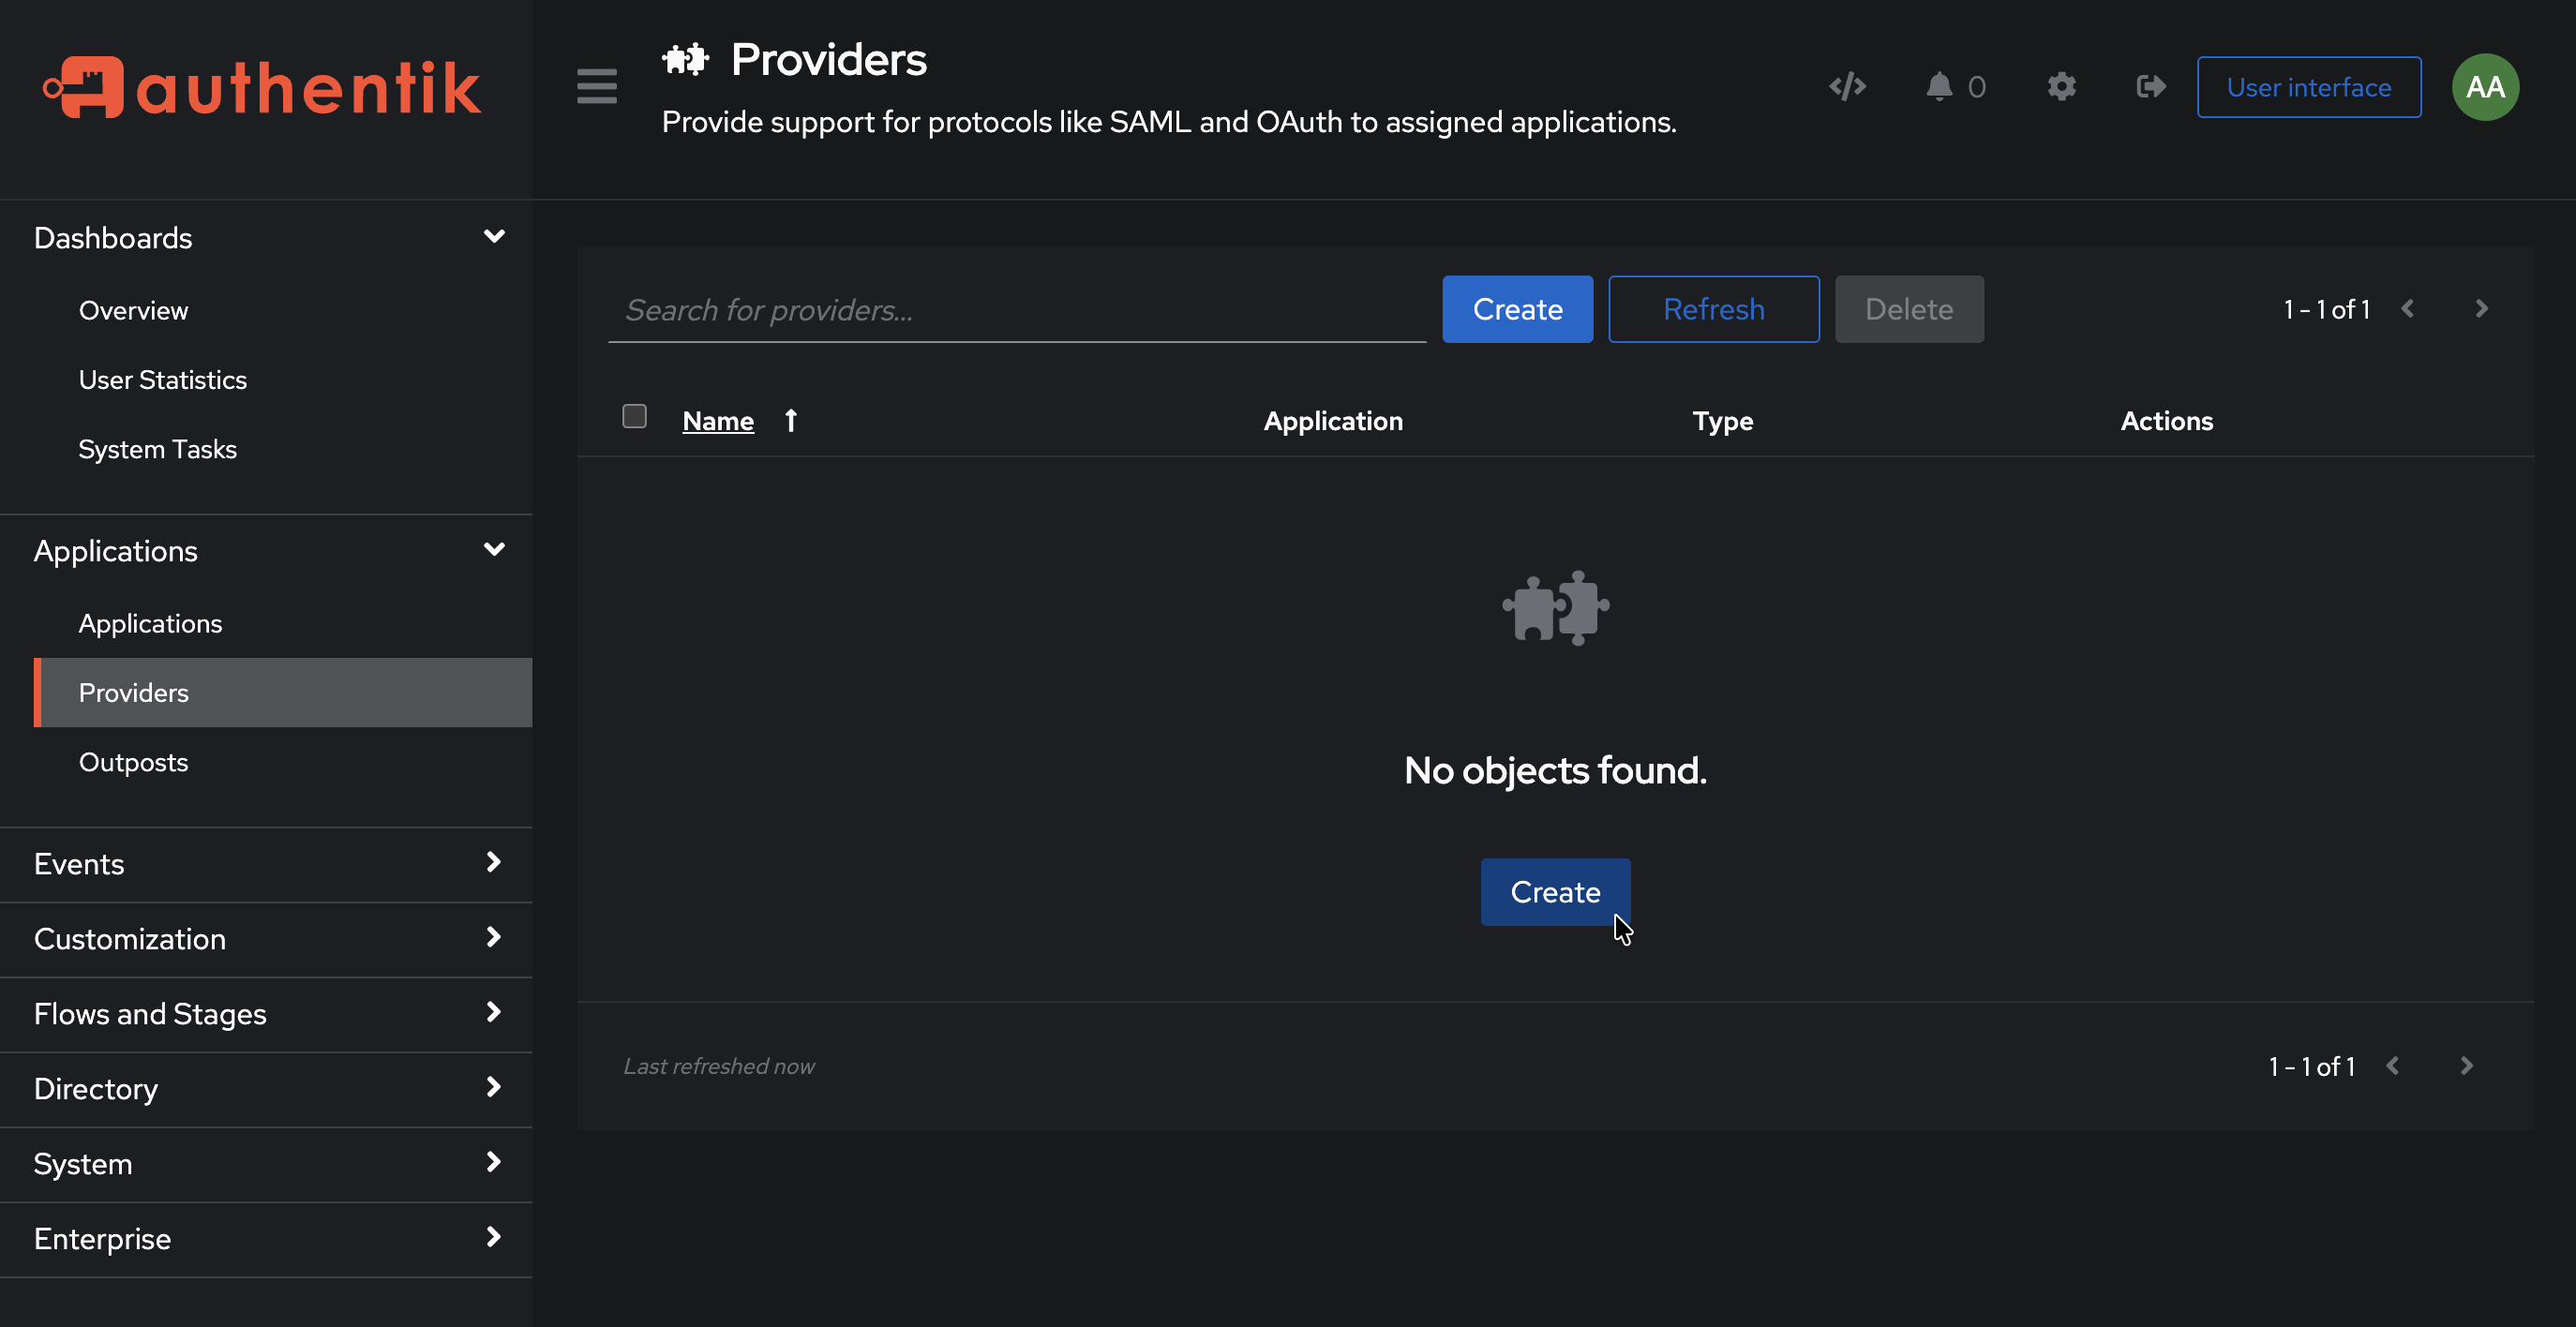
- Navigate to Authentik admin interface
- Click Applications on the left menu, then click Providers
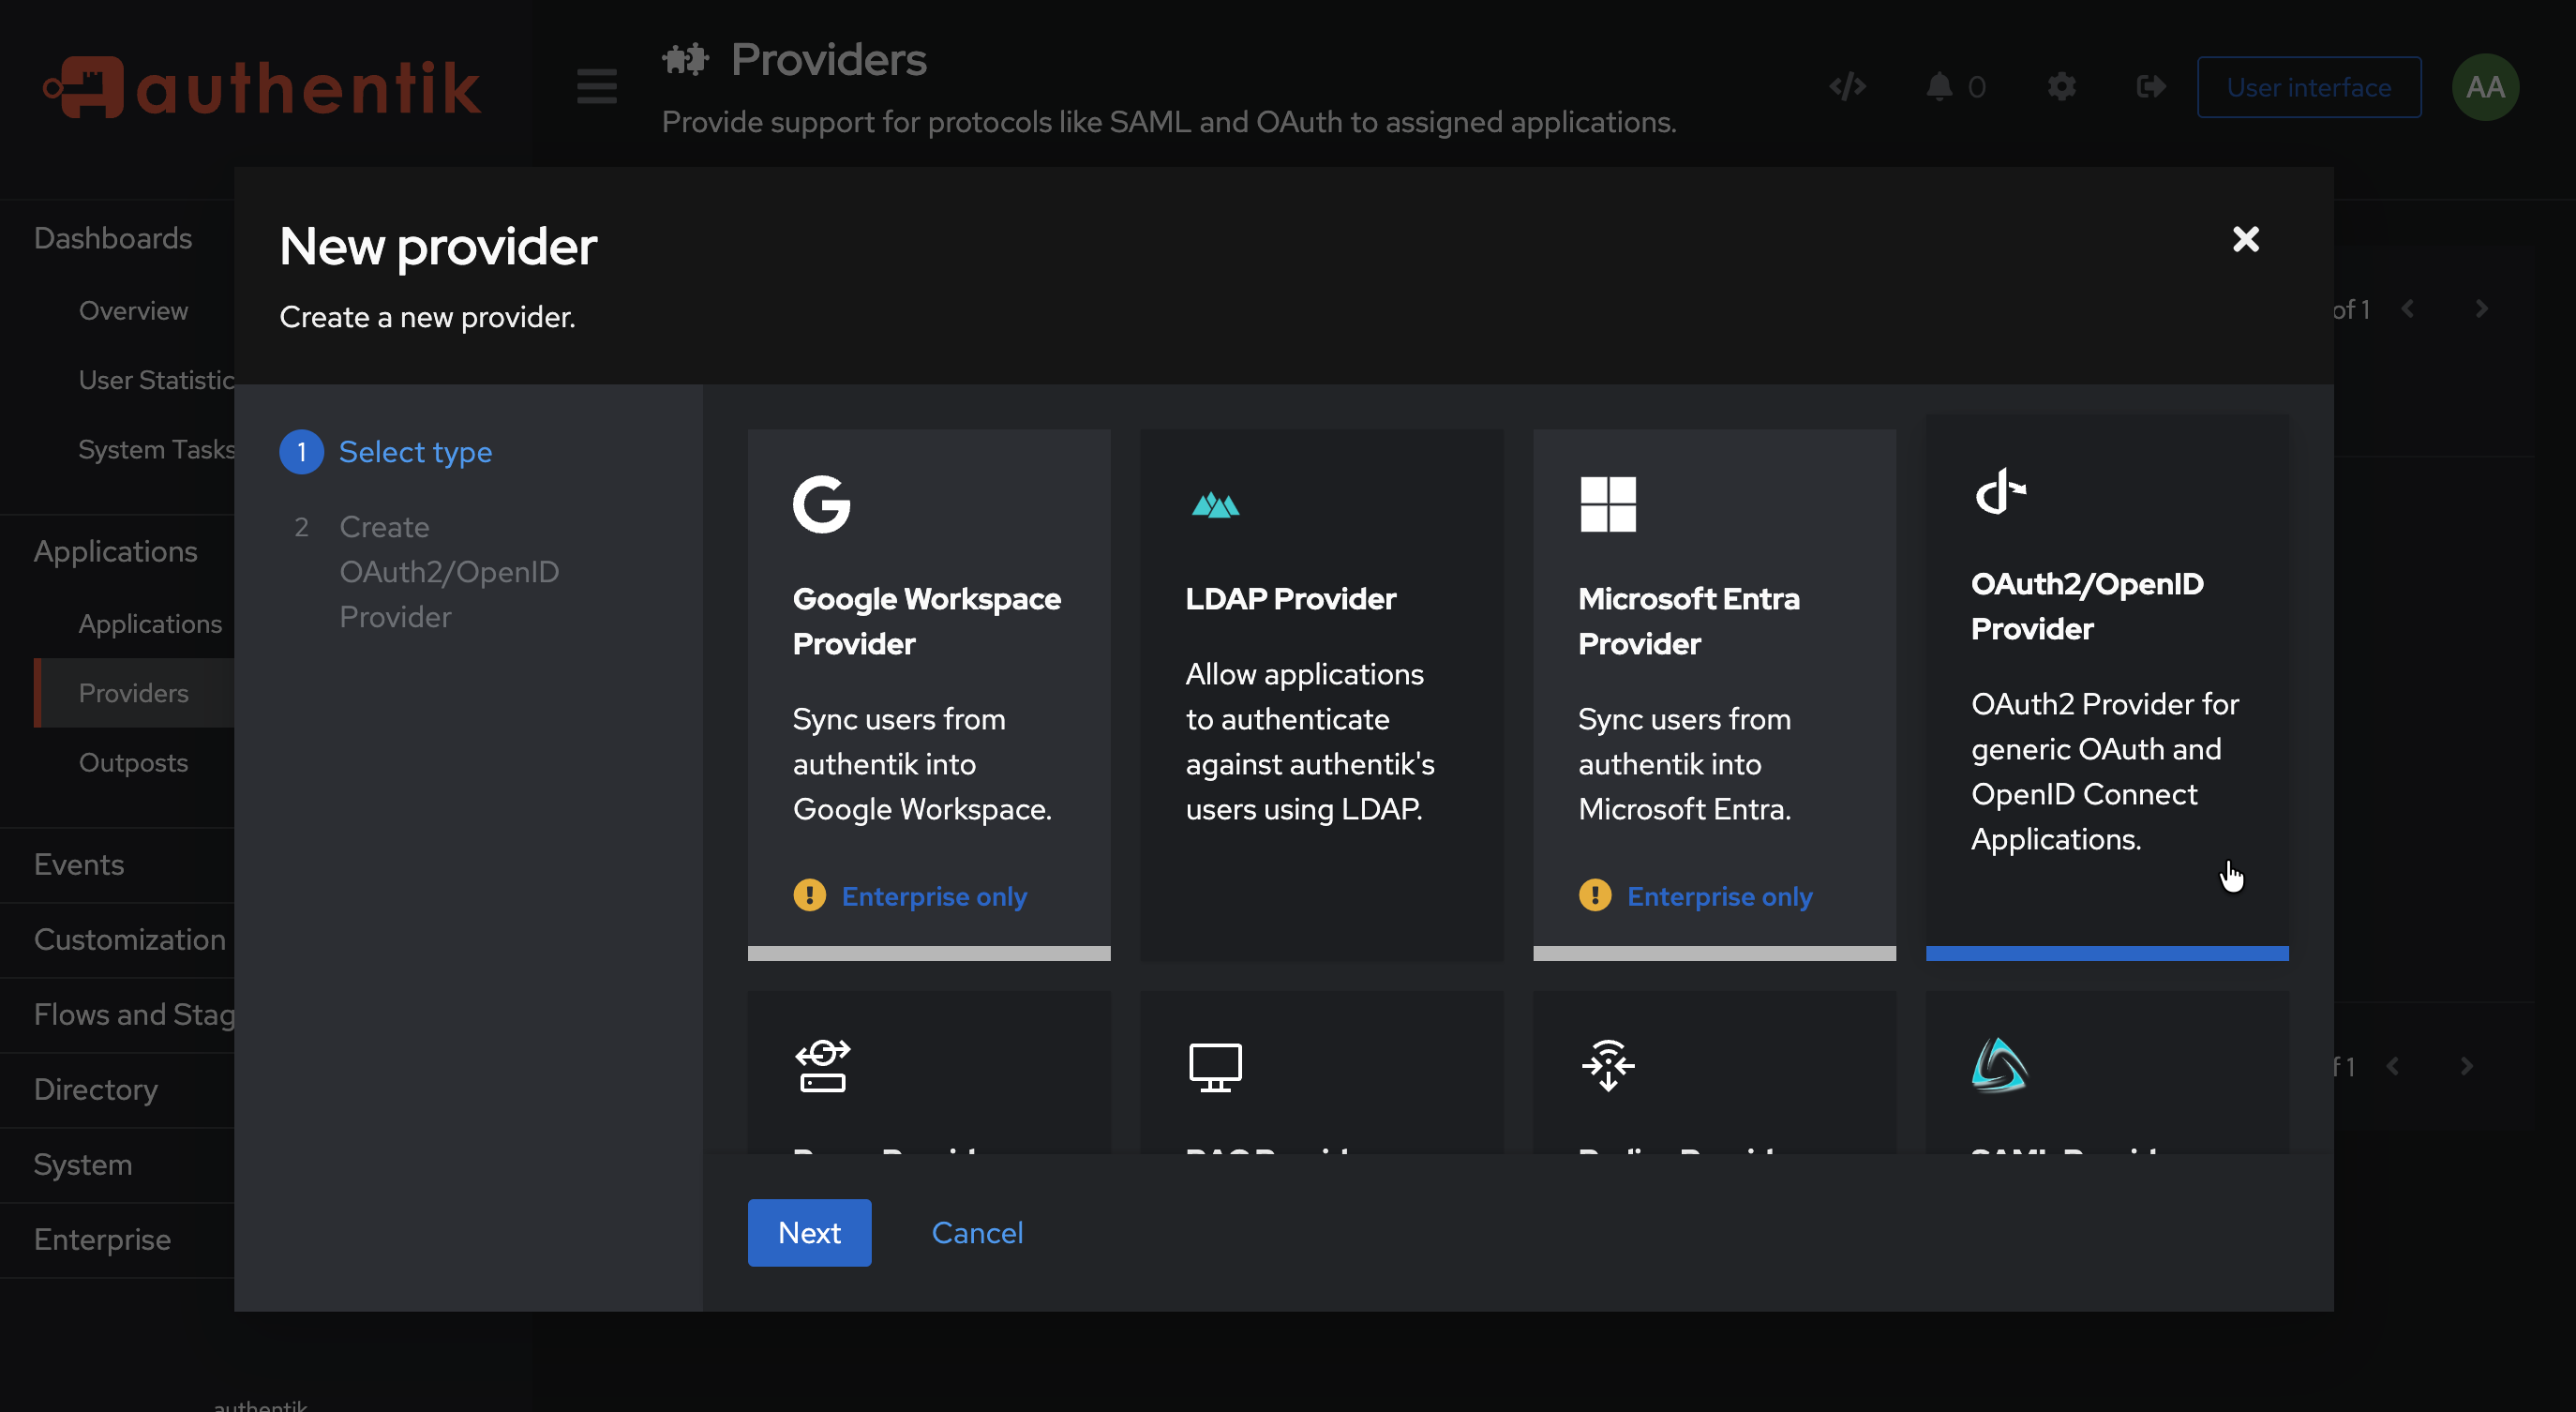
- Click Create to create a new provider
- Select OAuth2/OpenID Provider and click Next
- Fill in the form with the following values:
- Name:
NetBird - Authorization Flow:
default-provider-authorization-explicit-consent (Authorize Application) - Client type:
Confidential - Redirect URIs/Origins: Leave empty for now (you'll add this in Step 5)
- Signing Key: Select any cert present, e.g.,
authentik Self-signed Certificate
- Name:
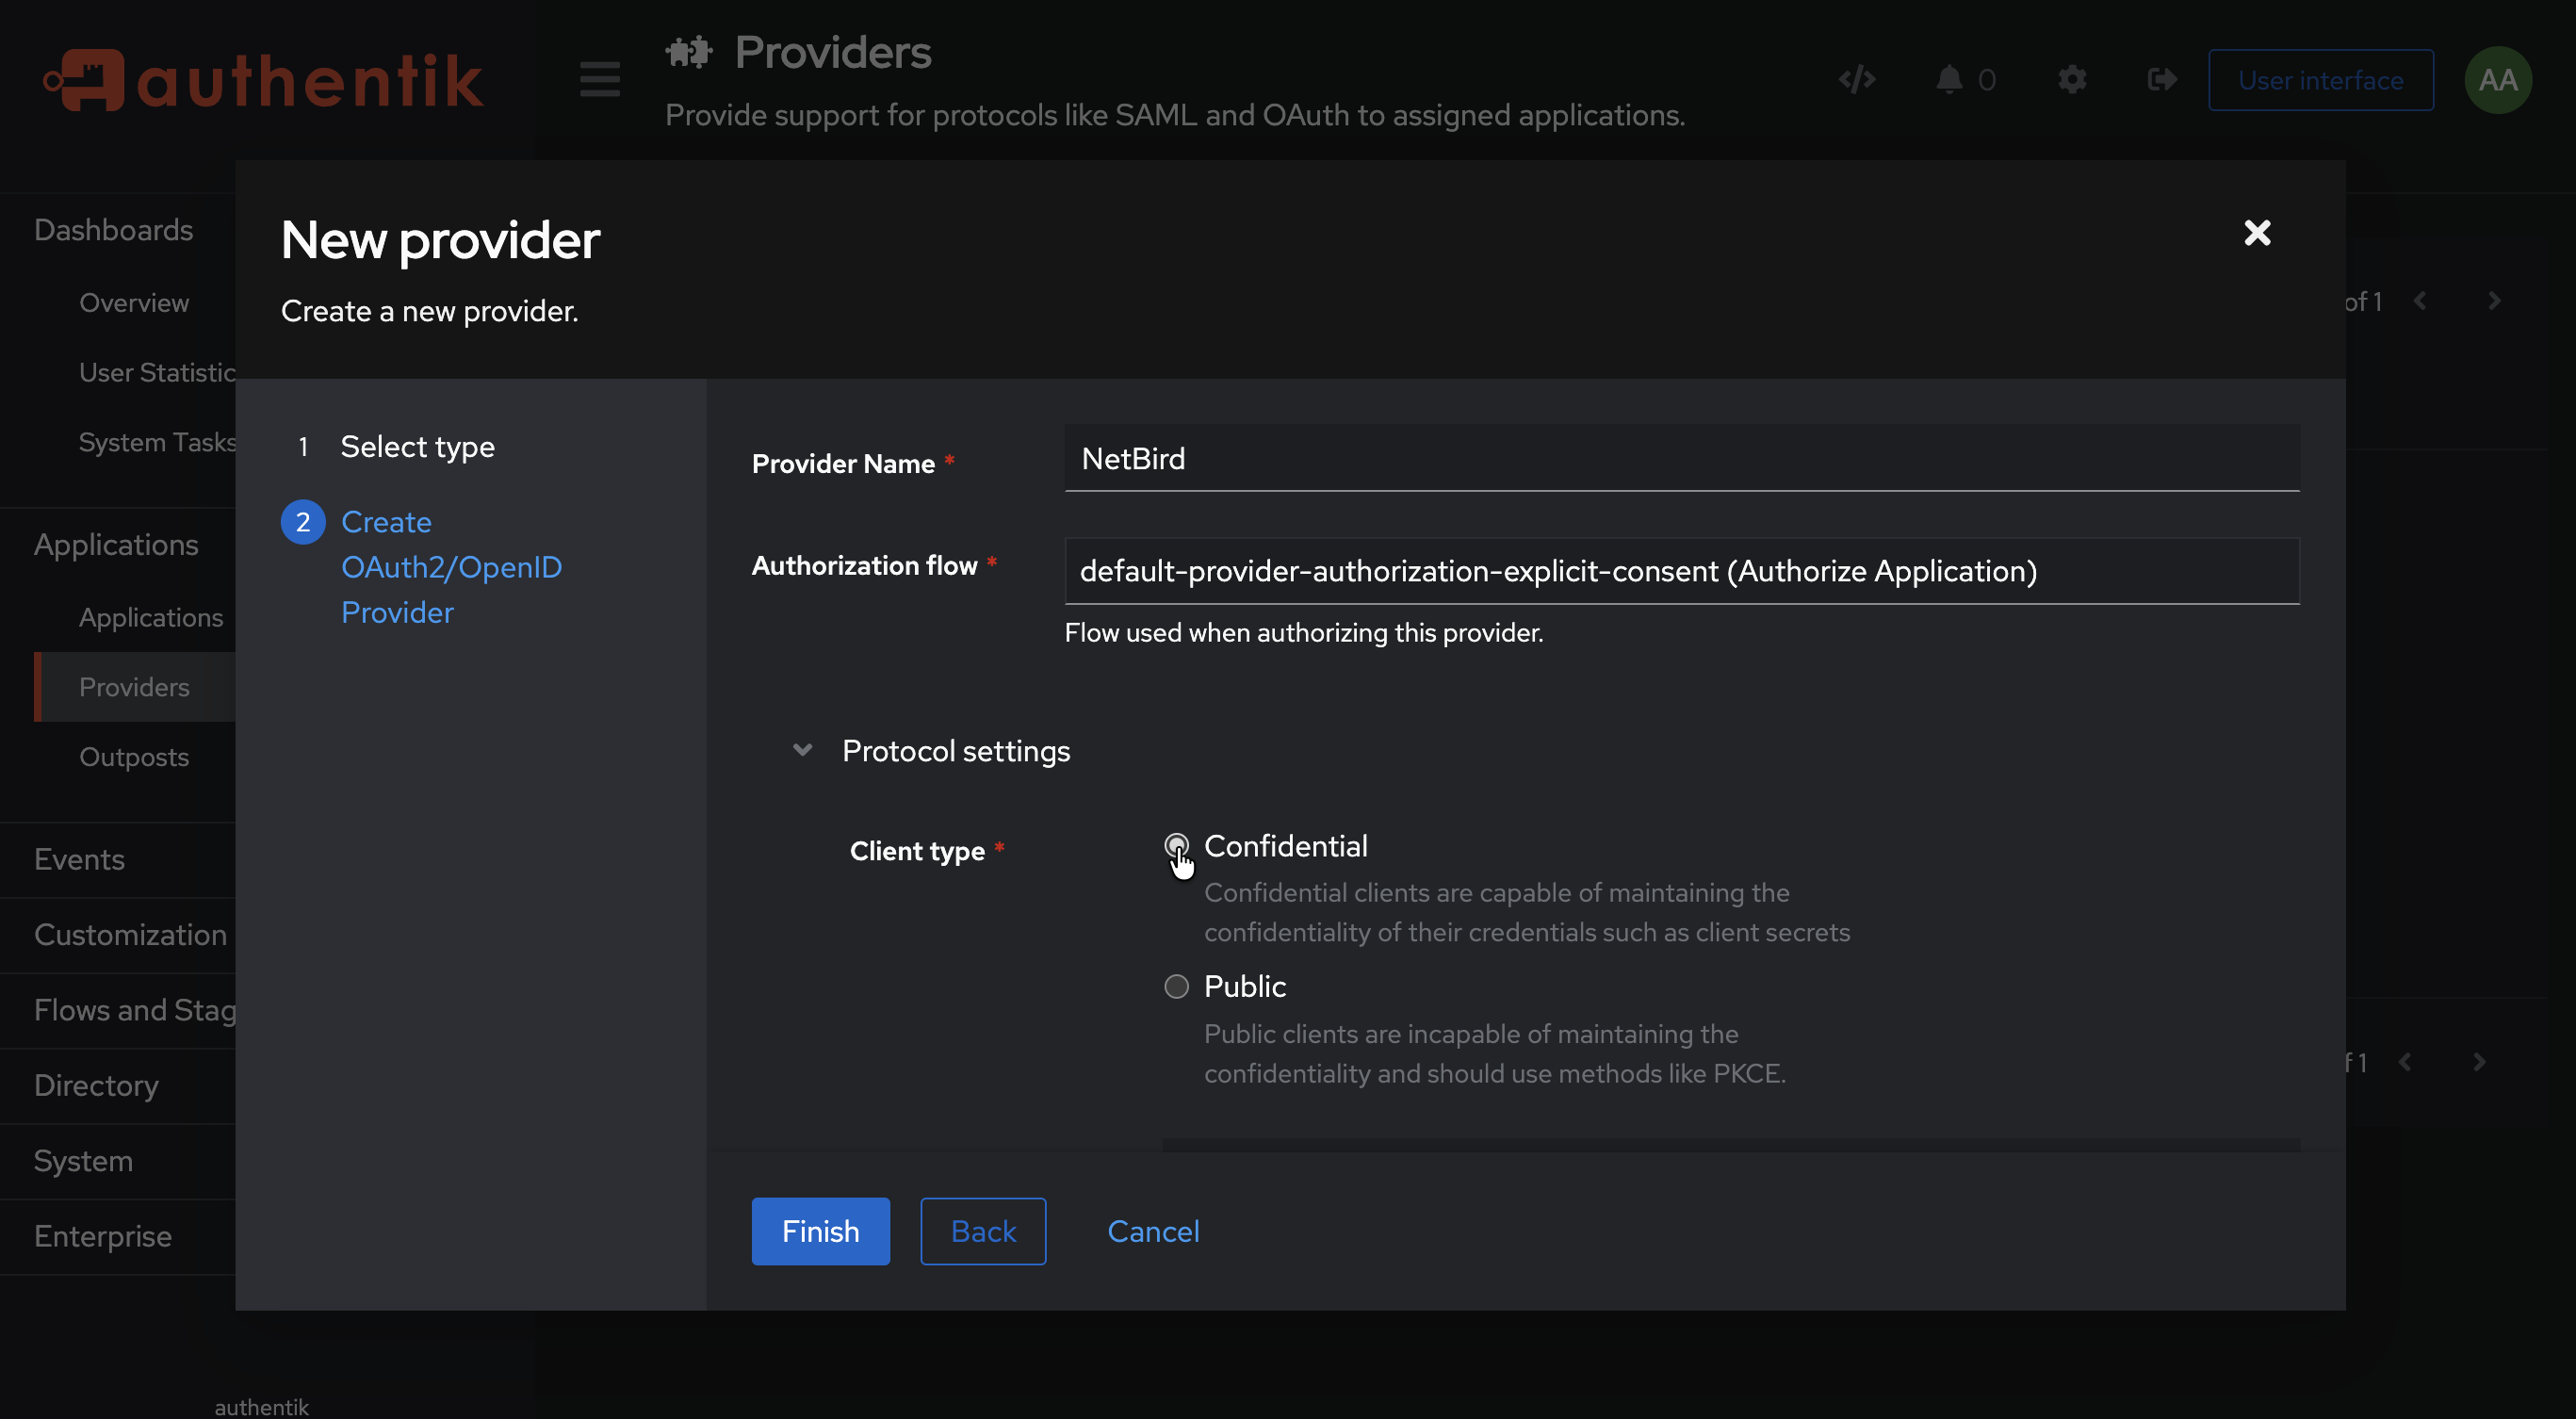
- Click Finish
- Note the Client ID and Client Secret — you'll need these for Step 3
Step 2: Create Application in Authentik
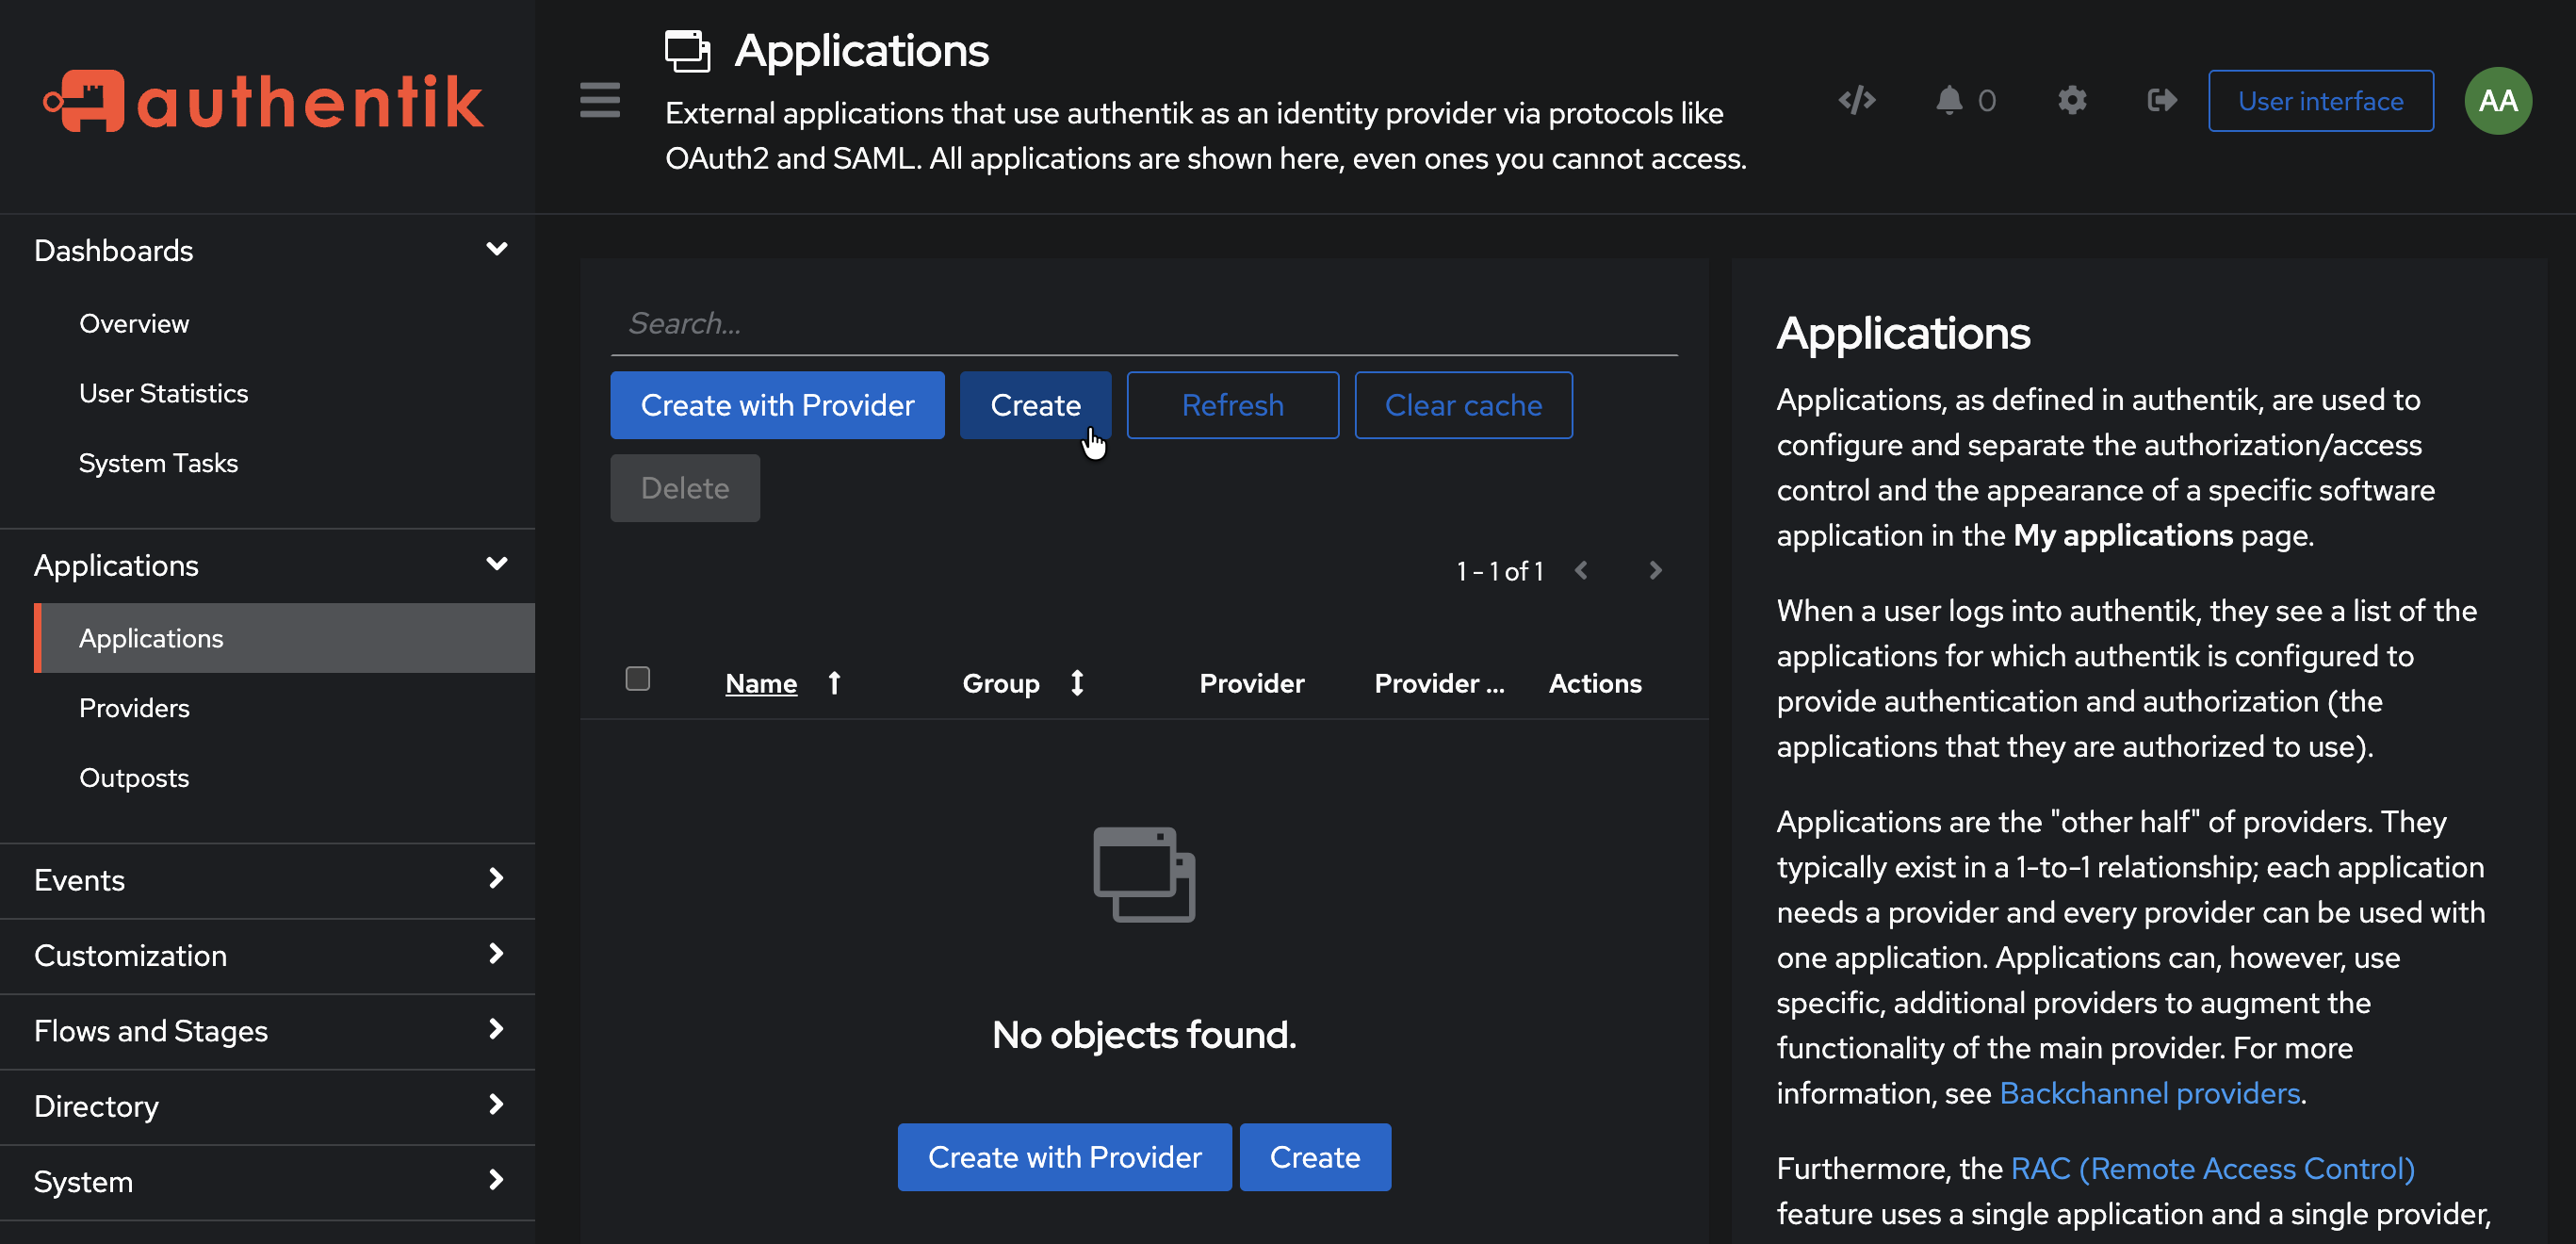
- Click Applications on the left menu, then click Applications
- Click Create to create a new application
- Fill in the form:
- Name:
NetBird - Slug:
netbird - Provider: Select the
NetBirdprovider you created in Step 1
- Name:
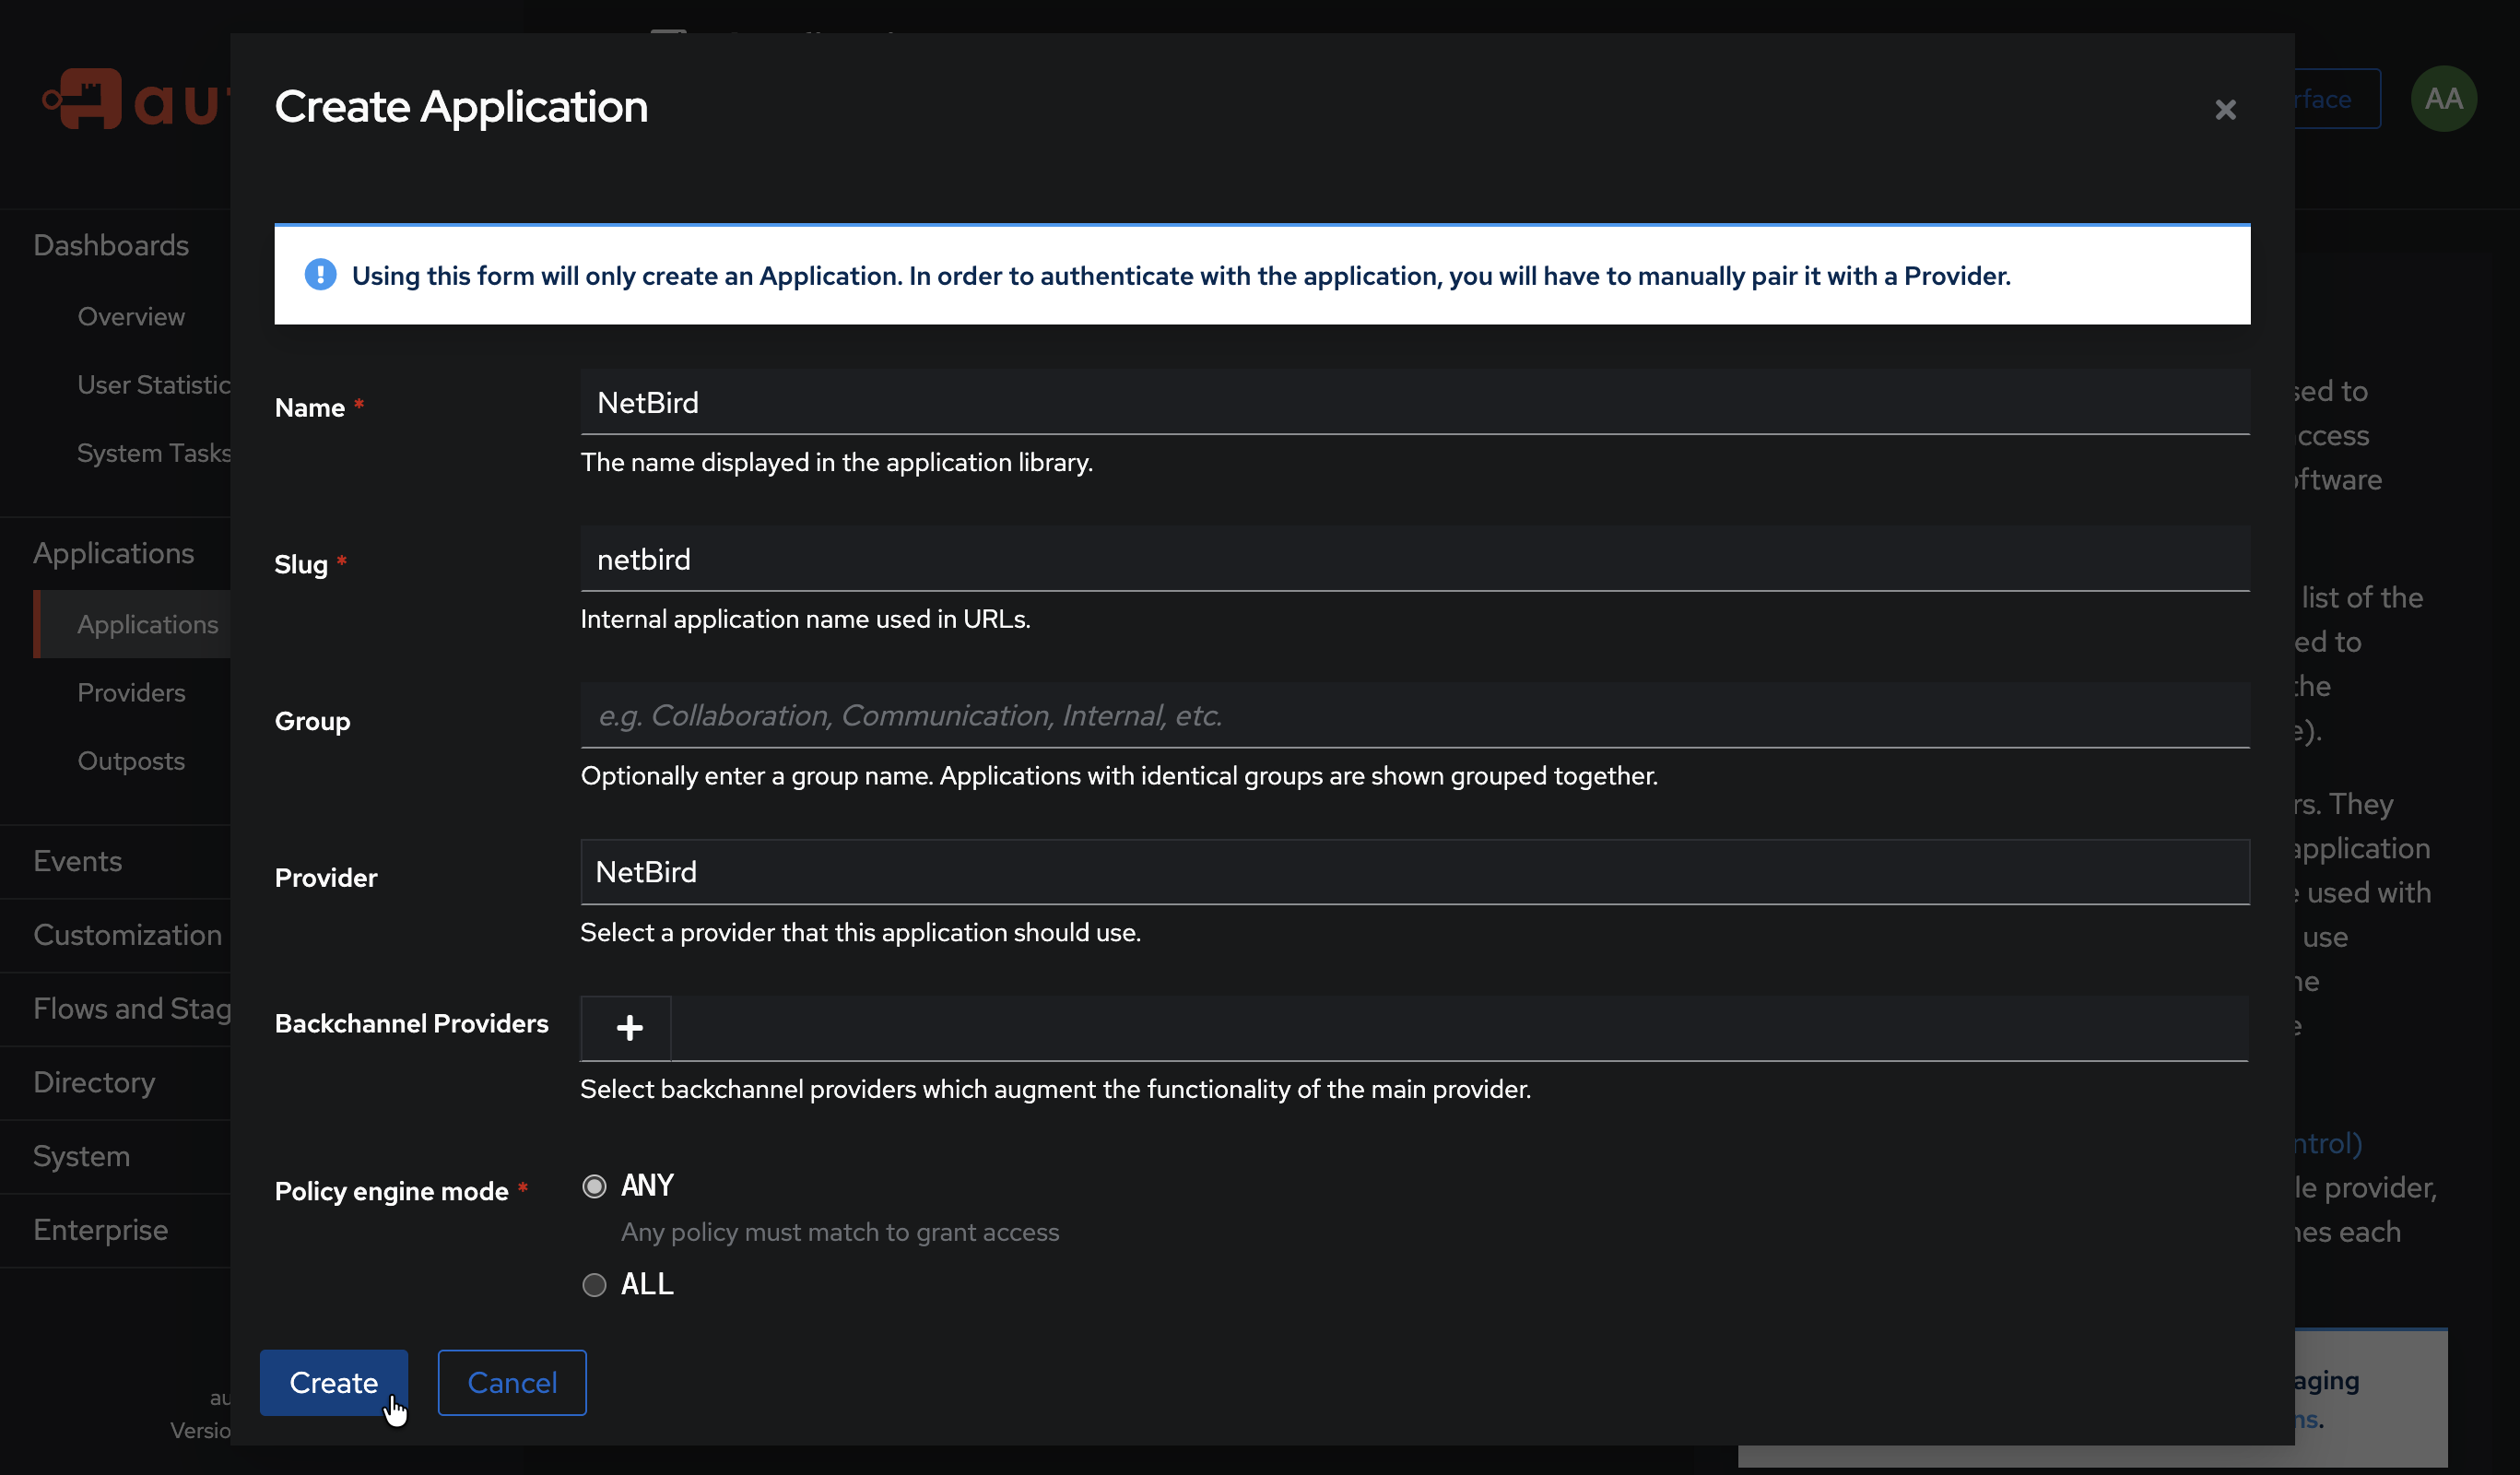
- Click Create
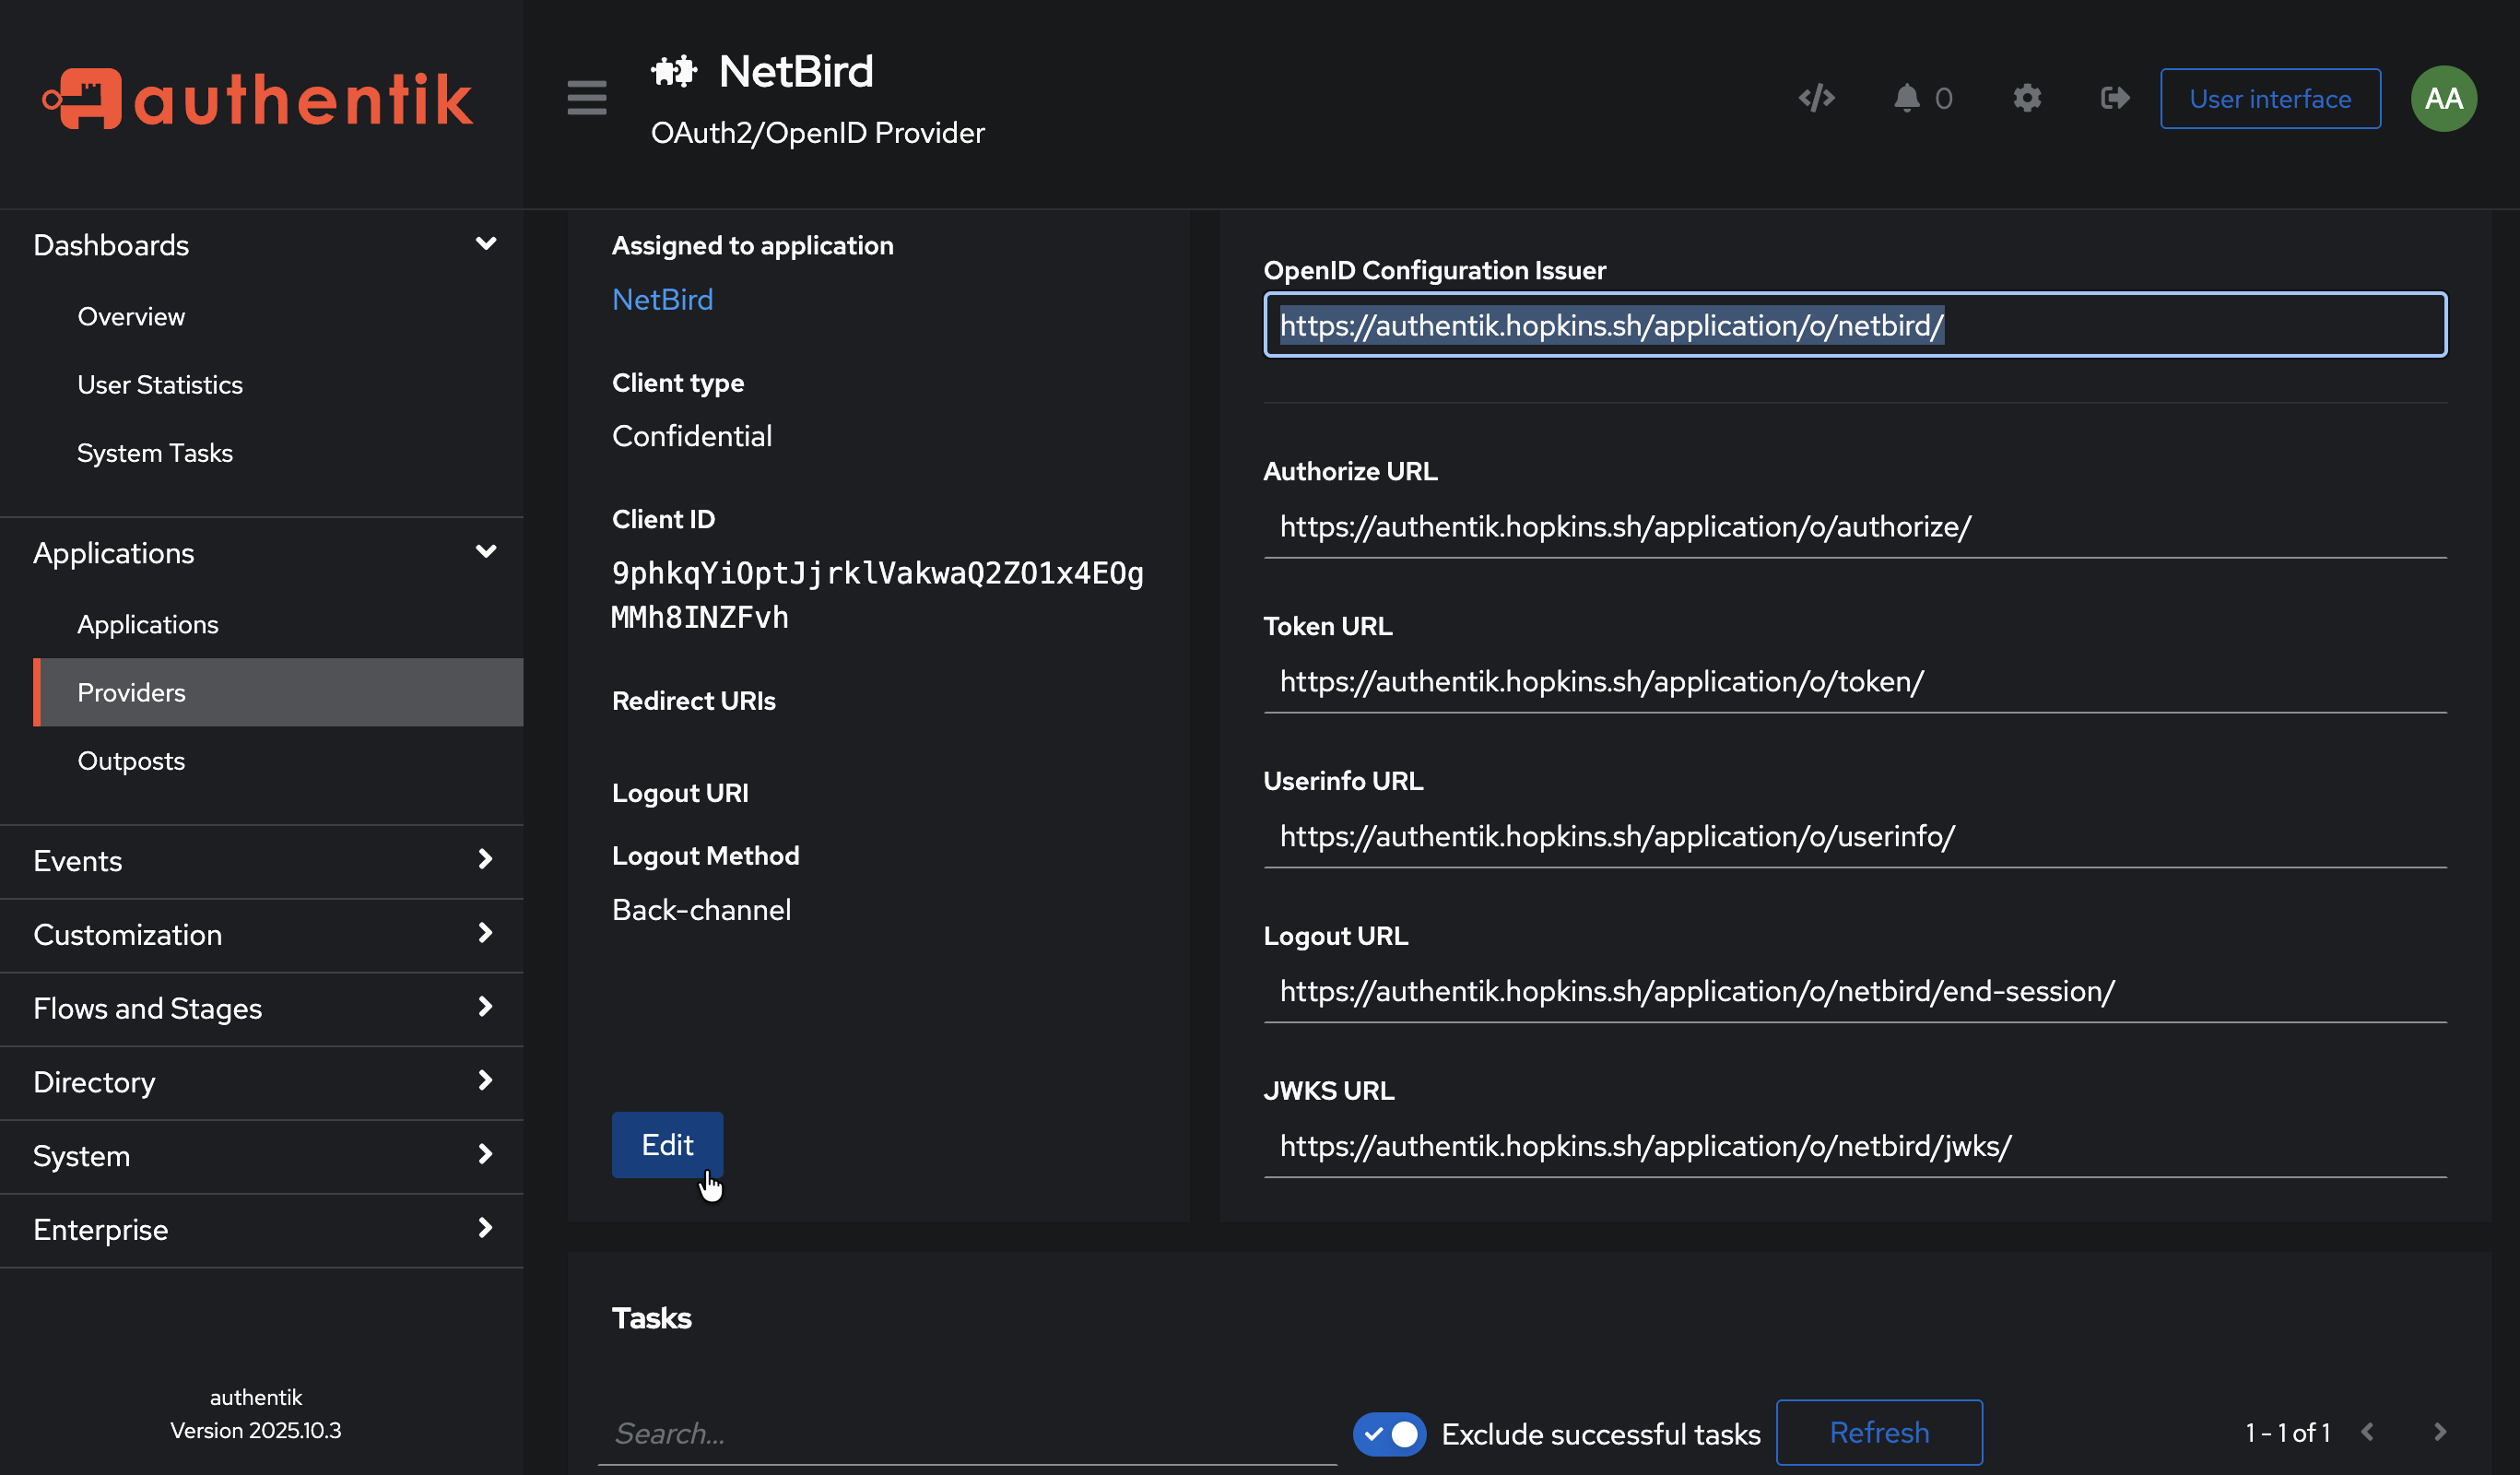
Step 3: Get Redirect URL from NetBird
- Open a new tab or window and log in to your NetBird Dashboard
- Navigate to Settings → Identity Providers
- Click Add Identity Provider
- Fill in the fields:
| Field | Value |
|---|---|
| Type | Generic OIDC |
| Name | Authentik (or your preferred display name) |
| Client ID | From Authentik provider (from Step 1) |
| Client Secret | From Authentik provider (from Step 1) |
| Issuer | https://authentik.example.com/application/o/netbird/ |
- Copy the Redirect URL that NetBird displays (but don't click Add Provider yet)

Step 4: Configure Redirect URI in Authentik
- Return to Authentik admin → Providers → NetBird
- Click Edit
- Under Redirect URIs/Origins, add the redirect URL you copied from NetBird
- (Optional) Add a second Strict entry,
https://netbird.example.com/oauth2/logout/callback(replacenetbird.example.comwith your NetBird dashboard domain), so logout redirects back to NetBird cleanly. Authentik validates post-logout redirects against this same allowlist.
- (Optional) Add a second Strict entry,
- Select Strict (not Regex) to match the exact URL from NetBird
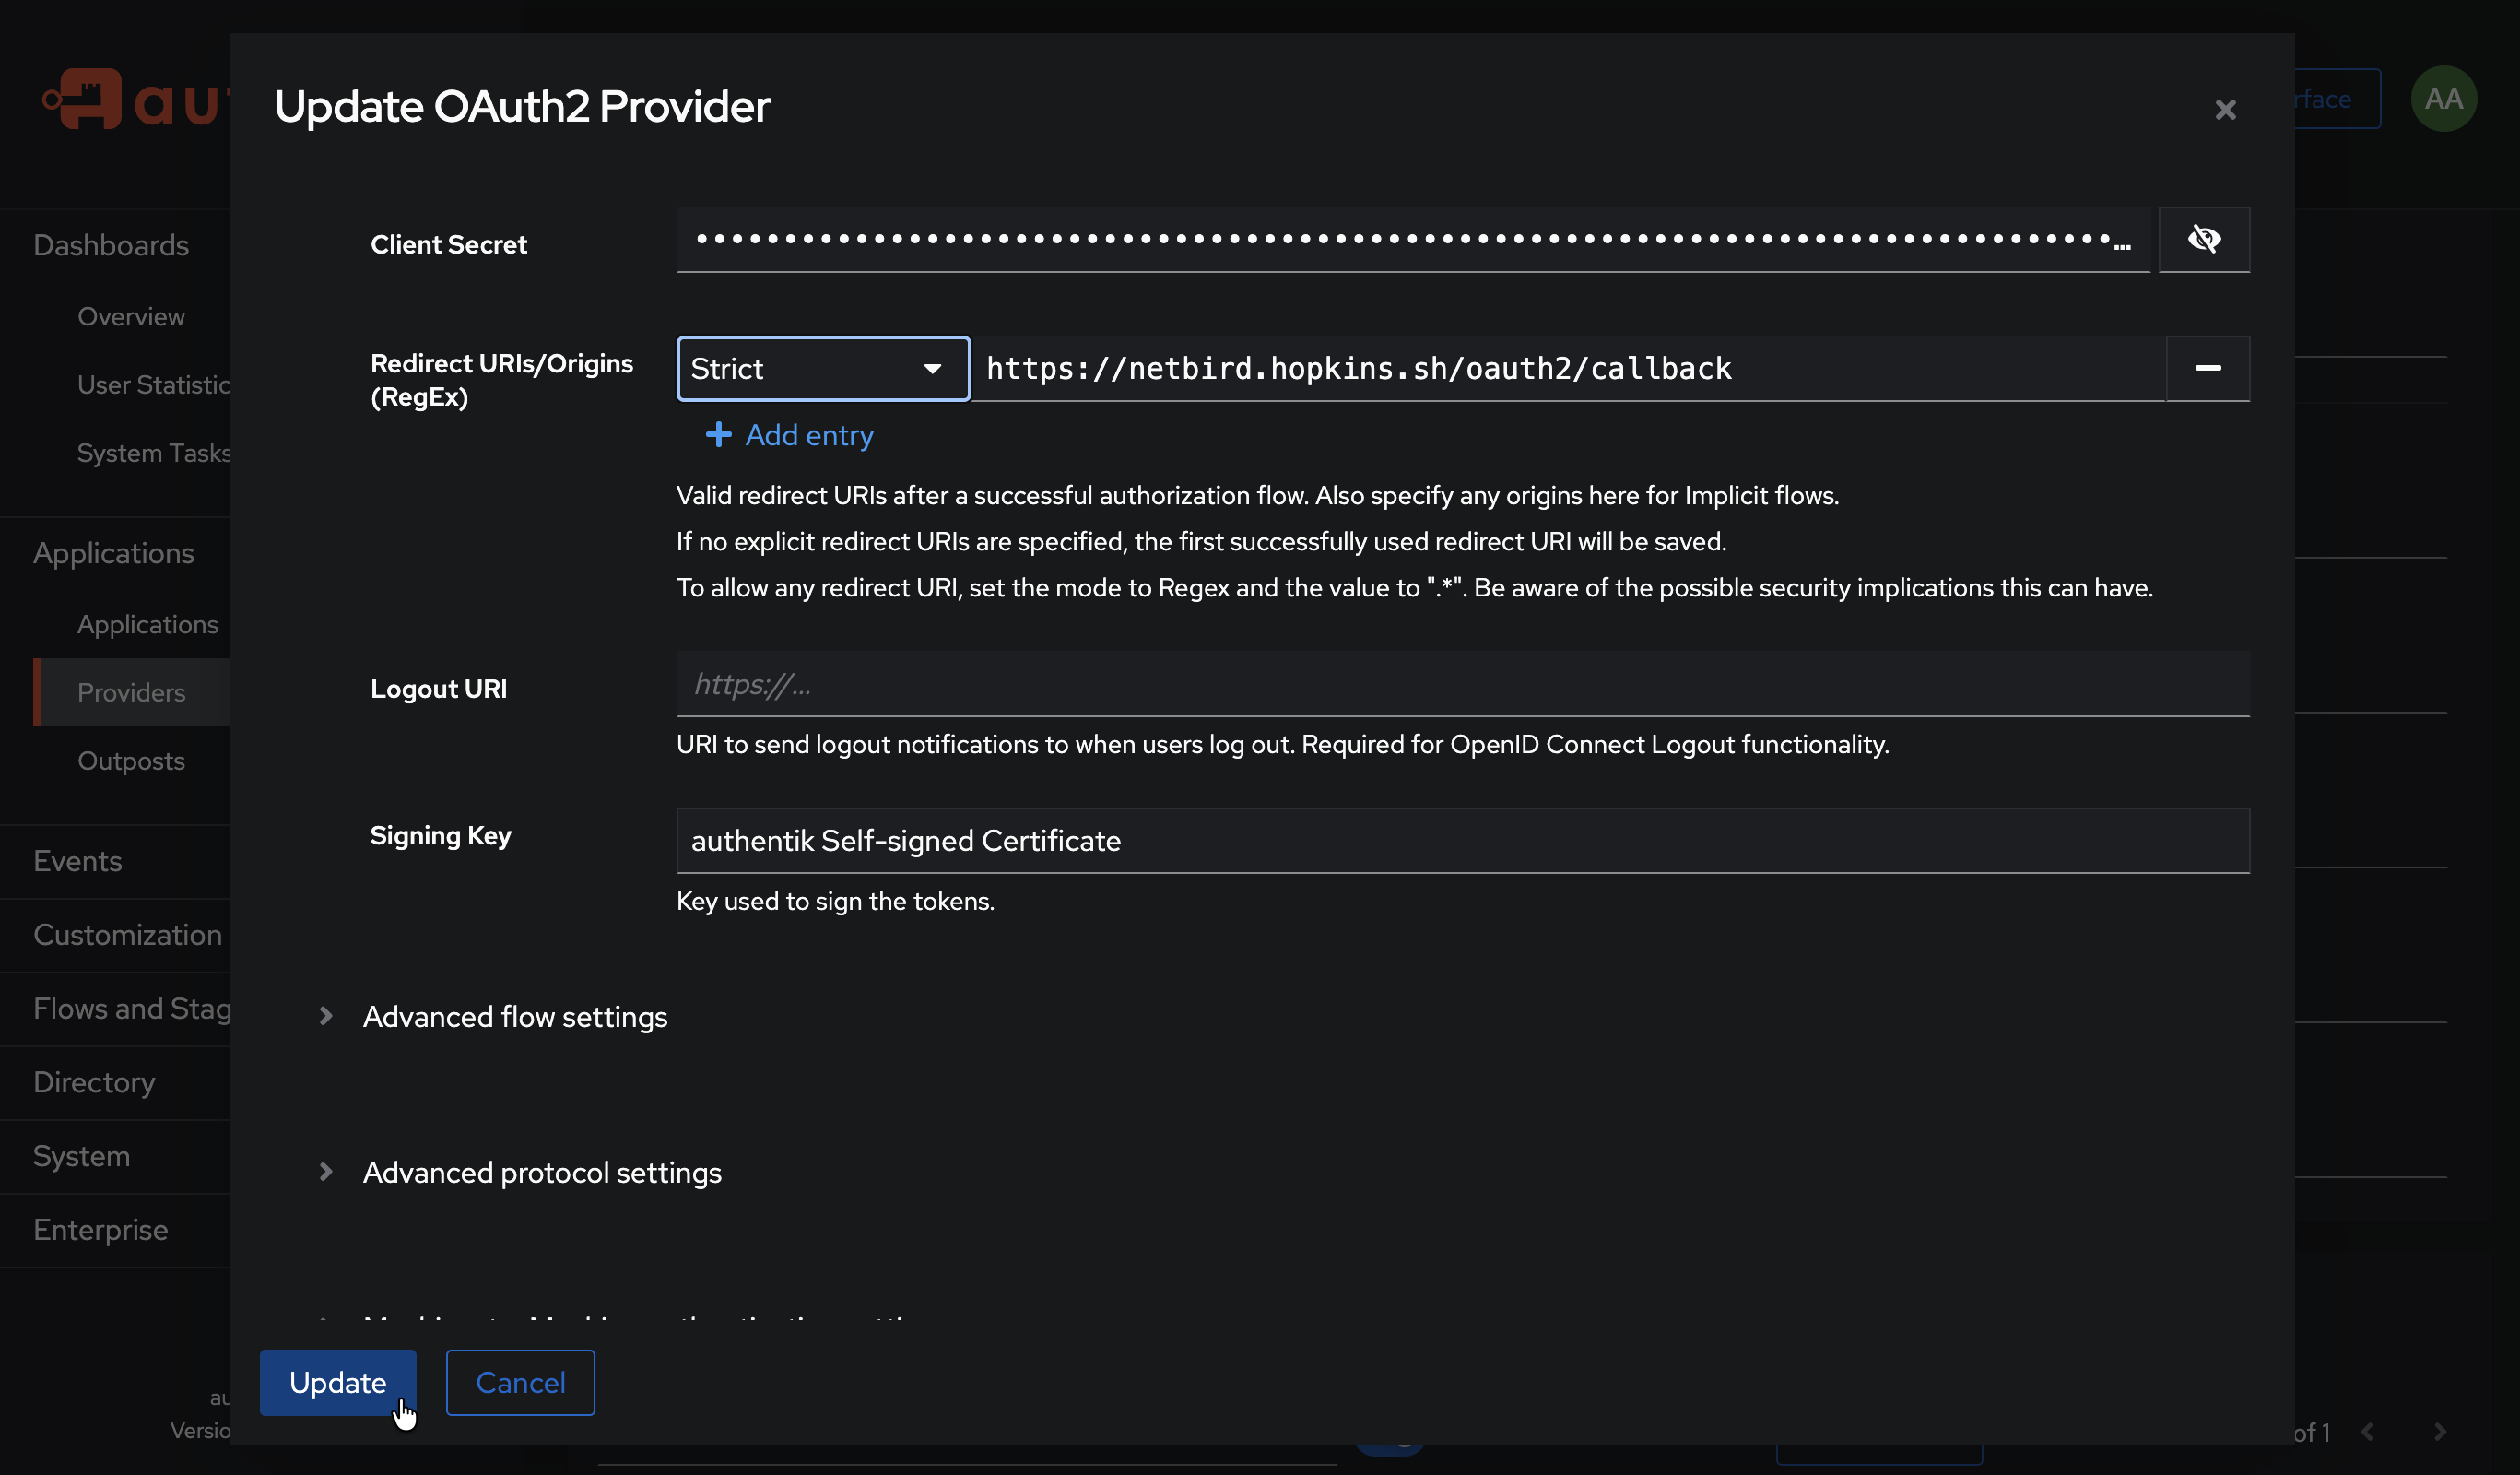
- Click Update
Step 5: Complete NetBird Setup
- Return to the NetBird tab
- Click Add Provider
Step 6: Test the Connection
- Log out of NetBird Dashboard
- On the login page, you should see an "Authentik" button
- Click it and authenticate with your Authentik credentials
- You should be redirected back to NetBird and logged in
Configuring JWT 'groups' Claim
Authentik includes a groups claim in the ID token by default through the profile scope. However, you may need to verify the configuration and ensure groups are included in the token.
Step 1: Verify Scope Mappings
- In Authentik admin, go to Customization → Property Mappings
- Find and click on authentik default OAuth Mapping: OpenID 'profile'
- Verify it includes group information, or create a custom mapping
Step 2: Configure Provider to Include Claims in ID Token
- Go to Applications → Providers
- Edit your NetBird provider
- Under Advanced protocol settings, enable Include claims in id_token
- Ensure the profile and groups scopes are selected
- Click Update
Step 3: Enable JWT Group Sync in NetBird
- In NetBird Dashboard, go to Settings → Groups
- Enable JWT group sync
- Set JWT claim to
groups - Optionally configure JWT allow groups to restrict access
Authentik returns group names (not IDs) in the groups claim. Groups are synced based on the user's group membership in Authentik.
Standalone Setup (Advanced)
Use Authentik as your primary identity provider instead of NetBird's embedded IdP. This option gives you full control over authentication and user management, is recommended for experienced Authentik administrators as it also requires additional setup and ongoing maintenance.
For most deployments, the embedded IdP is the simpler choice — it's built into NetBird, fully integrated, and requires minimal configuration to get started. For this implementation, go back up to the Management Setup (Recommended) section above.
For detailed instructions on the standalone setup, see the Authentik SSO with NetBird Self-Hosted (Advanced) documentation.
If you prefer not to self-host an Identity and Access Management solution, you could use a managed alternative like Auth0.
Troubleshooting
"Invalid redirect URI" error
- Ensure the redirect URI exactly matches what NetBird provides
- Copy the exact URL from the success modal
Authentication fails silently
- Verify a signing key is selected in the provider configuration
- Check that the application is linked to the correct provider