Authentik SSO with NetBird Self-Hosted (Advanced)
Authentik is an open-source identity provider focused on flexibility and security. It serves as a self-hosted alternative to commercial solutions like Okta and Auth0, providing single sign-on (SSO), multi-factor authentication (MFA), access policies, user management, and support for SAML and OIDC protocols.
Standalone Setup (Advanced)
NetBird includes built-in local user management powered by an embedded IdP, allowing you to create and manage users directly without requiring an external identity provider. You can also add multiple external identity providers alongside local users, giving users multiple login options.
We highly recommend using the simpler setup that adds Authentik as an external IdP directly in the NetBird Management Dashboard. This approach requires minimal configuration, works alongside local users, and doesn't require replacing your embedded IdP. See the Management Setup (Recommended) section in the main Authentik documentation.
The standalone setup below replaces your embedded IdP entirely and is only recommended for experienced Authentik administrators who need full control over authentication and user management.
Use Authentik as your primary identity provider instead of NetBird's embedded IdP. This option gives you full control over authentication and user management, is recommended for experienced Authentik administrators as it also requires additional setup and ongoing maintenance.
For most deployments, the embedded IdP is the simpler choice — it's built into NetBird, fully integrated, and requires minimal configuration to get started. For this implementation, go back up to the Management Setup (Recommended) section above.
If you prefer not to self-host an Identity and Access Management solution, you could use a managed alternative like Auth0.
Prerequisites
- Authentik instance running with SSL
- Docker and Docker Compose installed for NetBird
Step 1: Create OAuth2/OpenID Provider in Authentik
- Navigate to Authentik admin interface
- Click Applications on the left menu, then click Providers
- Click Create to create a new provider
- Select OAuth2/OpenID Provider and click Next

- Fill in the form with the following values:
- Name:
NetBird - Authorization Flow:
default-provider-authorization-explicit-consent (Authorize Application) - Client type:
Public - Redirect URIs/Origins (RegEx):
- Regex:
https://<domain>/.* - Strict:
http://localhost:53000
- Regex:
- Advanced protocol settings:
- Access code validity:
minutes=10 - Subject mode:
Based on the User's ID
- Access code validity:
- Signing Key: Select any cert present, e.g.,
authentik Self-signed Certificate
- Name:
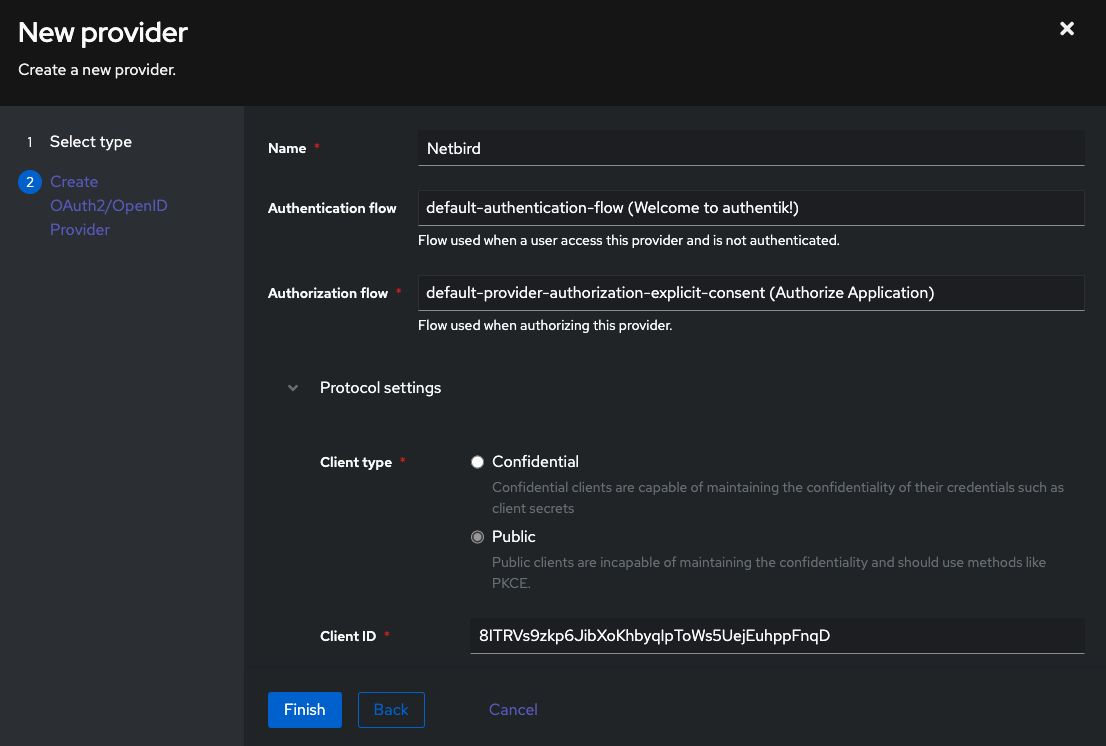
- Click Finish
- Note the Client ID for later use
Step 2: Create Application in Authentik
- Click Applications on the left menu, then click Applications
- Click Create to create a new application
- Fill in the form:
- Name:
NetBird - Slug:
netbird - Provider: Select the
NetBirdprovider you created
- Name:
- Click Create

Step 3: Create Service Account
- Navigate to Authentik admin interface
- Click Directory on the left menu, then click Users
- Click Create Service Account
- Fill in the form:
- Username:
Netbird - Create Group: Disable
- Username:
- Click Create
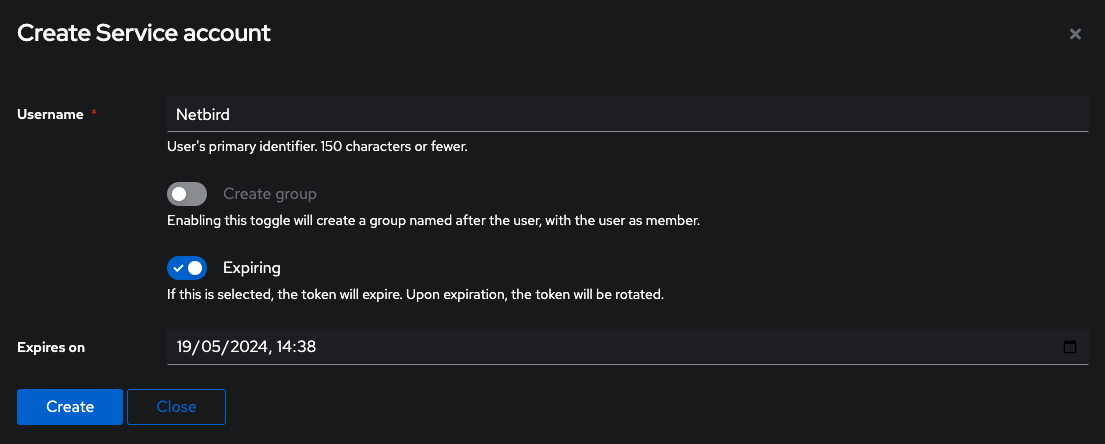
- Note the service account username
- Create an app password: Go to Directory → Tokens and App passwords
- Create a new app password, selecting the NetBird service account as the User
- Save the app password for later use
Step 4: Add Service Account to Admin Group
- Click Directory on the left menu, then click Groups
- Click authentik Admins from the list and select Users tab
- Click Add existing user and click + button
- Select Netbird and click Add
- Disable Hide service-accounts and verify the user is added

Step 5: Create Device Code Flow
- Click Flows and Stages on the left menu, then click Flows → Create
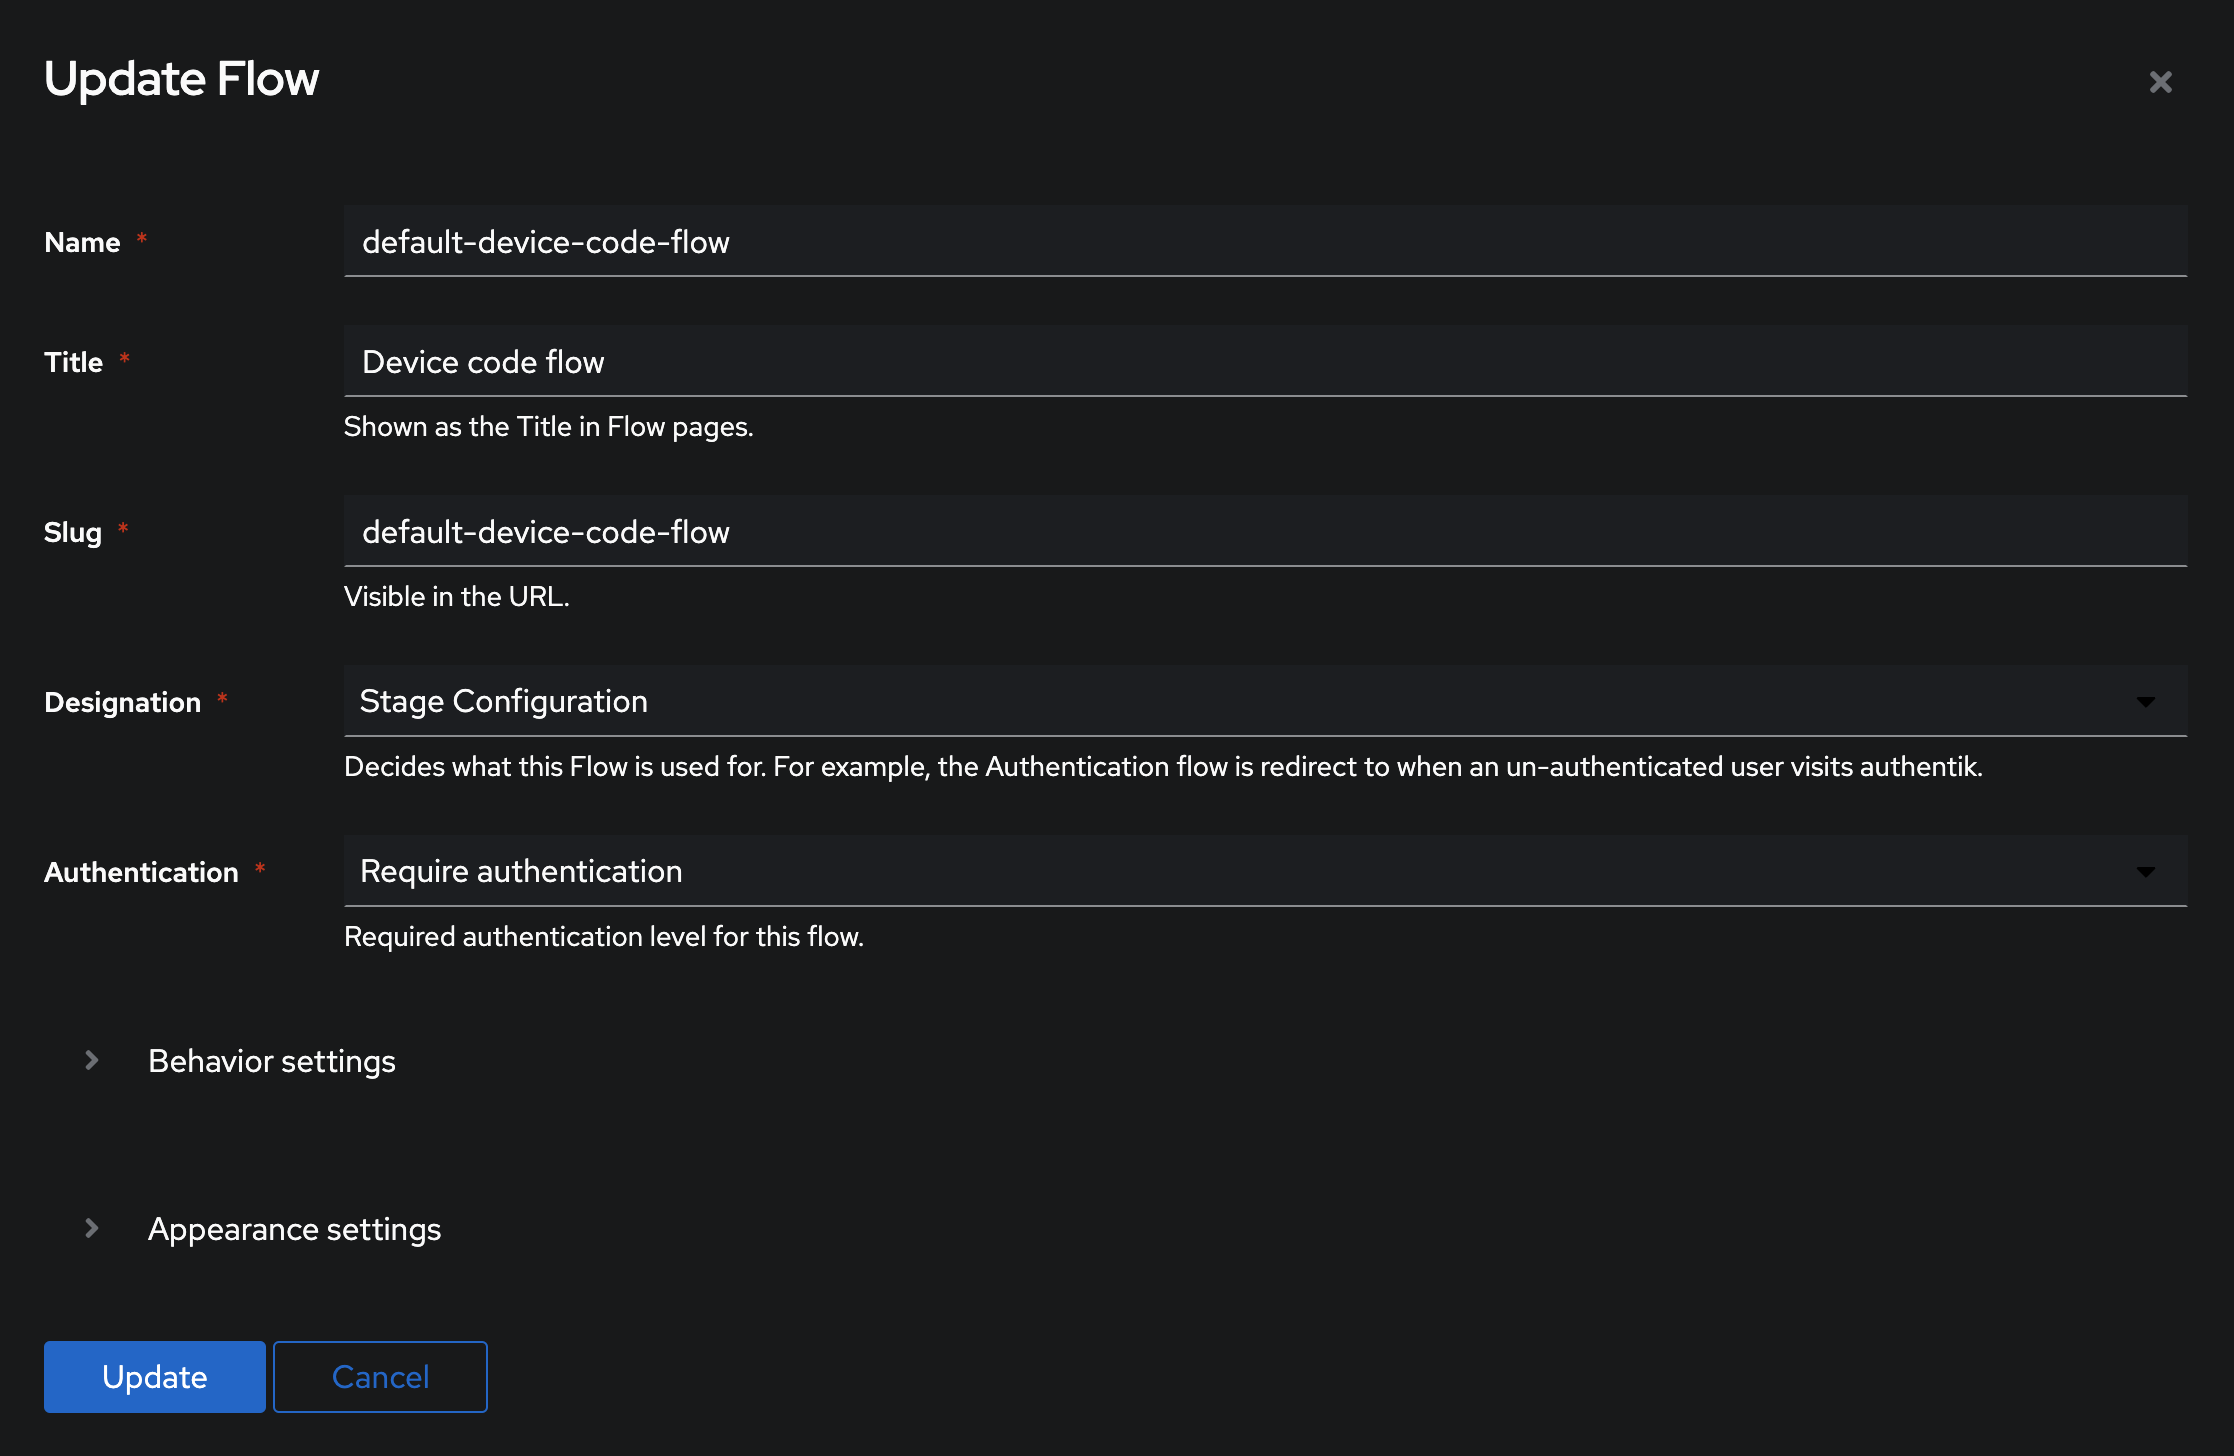
- Fill in the form:
- Name:
default-device-code-flow - Title:
Device Code Flow - Designation:
Stage Configuration - Authentication:
Require authentication
- Name:
- Click Create
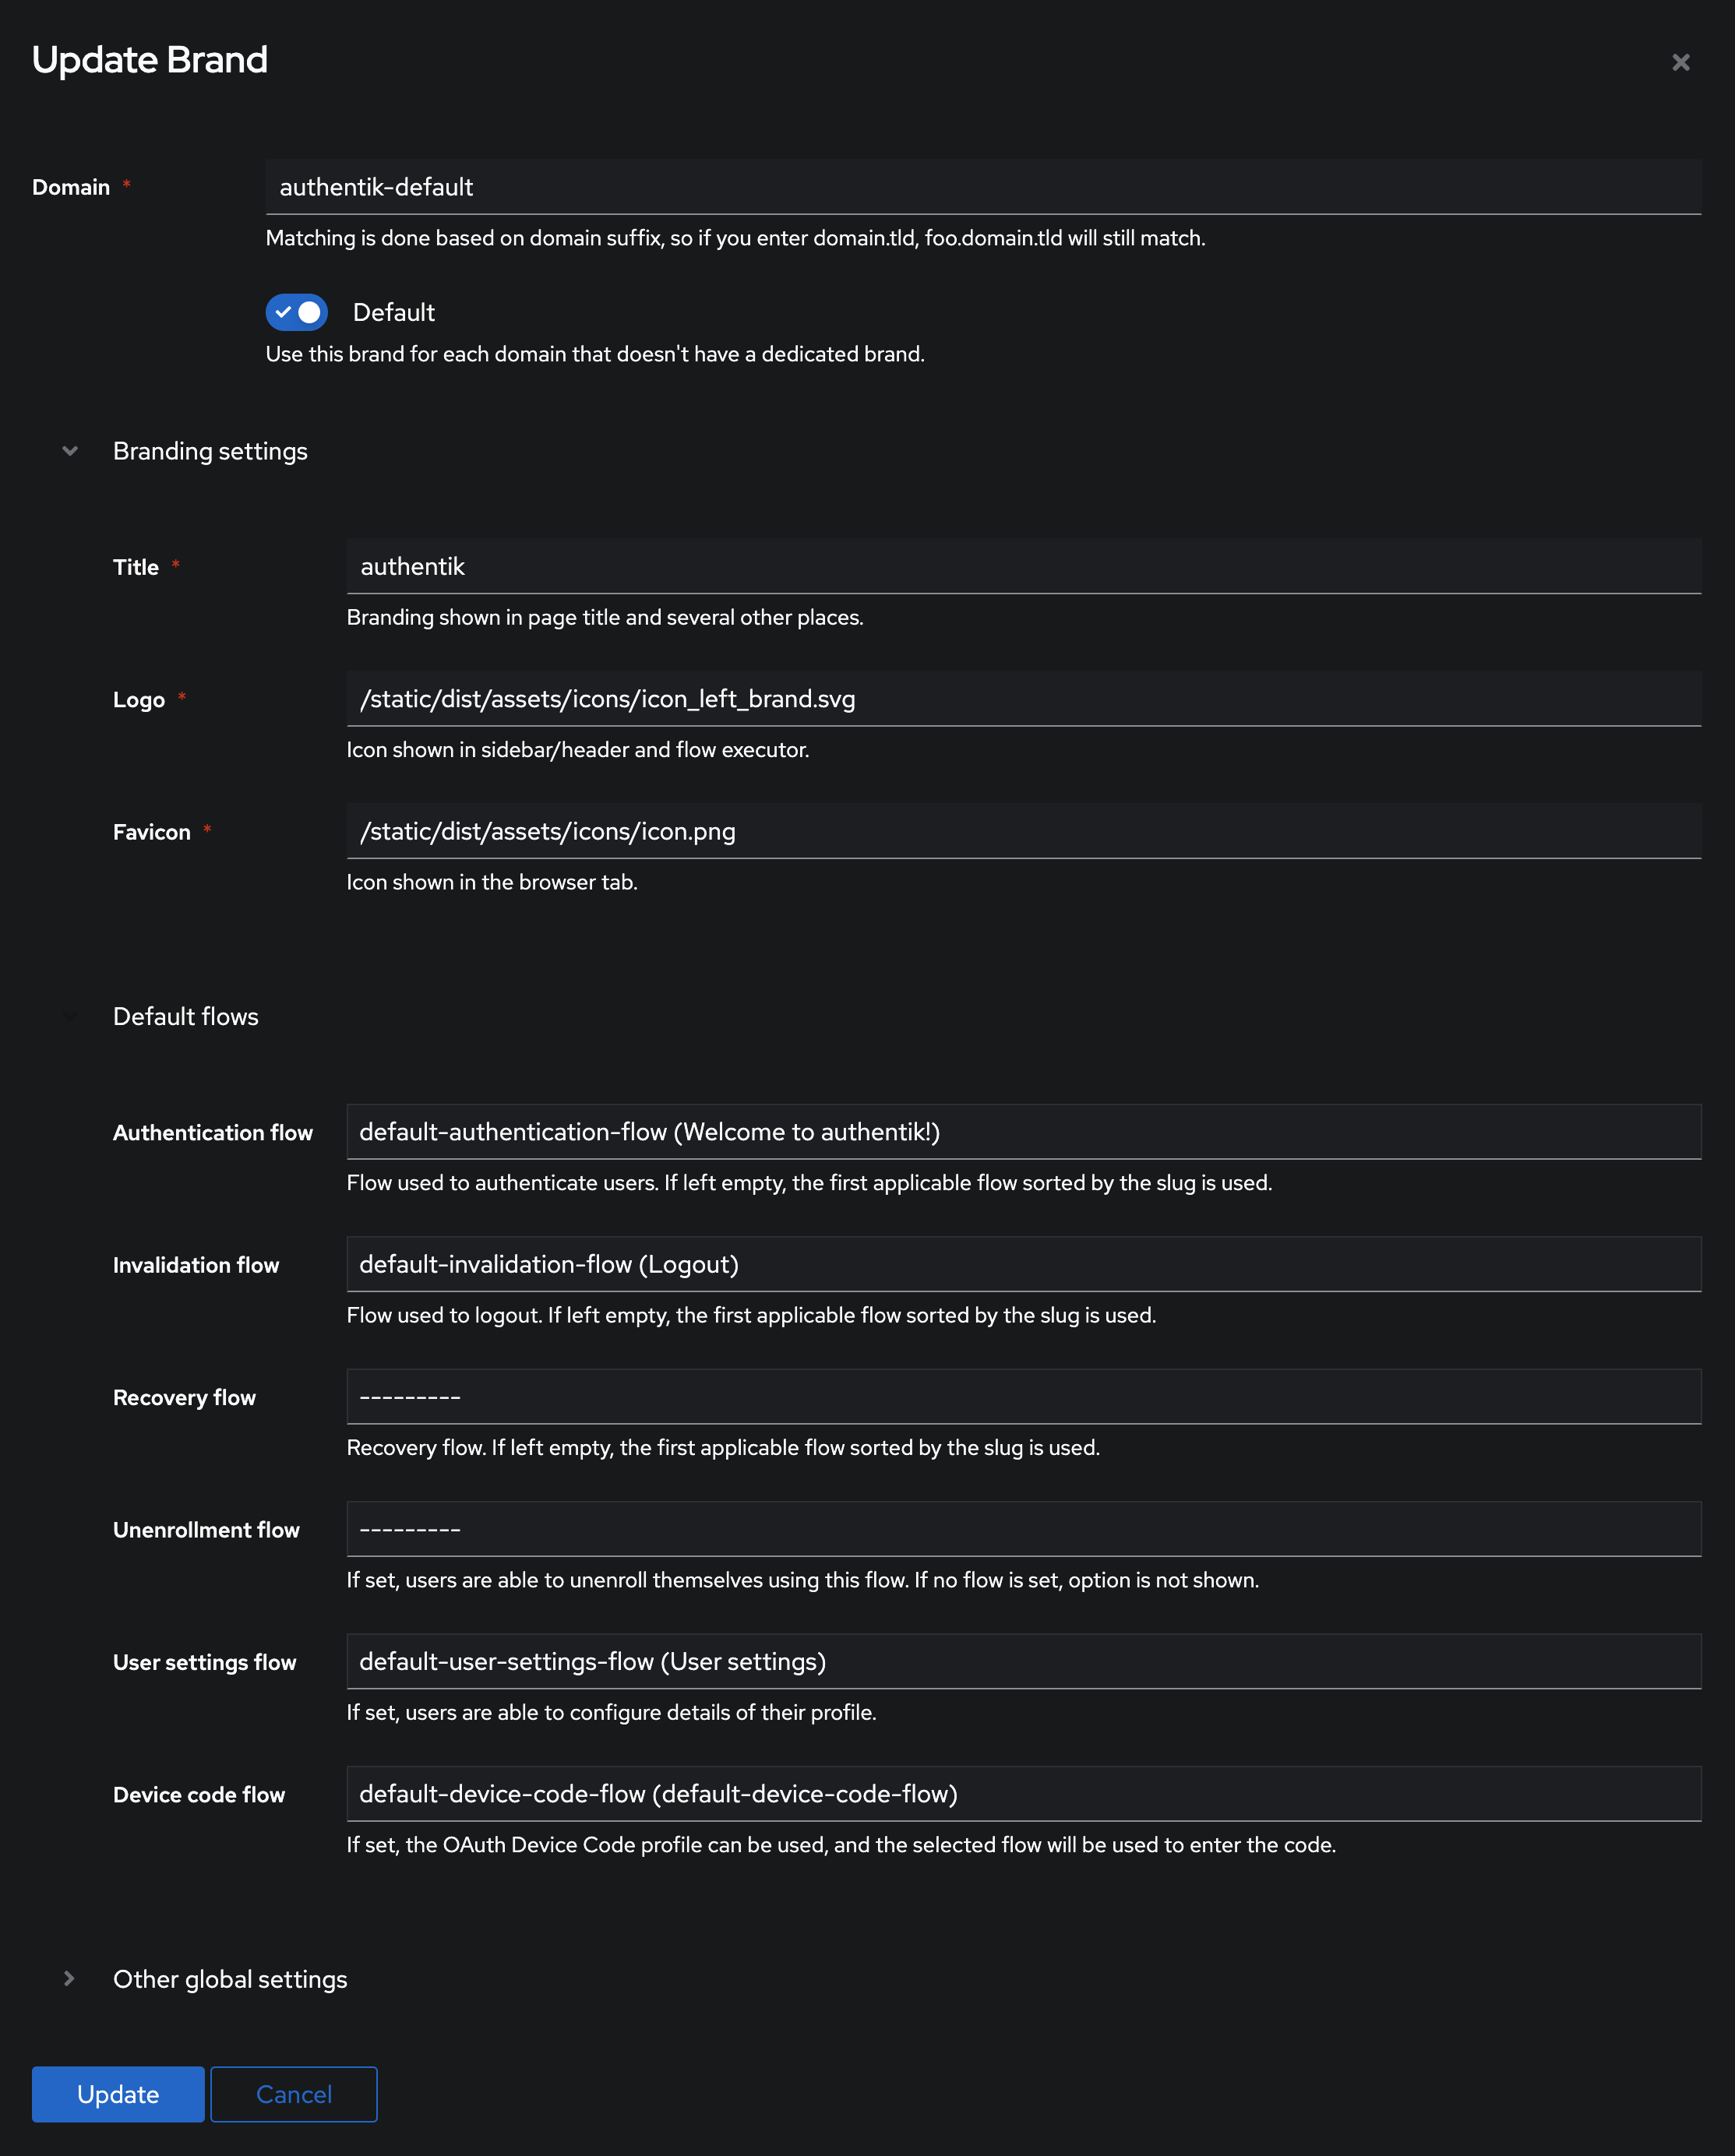
- Click System on the left menu, then click Brands
- Click edit on authentik-default
- Under Default flows, set Device code flow to
default-device-code-flow - Click Update
Step 6: Configure NetBird
Your authority OIDC configuration will be available at:
https://<YOUR_AUTHENTIK_HOST_AND_PORT>/application/o/netbird/.well-known/openid-configuration
Double-check if the endpoint returns a JSON response by calling it from your browser.
Set properties in the setup.env file:
NETBIRD_AUTH_OIDC_CONFIGURATION_ENDPOINT="https://<YOUR_AUTHENTIK_HOST_AND_PORT>/application/o/netbird/.well-known/openid-configuration"
NETBIRD_USE_AUTH0=false
NETBIRD_AUTH_CLIENT_ID="<PROVIDER_CLIENT_ID>"
NETBIRD_AUTH_SUPPORTED_SCOPES="openid profile email offline_access api"
NETBIRD_AUTH_AUDIENCE="<PROVIDER_CLIENT_ID>"
NETBIRD_AUTH_DEVICE_AUTH_CLIENT_ID="<PROVIDER_CLIENT_ID>"
NETBIRD_AUTH_DEVICE_AUTH_AUDIENCE="<PROVIDER_CLIENT_ID>"
NETBIRD_AUTH_REDIRECT_URI="/auth"
NETBIRD_AUTH_SILENT_REDIRECT_URI="/silent-auth"

NETBIRD_MGMT_IDP="authentik"
NETBIRD_IDP_MGMT_CLIENT_ID="<PROVIDER_CLIENT_ID>"
NETBIRD_IDP_MGMT_EXTRA_USERNAME="Netbird"
NETBIRD_IDP_MGMT_EXTRA_PASSWORD="<SERVICE_ACCOUNT_PASSWORD>"

# Needs disabling due to issue with IdP. Learn more: https://github.com/netbirdio/netbird/issues/3654
NETBIRD_AUTH_PKCE_DISABLE_PROMPT_LOGIN=true
Step 7: Continue with NetBird Setup
You've configured all required resources in Authentik. Continue with the NetBird Self-hosting Guide.
Troubleshooting
Service account authentication fails
- Ensure you're using the app password, not the account password
- Verify the service account is in the authentik Admins group