Networks
NetBird creates a secure peer-to-peer mesh network where devices running the NetBird agent connect directly with end-to-end encryption. This enables precise network segmentation and secure remote access without exposing resources to the internet.
However, installing the agent on every machine is not always feasible. Networks solve this by letting you route traffic to entire LANs, office networks, or cloud VPCs without requiring the NetBird agent on each device.

VPN-to-Site Use Case
Networks enables VPN-to-Site access — a device running NetBird (like your laptop) reaches devices on a remote network without installing NetBird on every target.
Your Laptop ──────► NetBird Tunnel ──────► Routing Peer ──────► Target Device
  (peer)                                    (peer)              (no NetBird)
Example scenarios:
- Access your home NAS from a coffee shop
- Reach office servers while traveling
- Connect to IoT devices on a remote network
Networks vs. Network Routes
Networks is the newer, simpler replacement for Network Routes — for VPN-to-Site, prefer Networks. Use Network Routes when you need:
- Two networks communicating with each other (Site-to-Site)
- Routing internet-bound traffic through a designated peer (Exit Nodes)
Concepts
Networks
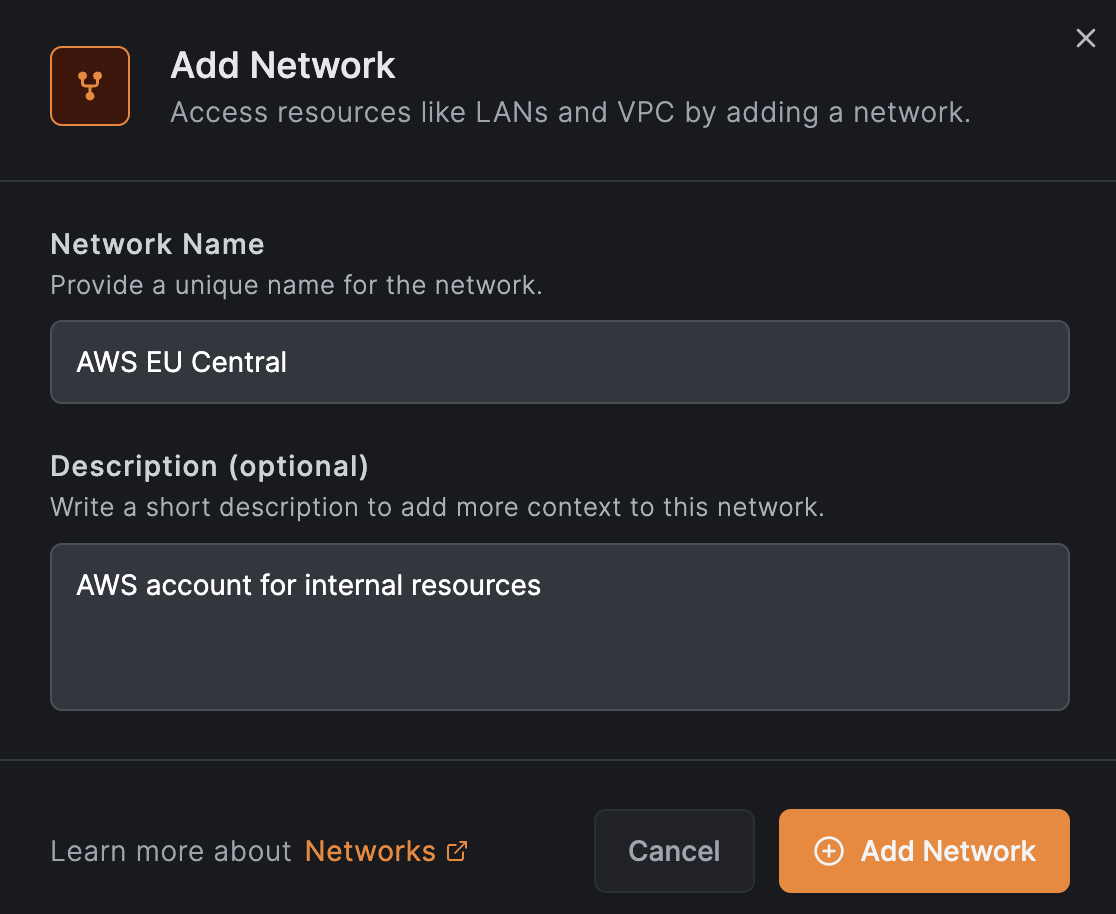
A Network is a configuration container that maps your on-premise or cloud infrastructure into a logical set of resources and routing peers. You can create multiple networks to represent different environments such as office networks, cloud VPCs, or data center LANs.
Routing Peers
Routing peers are machines that bridge your NetBird peers to your internal networks. They forward traffic from NetBird clients to resources that do not have the NetBird agent installed.
You can add multiple routing peers using individual peers or groups to ensure high availability and load balancing. Each routing peer can be configured with masquerading and priority settings.

To get alerted when a routing peer goes offline, enable the Routing Peer Disconnected event in Notifications. You can receive alerts via email, webhook, or Slack.
A network resource policy grants access to the network behind the routing peer, not to the routing peer machine itself. If you need to access services running on the routing peer (for example, Pi-hole, Home Assistant, or a monitoring dashboard), add the routing peer to a group and create a peer-to-peer access control policy with that group as the destination.
For the mental model — how traffic flows, host requirements, high availability, masquerade, and the forward-vs-input-chain rule — see How Routing Peers Work.
Resources
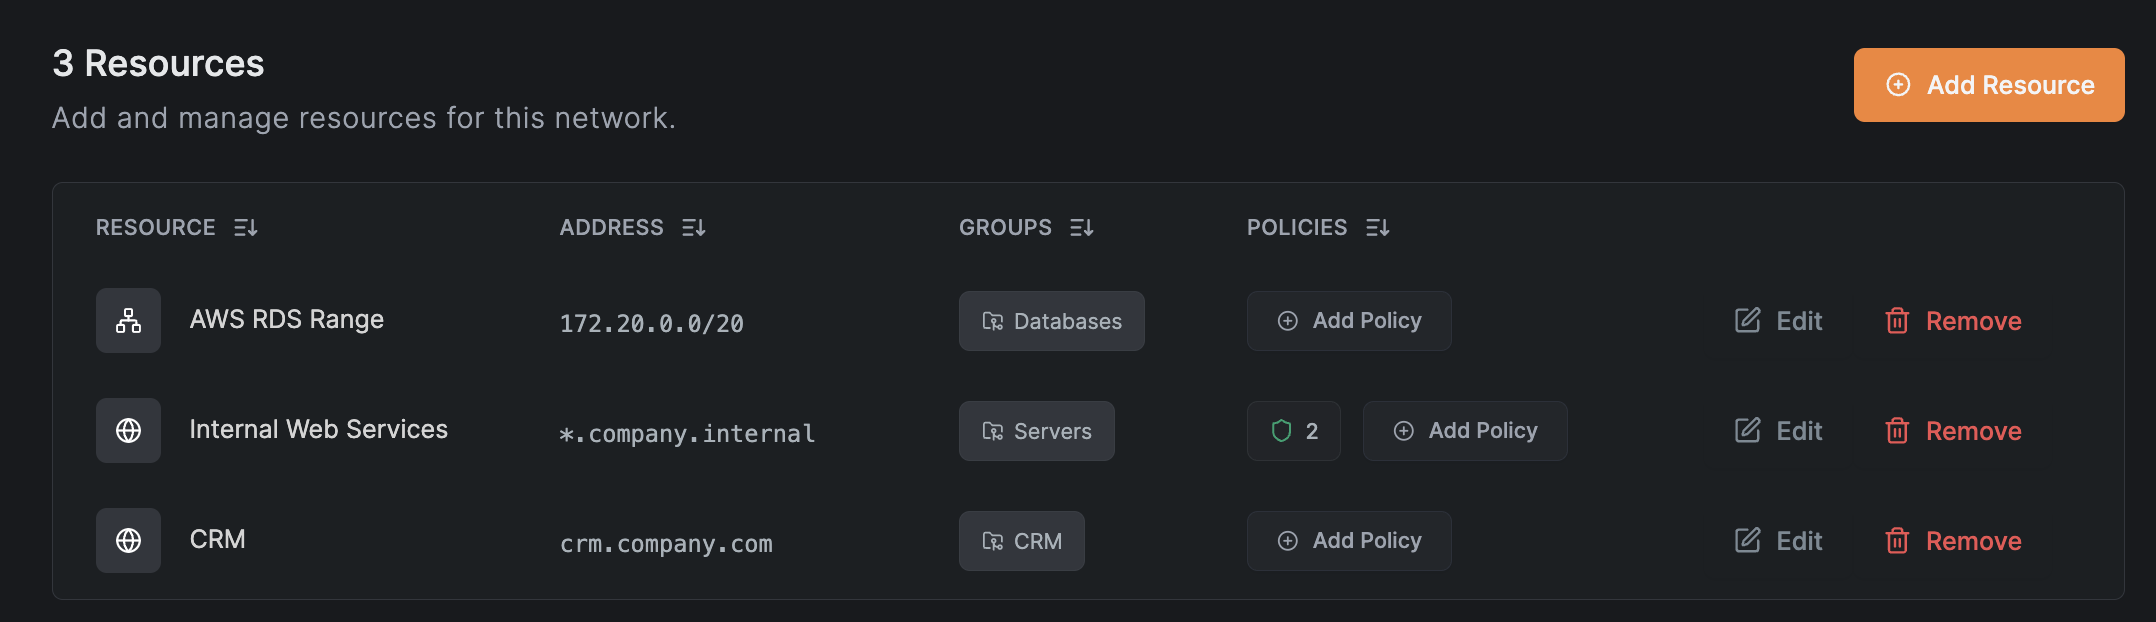
Resources are the machines, services, or subnets you want to access within your internal network. You can define resources as:
- Single IP addresses
- IP ranges
- Domain names (e.g.,
example.com) - Wildcard domains (e.g.,
*.company.internal) when routing peer DNS resolution is enabled
Domain Resources
In addition to IP-based resources, NetBird supports routing domain names. In the Dashboard, you can enter a domain name (e.g., example.com) or wildcard domain (e.g., *.example.com) instead of an IP range. NetBird clients will then resolve and route traffic to that domain.
For troubleshooting, see Debugging access to Domain Resources.
Clients running versions 0.59.0 and 0.59.1 may fail to resolve domain resources served by routing peers running versions 0.59.0 to 0.59.9 when all peers in the organization are on version 0.59.0 or newer.
To fix this, either use client versions <= 0.58.2 or >= 0.59.2, or upgrade the routing peer to version 0.59.10 or later.
How Domain Resolution Works
- When NetBird connects, it configures the operating system to use NetBird for resolving the specified domains. No routing rules are set up yet.
- When an application requests a domain (e.g.,
example.com):- The OS sends the DNS query to NetBird's Local DNS Forwarder, which runs on:
- macOS and Windows: The highest available IP in your NetBird range (typically
100.xxx.255.254:53) - Other systems: Your local NetBird client IP (e.g.,
100.xxx.123.45:53)
- macOS and Windows: The highest available IP in your NetBird range (typically
- The Local DNS Forwarder sends the query to the Remote DNS Resolver on the routing peer using:
- Port
22054for NetBird client versions0.59.0and newer - Port
5353for NetBird client versions0.58.xand older
- Port
- The routing peer resolves the domain using its local DNS configuration and returns the result.
- The Local DNS Forwarder creates routing rules for the returned IP addresses before sending them to the applicatioxn. See Trigger the Domain Resource to observe this behavior.
- The OS sends the DNS query to NetBird's Local DNS Forwarder, which runs on:
- The application receives the response normally, with a slight delay on the first request.
- Subsequent requests are served instantly from the Local DNS Forwarder's cache.
NetBird attempts to automatically open DNS forwarder ports on routing peer firewalls, but this may fail on some systems. If you experience issues, manually open the required ports.
To verify firewall access, run this command from the client device:
nslookup -port=22054 <routed-domain> <routing-peer-ip> (e.g., nslookup -port=22054 example.com 100.123.45.67).
Firewall blocking DNS requests is the most common cause of domain resource issues.
When a routing peer cannot resolve a domain resource (e.g., an internal domain like fileserver.corp.local), you may need to configure a Nameserver for your internal DNS and add the routing peer's group as a distribution group. See Internal DNS Servers for details.
Manage Access to Resources
To control access to resources, you can assign them to resource groups and create access control policies directly from the Add Resource modal. A peer can only see a resource when a policy grants access from one of the peer's groups (source) to one of the resource's groups (destination).
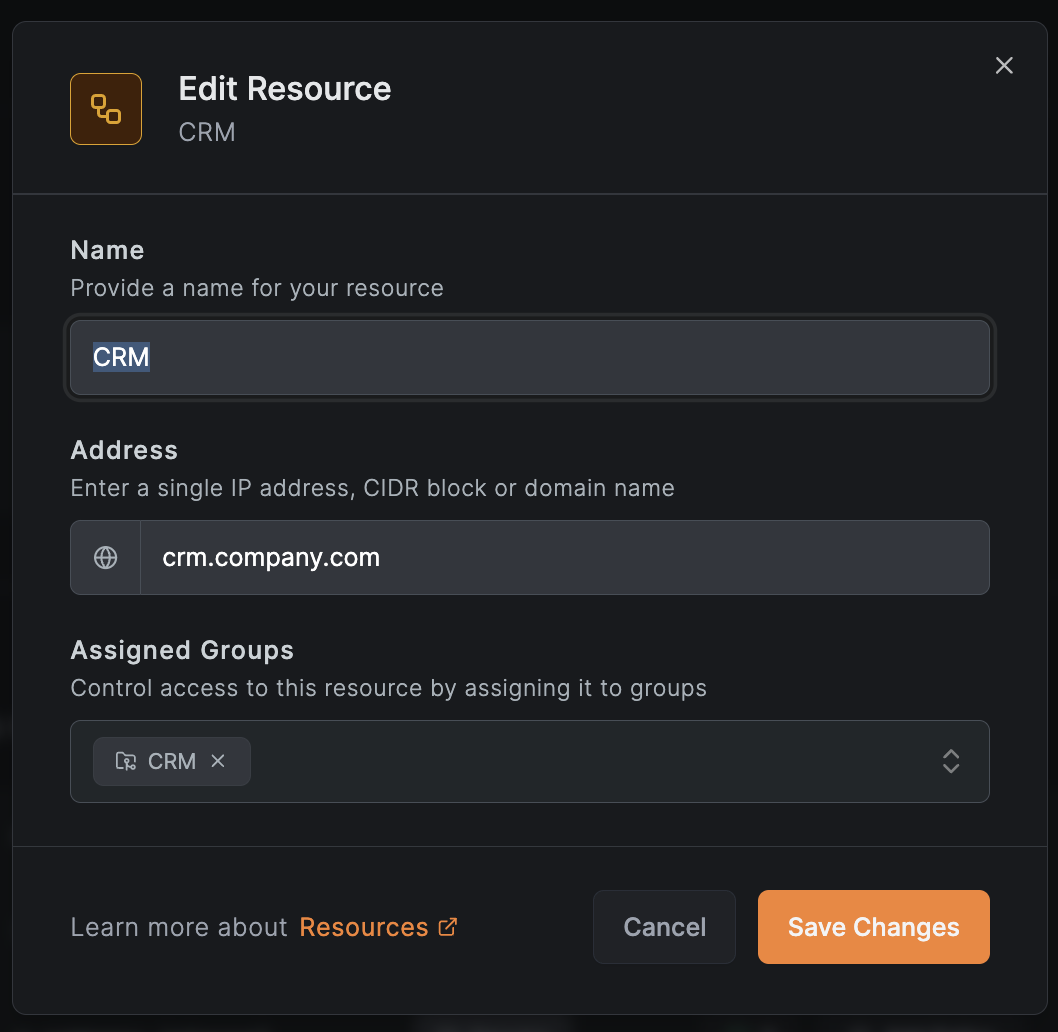
When adding or editing a resource, the modal has two tabs:
- Resource: Configure the resource name and address. Expand Additional Options to set a description and assign the resource to Resource Groups (e.g.,
Databases,Web Servers) for use in access policies. - Access Control: View, create, or manage access control policies for this resource before saving.
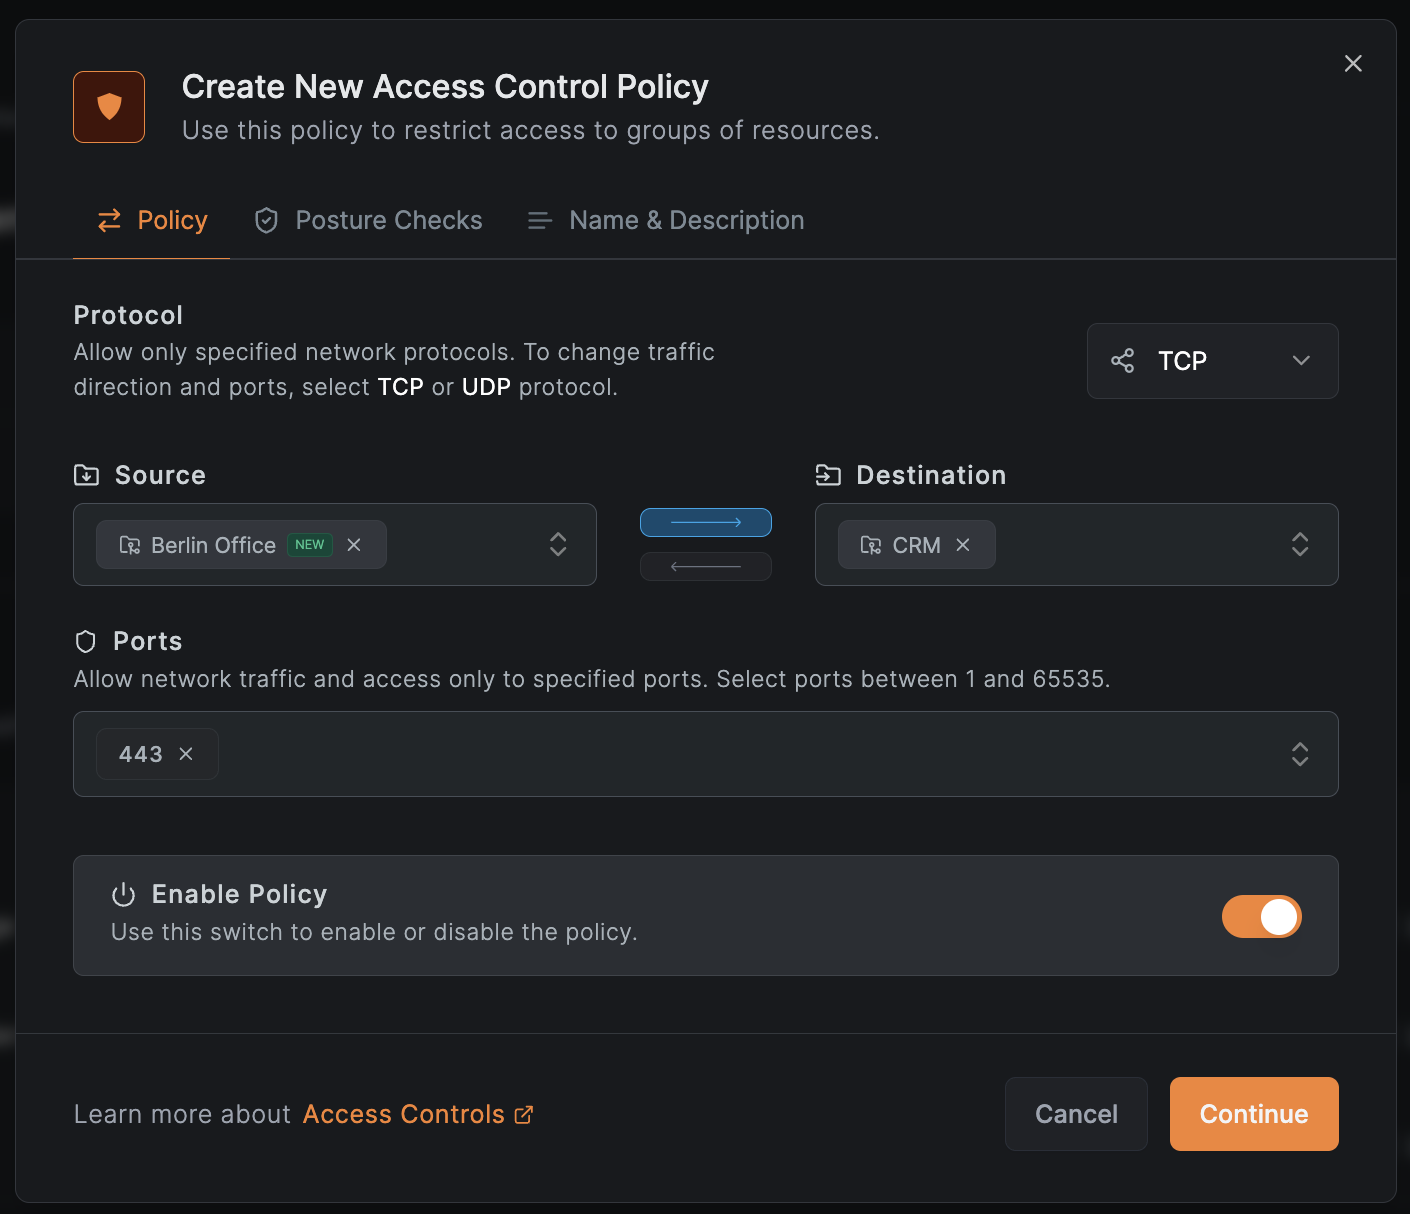
Access control policies define which peers can access which resources based on source groups, destination groups, and allowed traffic types (TCP, UDP, ICMP). When creating a policy:
- Place the resource's group in the destination field
- Place the peer's group in the source field
- Peers in the source groups will receive the resource routes and corresponding firewall rules
Unlike peers, resources are not automatically members of the built-in All group. To use All group rules with resources, you must explicitly add them to this group.
If you skip adding policies in the Access Control tab, a confirmation dialog will warn you that the resource will not be accessible by any peers without an access control policy.
Example policy allowing the Berlin Office group to access the internal CRM system:
Share one policy across multiple resources
To apply the same policy to several resources, assign them to the same resource group and create one policy with that group as the destination. For example, two internal DNS servers at 172.16.30.2 and 172.17.100.2 can share a single UDP/53 policy by placing both in an office-dns-servers group. Skip the Access Control tab when adding each resource, then create the shared policy once from any of them.
Policies for domain or wildcard domain resources may unintentionally affect peers with IP range resources, since IP ranges can match any address. We recommend using dedicated networks and routing peers for domain-based resources to prevent unwanted access. A fix for this behavior is planned for an upcoming release.
Manage Access to Routing Peer
A network resource policy grants access to the network behind the routing peer — traffic that is forwarded through the peer to reach backend resources. However, firewall rules for routed traffic are processed in the forward chain, not the input chain. This follows the same pattern as Linux Netfilter (iptables/nftables), where packets destined for the host itself traverse the input chain, while packets being routed to another destination traverse the forward chain. This means that a network resource policy alone does not grant access to services running directly on the routing peer itself.
If you need to reach services hosted on the routing peer machine (for example, Pi-hole, Home Assistant, a monitoring dashboard, or any locally bound service), you must create a separate access control policy with:
- Source: the group containing the peers and users that need access
- Destination: a group that includes the routing peer
This additional policy ensures that the routing peer's input chain allows inbound connections from your NetBird peers. Without it, traffic destined for the routing peer's own IP will be dropped even if there is a valid network resource policy for the subnet behind it.
This is a common pitfall when the routing peer also runs local services. Remember: network resource policies control forwarded traffic (forward chain), while peer-to-peer access control policies control traffic to the peer itself (input chain). You need both if you want to access the routing peer and the resources behind it.
Enable Routing Peer DNS Resolution
Routing peer DNS resolution moves DNS resolution for routed domains from the client to the routing peer. Wildcard domain resources require it; for regular domain resources, enable it when you want to:
- Resolve domain names using the routing peer's DNS infrastructure
- Route traffic through a geographically nearby routing peer
- Enable more restrictive access control rules (support coming in future releases)
To enable it, go to Settings > Networks > Enable Routing peer DNS resolution:
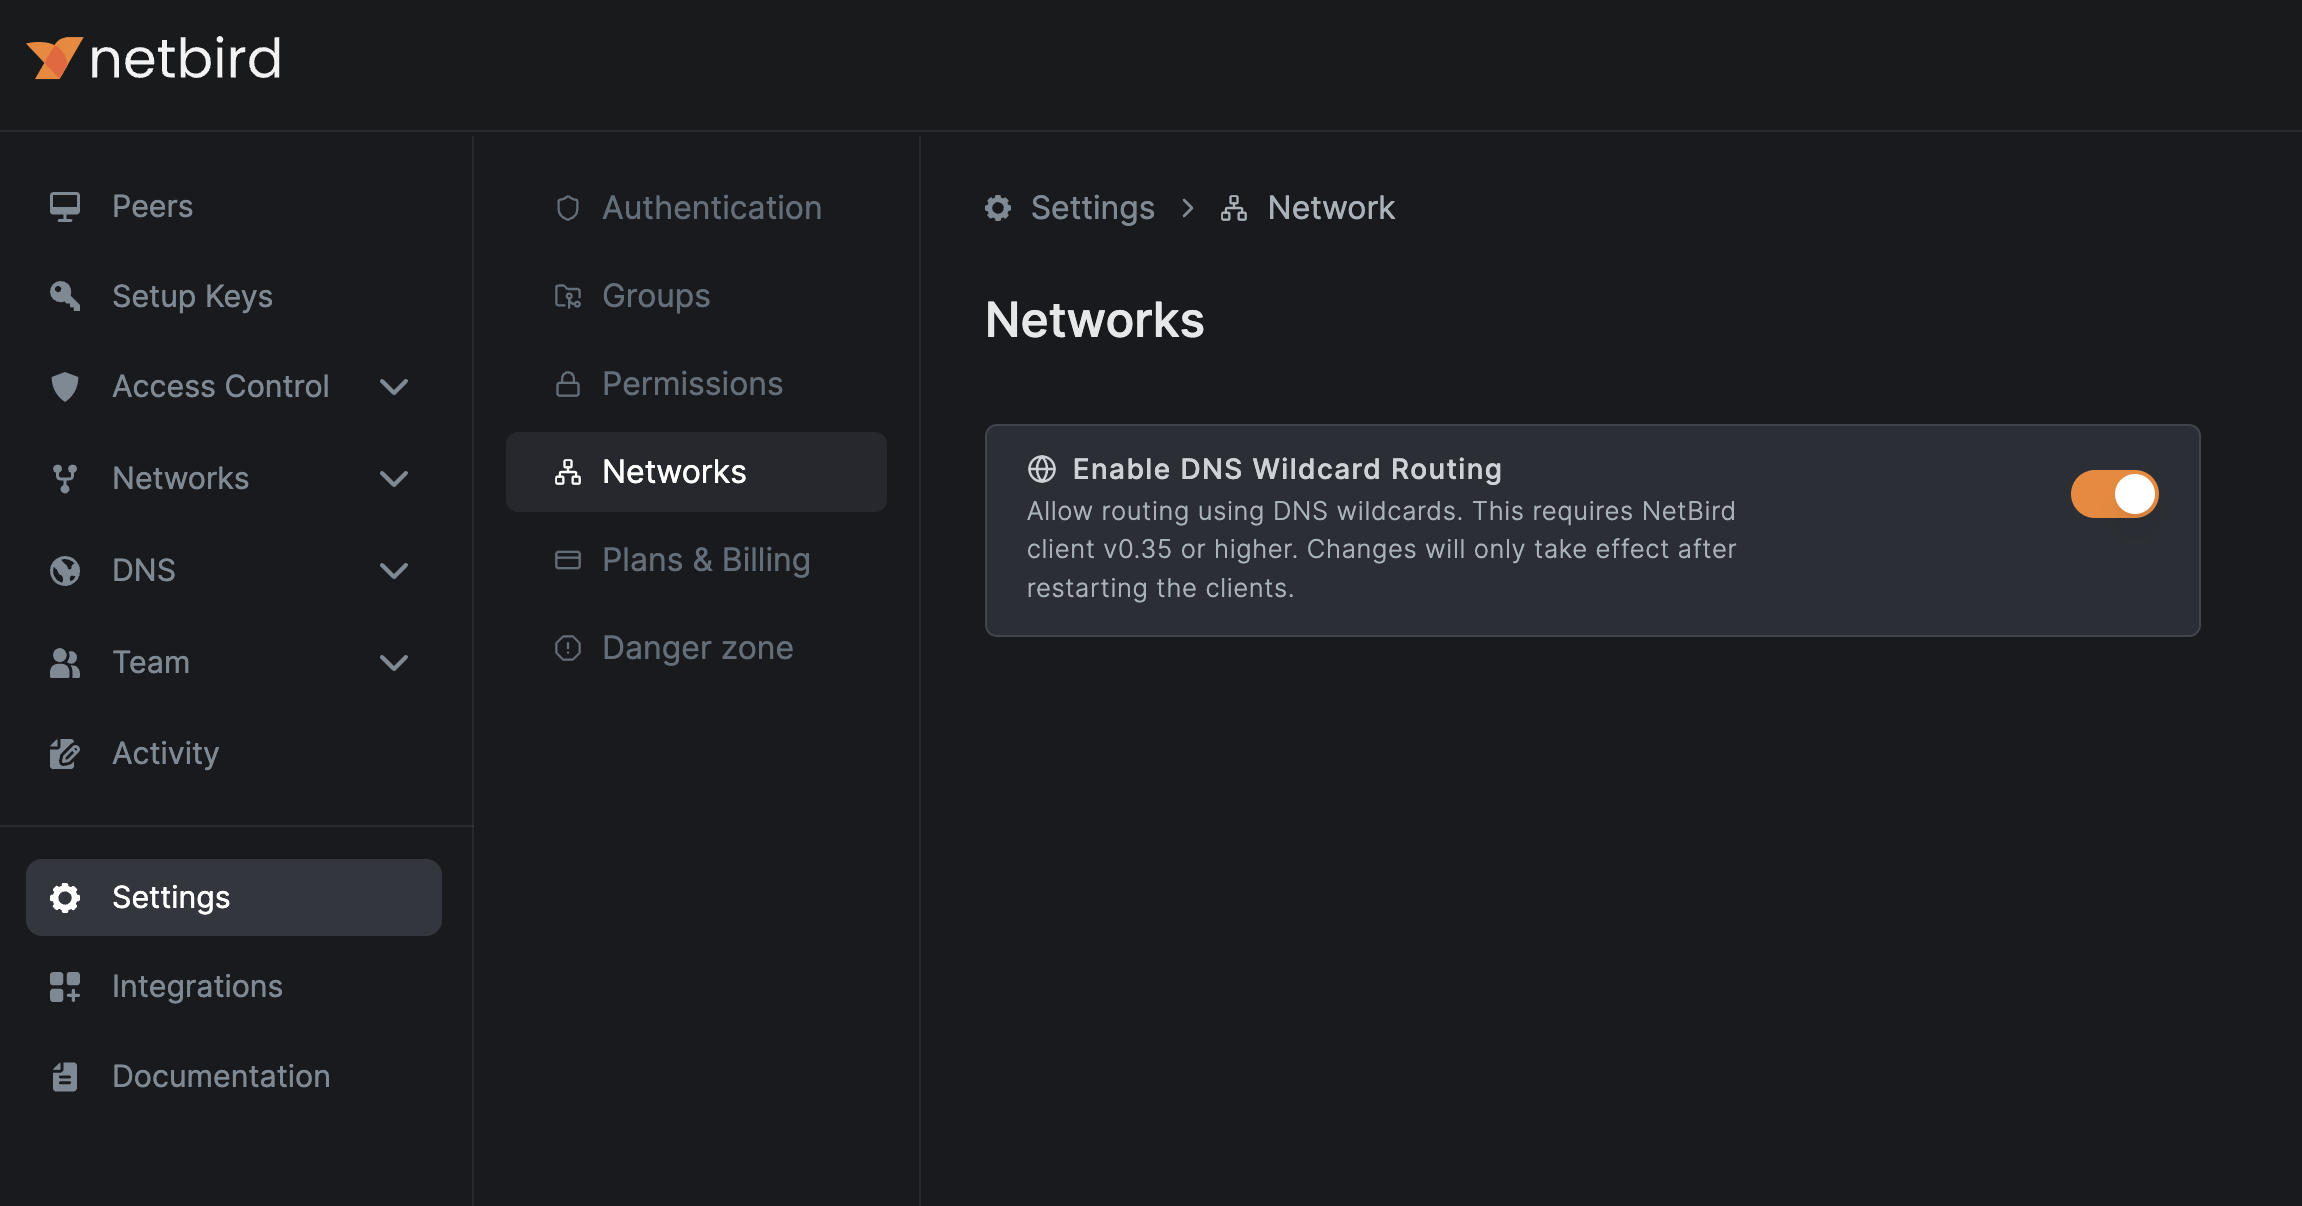
Routing peer DNS resolution requires routing peers and clients running version 0.35.0 or later. After enabling this feature, restart your routing peers and clients to apply the changes.
Starting with NetBird v0.59.0, the local DNS forwarder port changed from 5353 to 22054 to avoid port collisions. For backward compatibility, the new port is only used when all peers in the account run v0.59.0 or newer. If any peer is on an older version, port 5353 is used for all peers.
A wildcard resource like *.dev.example.com matches subdomains only, not the base domain. To allow access to dev.example.com as well, add it as a separate resource — assigning it to the same resource group reuses the existing routing peers and policies.
Get Started
- Make sure to star us on GitHub
- Follow us on X
- Join our Slack Channel
- NetBird latest release on GitHub