Accessing restricted domain resources
This guide shows how to access restricted websites or services using NetBird Networks with domain resources. Domain resources are useful when the target service is behind a load balancer with frequently changing IP addresses.
Example scenario
A company hosts an accounting application at accounting.example.com on AWS infrastructure in the EU Central region. The application runs on an EC2 instance behind a load balancer.
The company wants to implement zero-trust access with role-based permissions:
- Finance team: HTTP/HTTPS access to
accounting.example.com(ports 80 and 443) - Support team: SSH access to the backend at
example.com(port 22)
Prerequisites
Before starting, ensure you have:
- NetBird clients installed on finance and support team devices
- Routing peers configured in the AWS VPC using setup keys
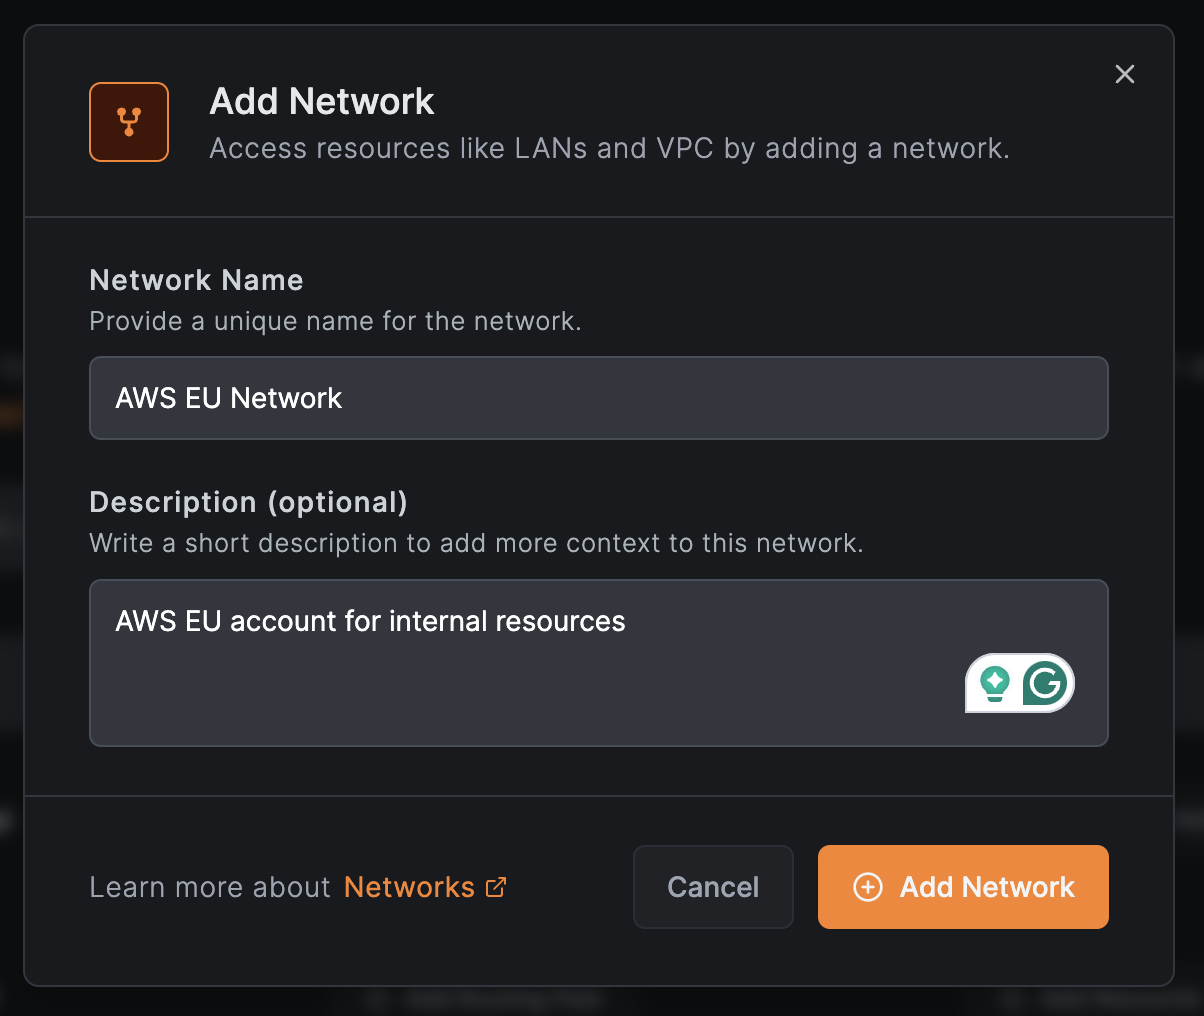
Create a network
- Navigate to
Networks>Networksin the NetBird dashboard - Click
Add Network - Enter a name (e.g.,
AWS EU Network) and optional description - Click
Add Network
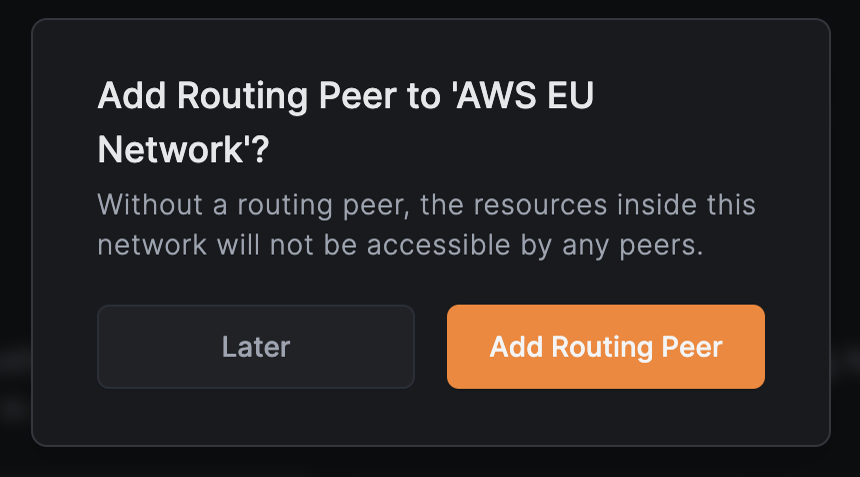
Add routing peers
Click Add Routing Peer to enable access to the network's resources.
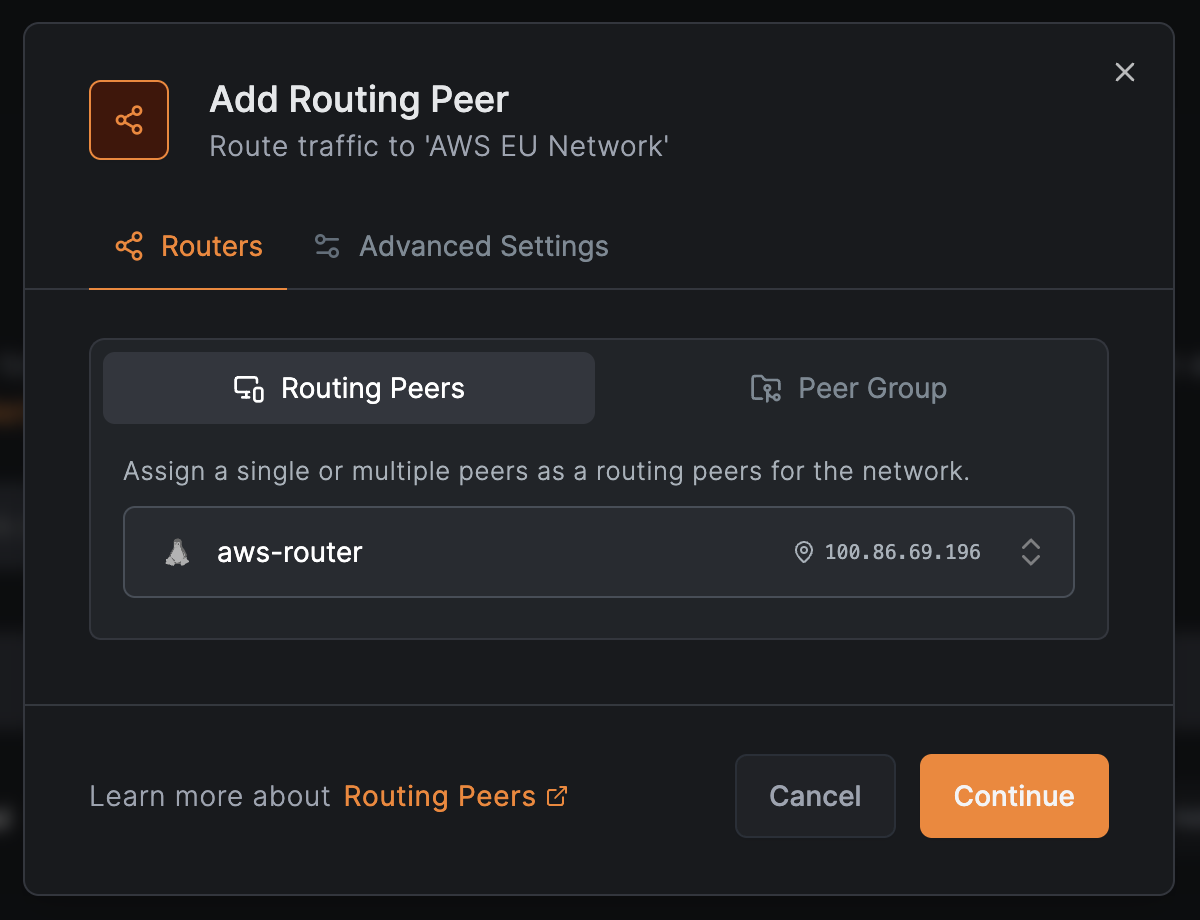
In the next window:
- Select
Routing Peersto add a single peer (e.g.,aws-router) - Or select
Peer Groupto add multiple peers for high availability - Click
Continue
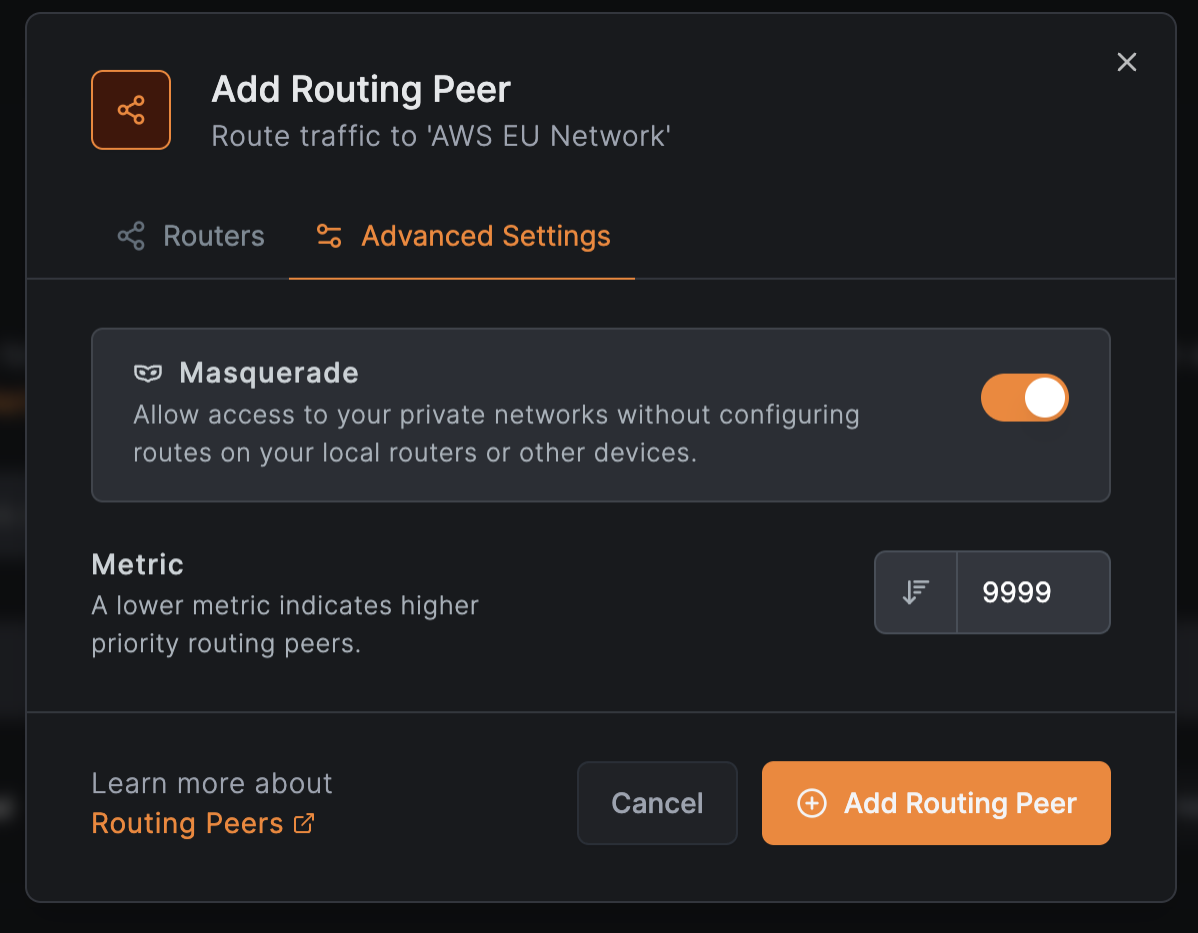
In Advanced Settings:
- Enable
Masqueradeto access private networks without configuring local routers - Set
Metricto prioritize routers (lower values = higher priority) - Click
Add Routing Peer
Add the accounting subdomain resource
Click Add Resource to open the resource modal.
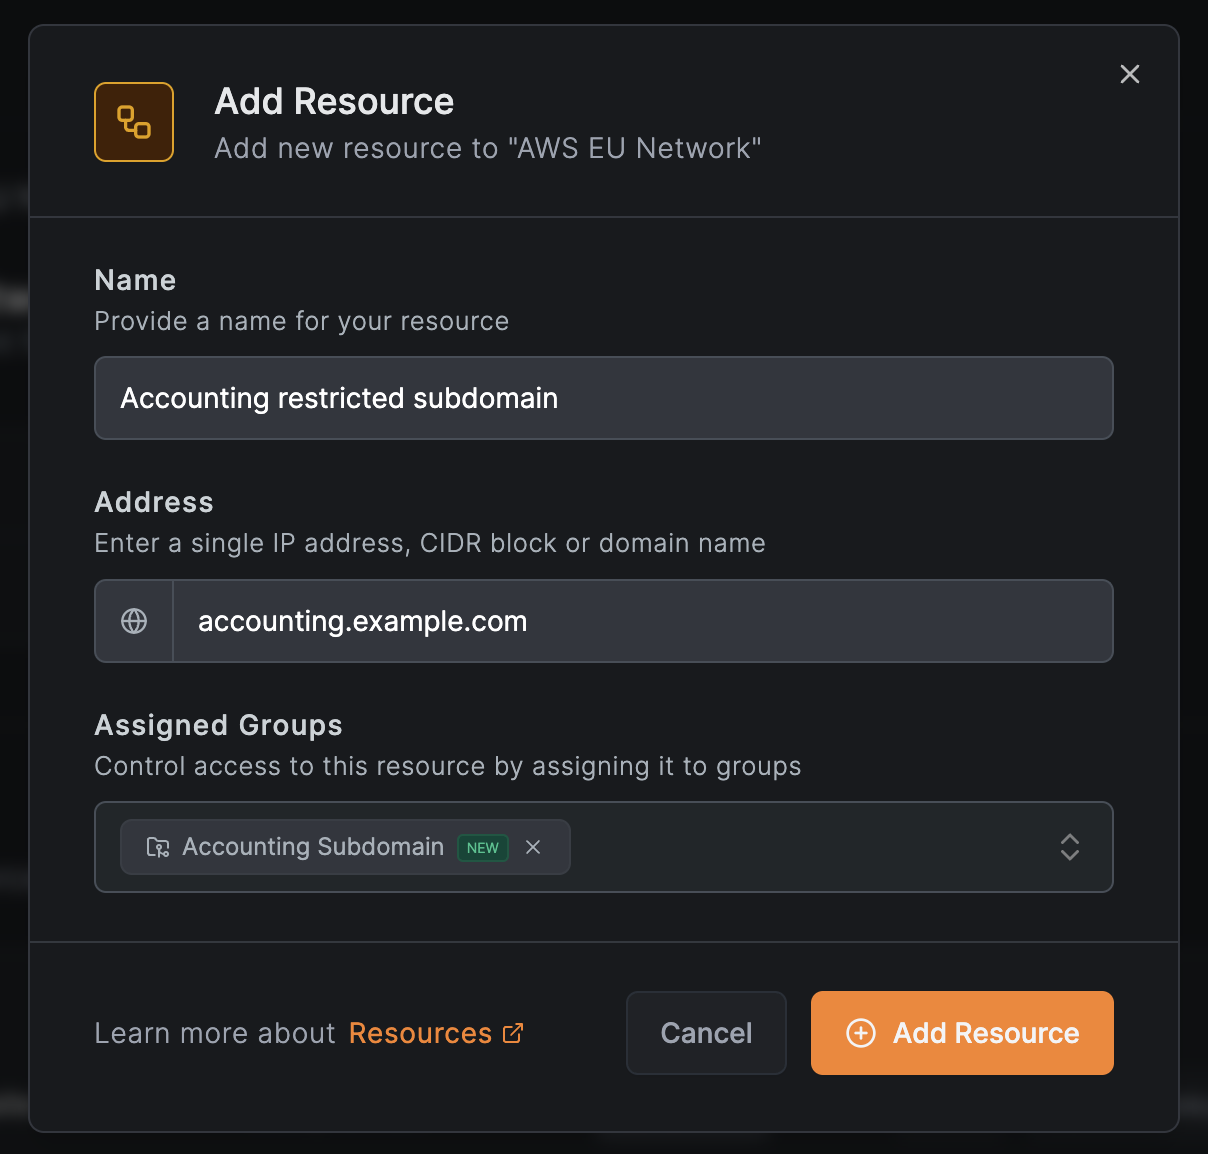
In the Resource tab, configure the resource:
- Name:
Accounting restricted subdomain - Address:
accounting.example.com - Expand Additional Options and under Resource Groups, select or create a group (e.g.,
Accounting Subdomain) - Click Continue to proceed to the Access Control tab
Create an access policy for the finance team
In the Access Control tab, click Add Policy to define access for the finance team.
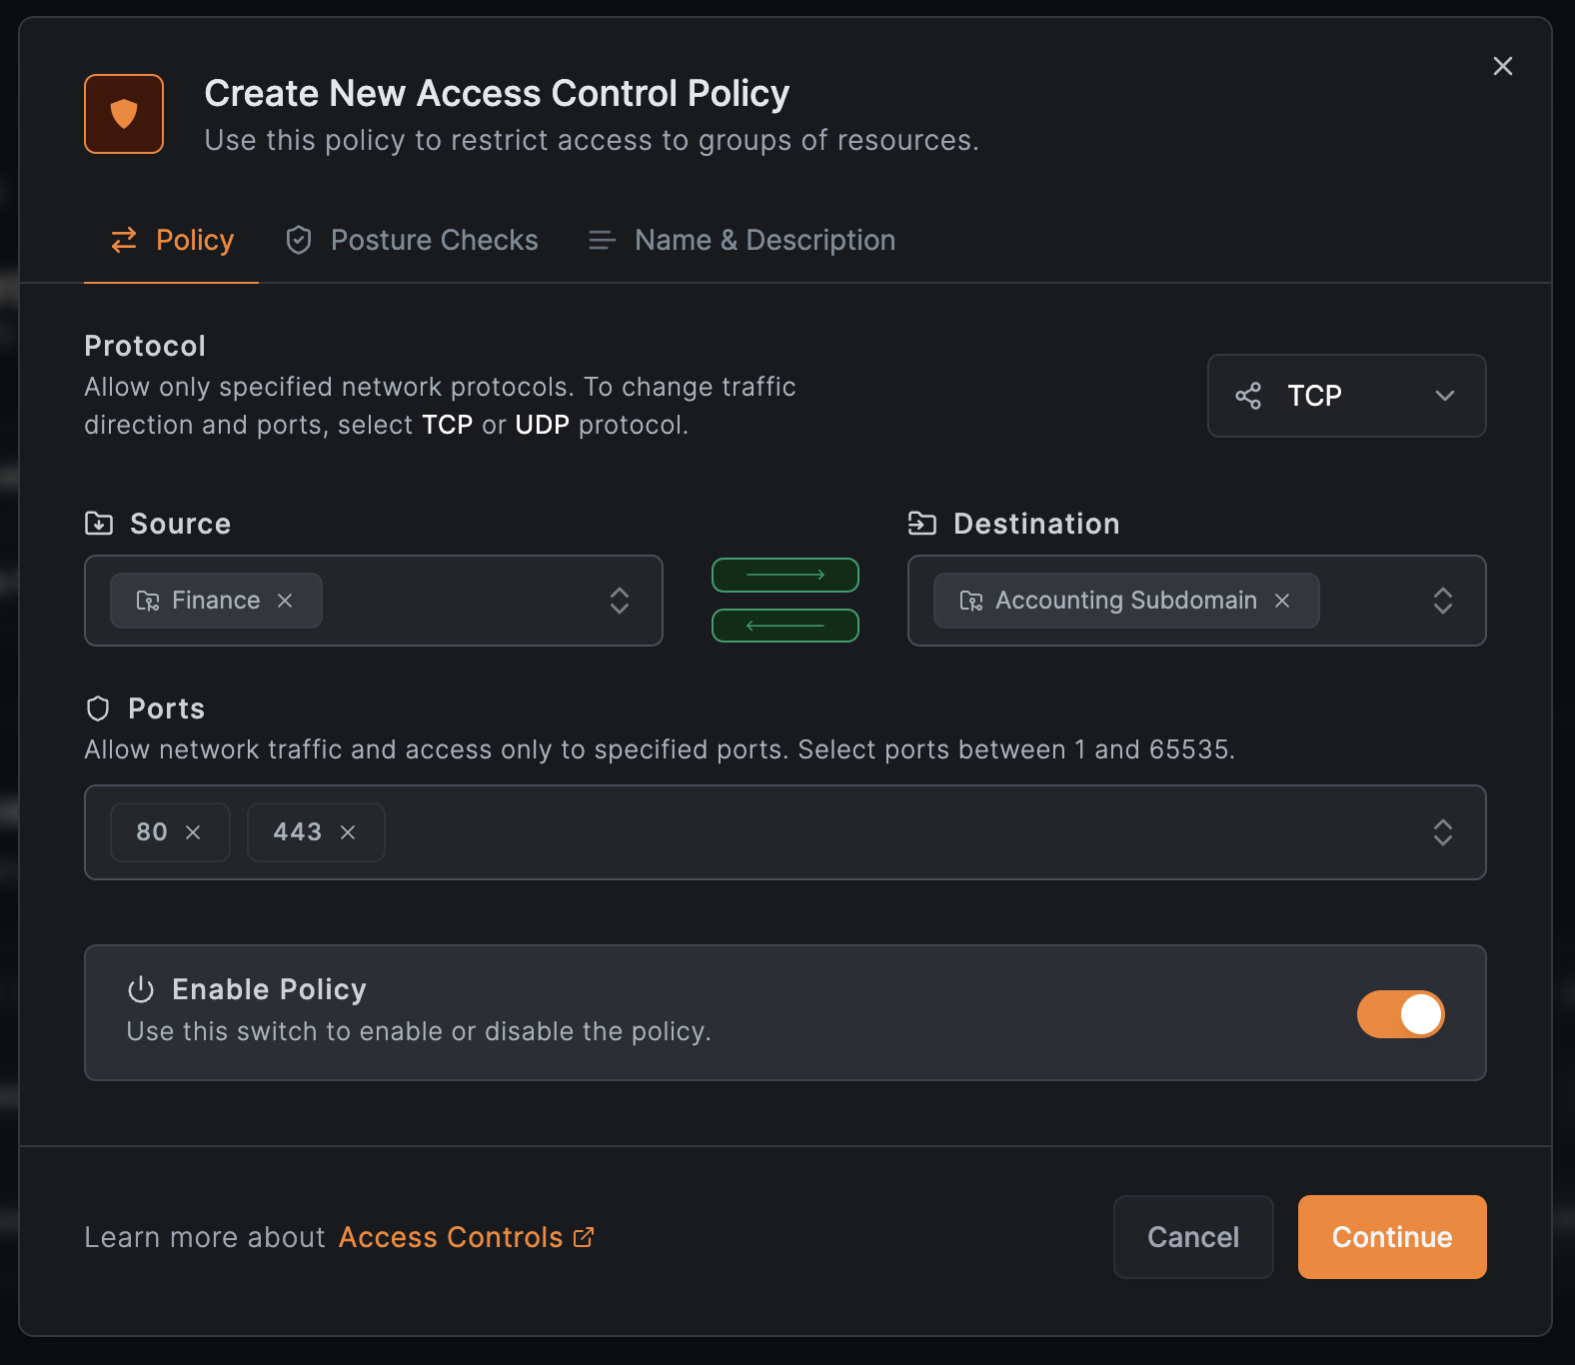
Configure the policy:
- Protocol:
TCP - Source:
Finance(the finance team group) - Destination:
Accounting Subdomain(auto-populated) - Ports:
80and443
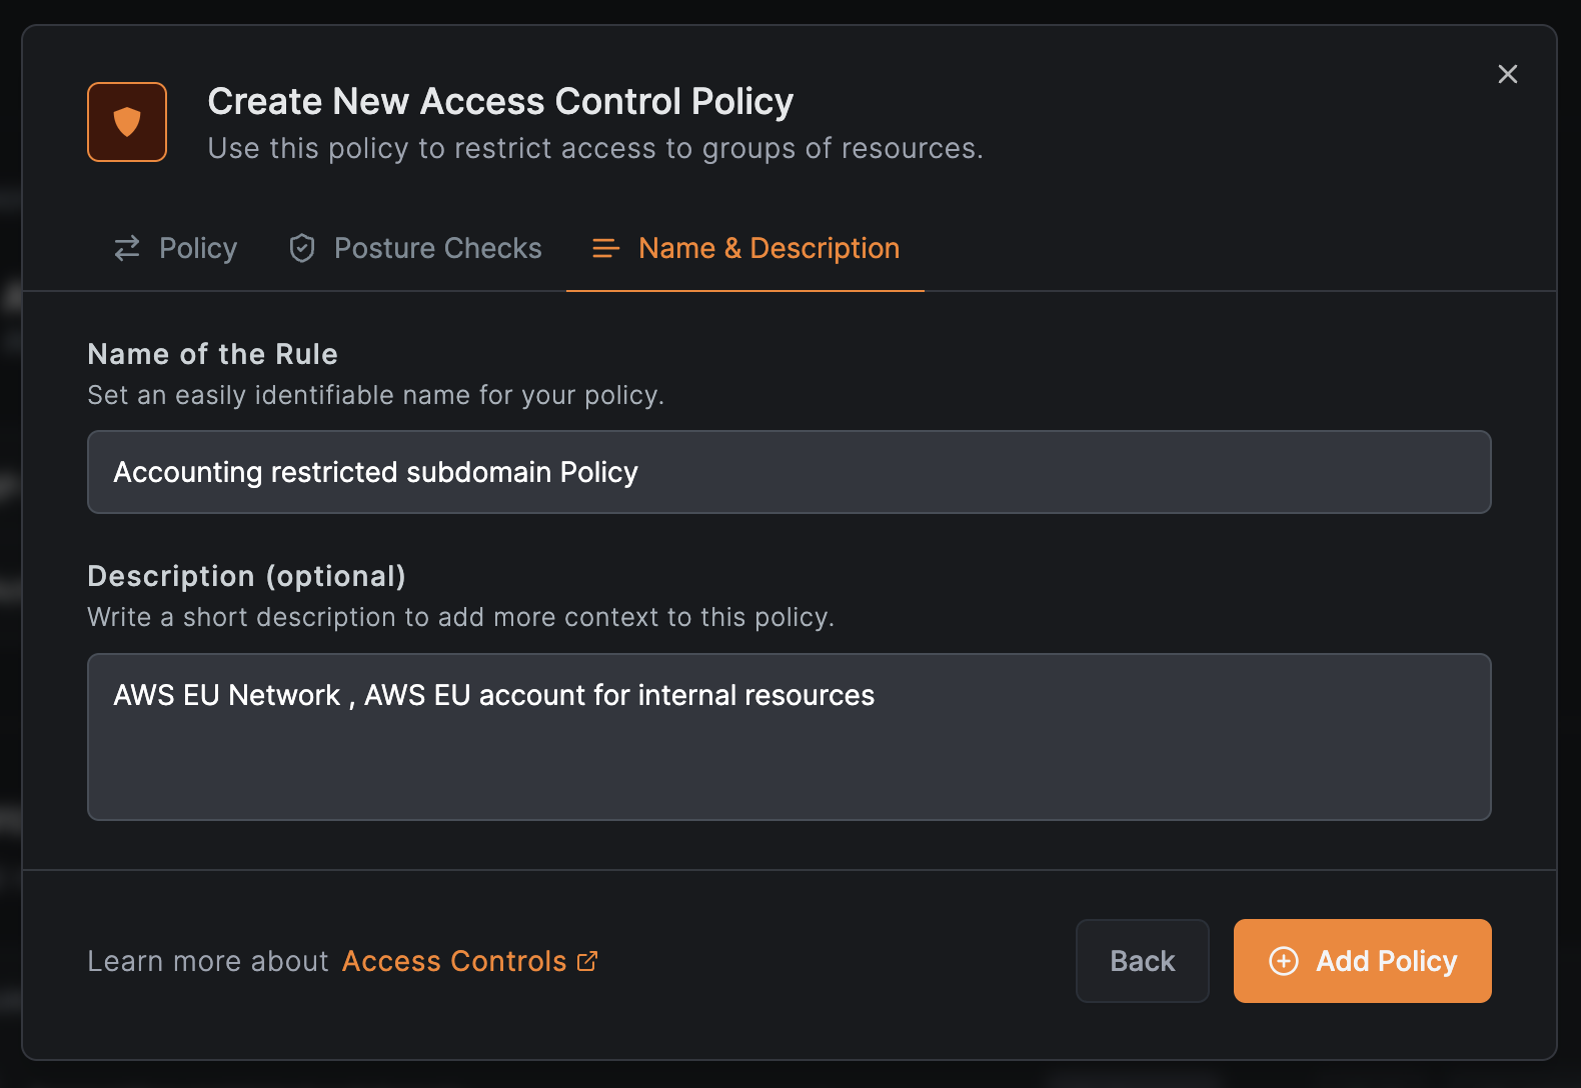
Click Continue to optionally add posture checks, then Continue again. Enter a policy name (e.g., Accounting subdomain Policy) and click Add Policy.
Click Add Resource to save the resource with its policy.
Add the top-level domain resource for support
The support team needs SSH access to the backend at example.com. Add a new resource:
- In the
AWS EU Networkscreen, clickAdd Resource - In the Resource tab, configure:
- Name:
Restricted Website TLD - Address:
example.com - Expand Additional Options and under Resource Groups, select or create a group (e.g.,
Webserver)
- Name:
- Click Continue to proceed to the Access Control tab

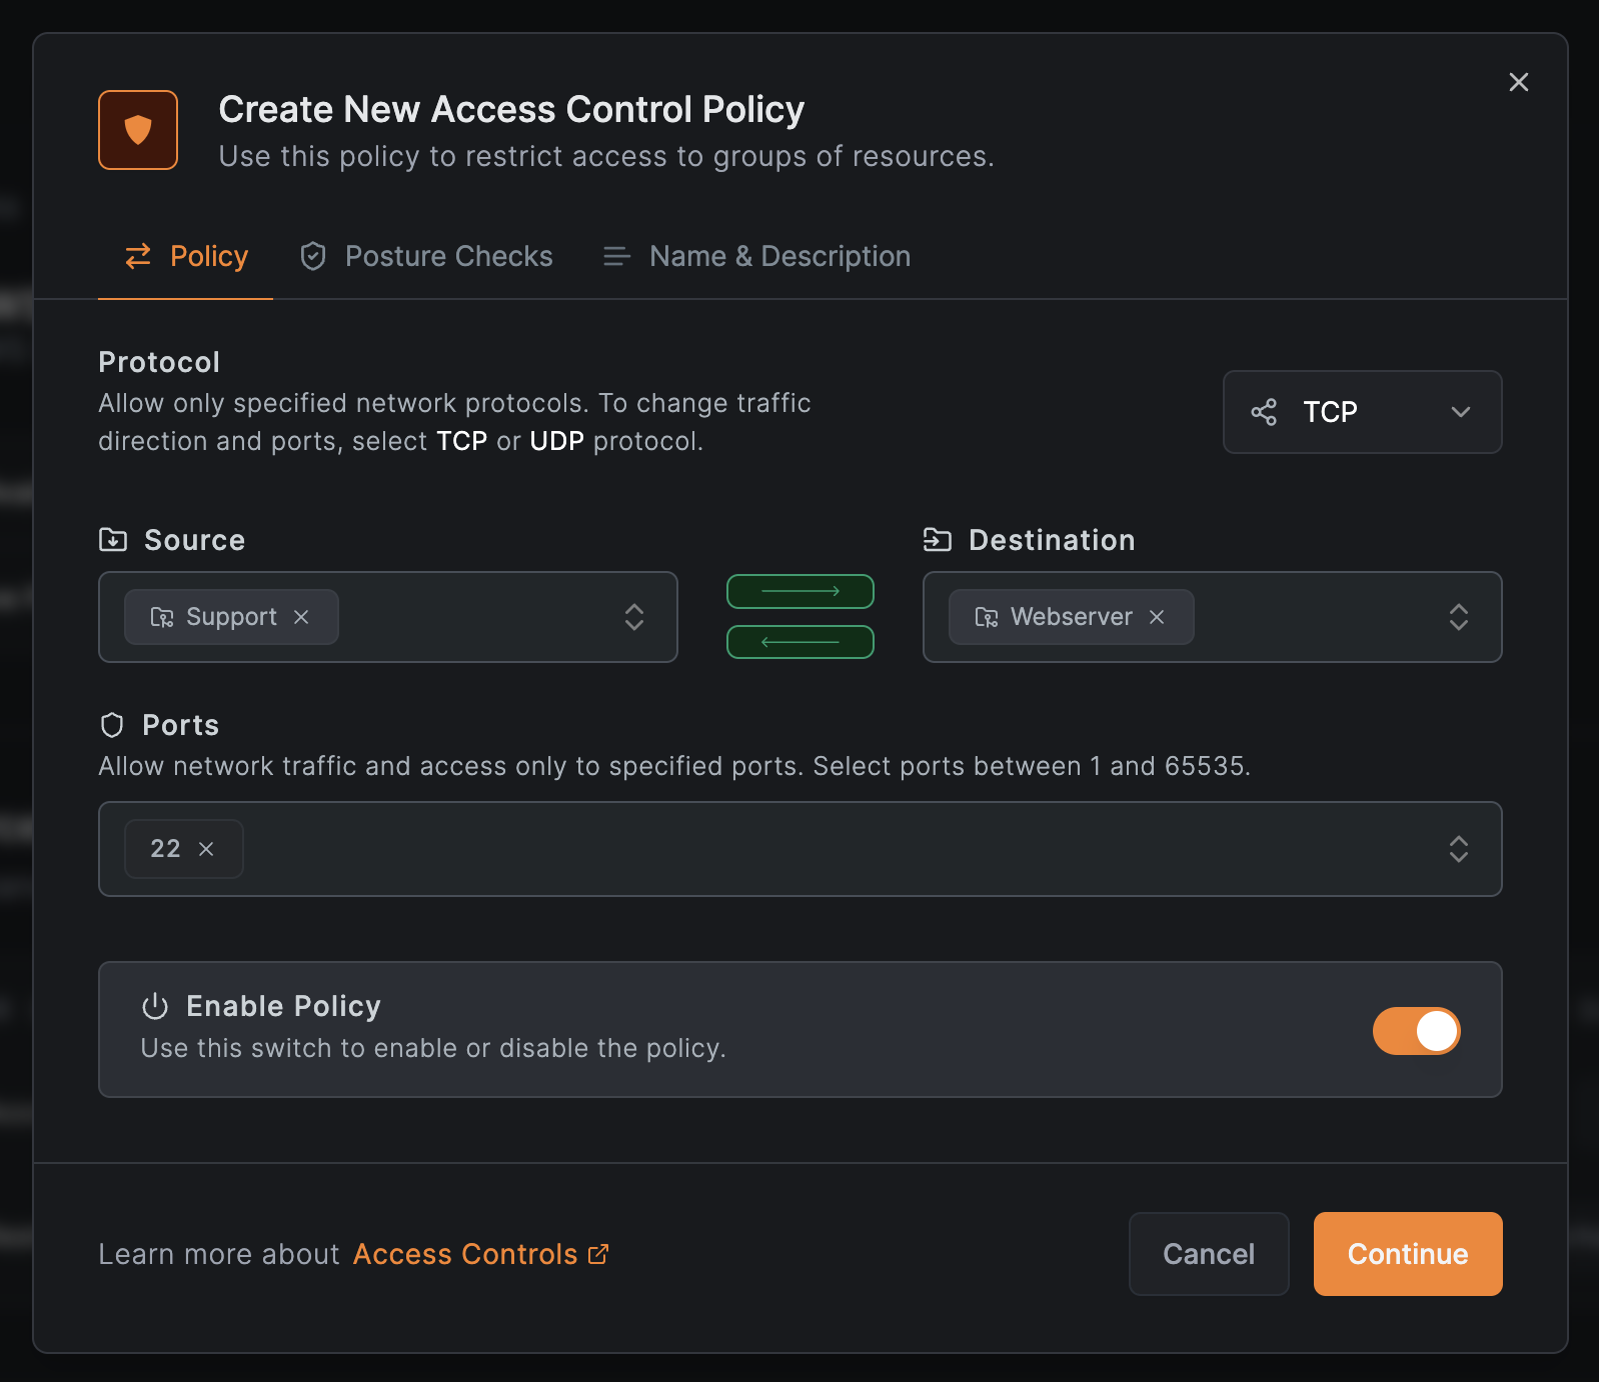
Create an access policy for the support team
In the Access Control tab, click Add Policy to create a policy for SSH access:
- Configure:
- Protocol:
TCP - Source:
Support - Destination:
Webserver - Ports:
22
- Protocol:
- Click
Continue
- Optionally add posture checks, then click
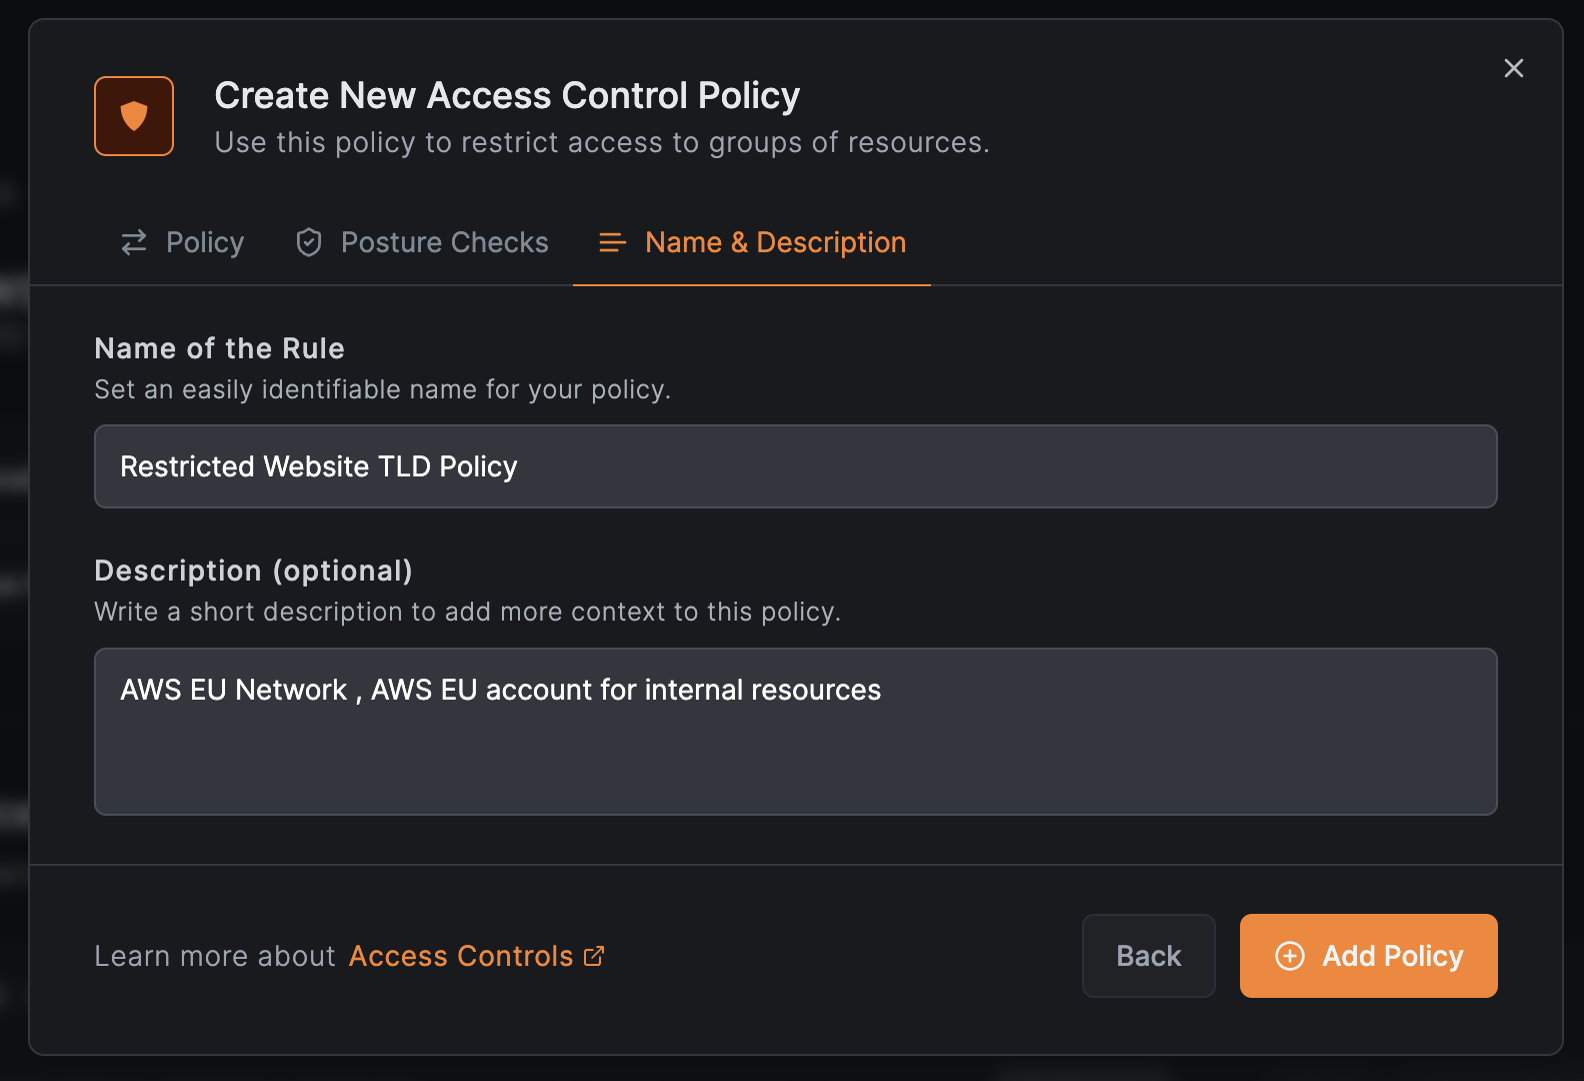
Continue - Enter a policy name (e.g.,
Restricted Website TLD Policy) and clickAdd Policy
Click Add Resource to save the resource with its policy.
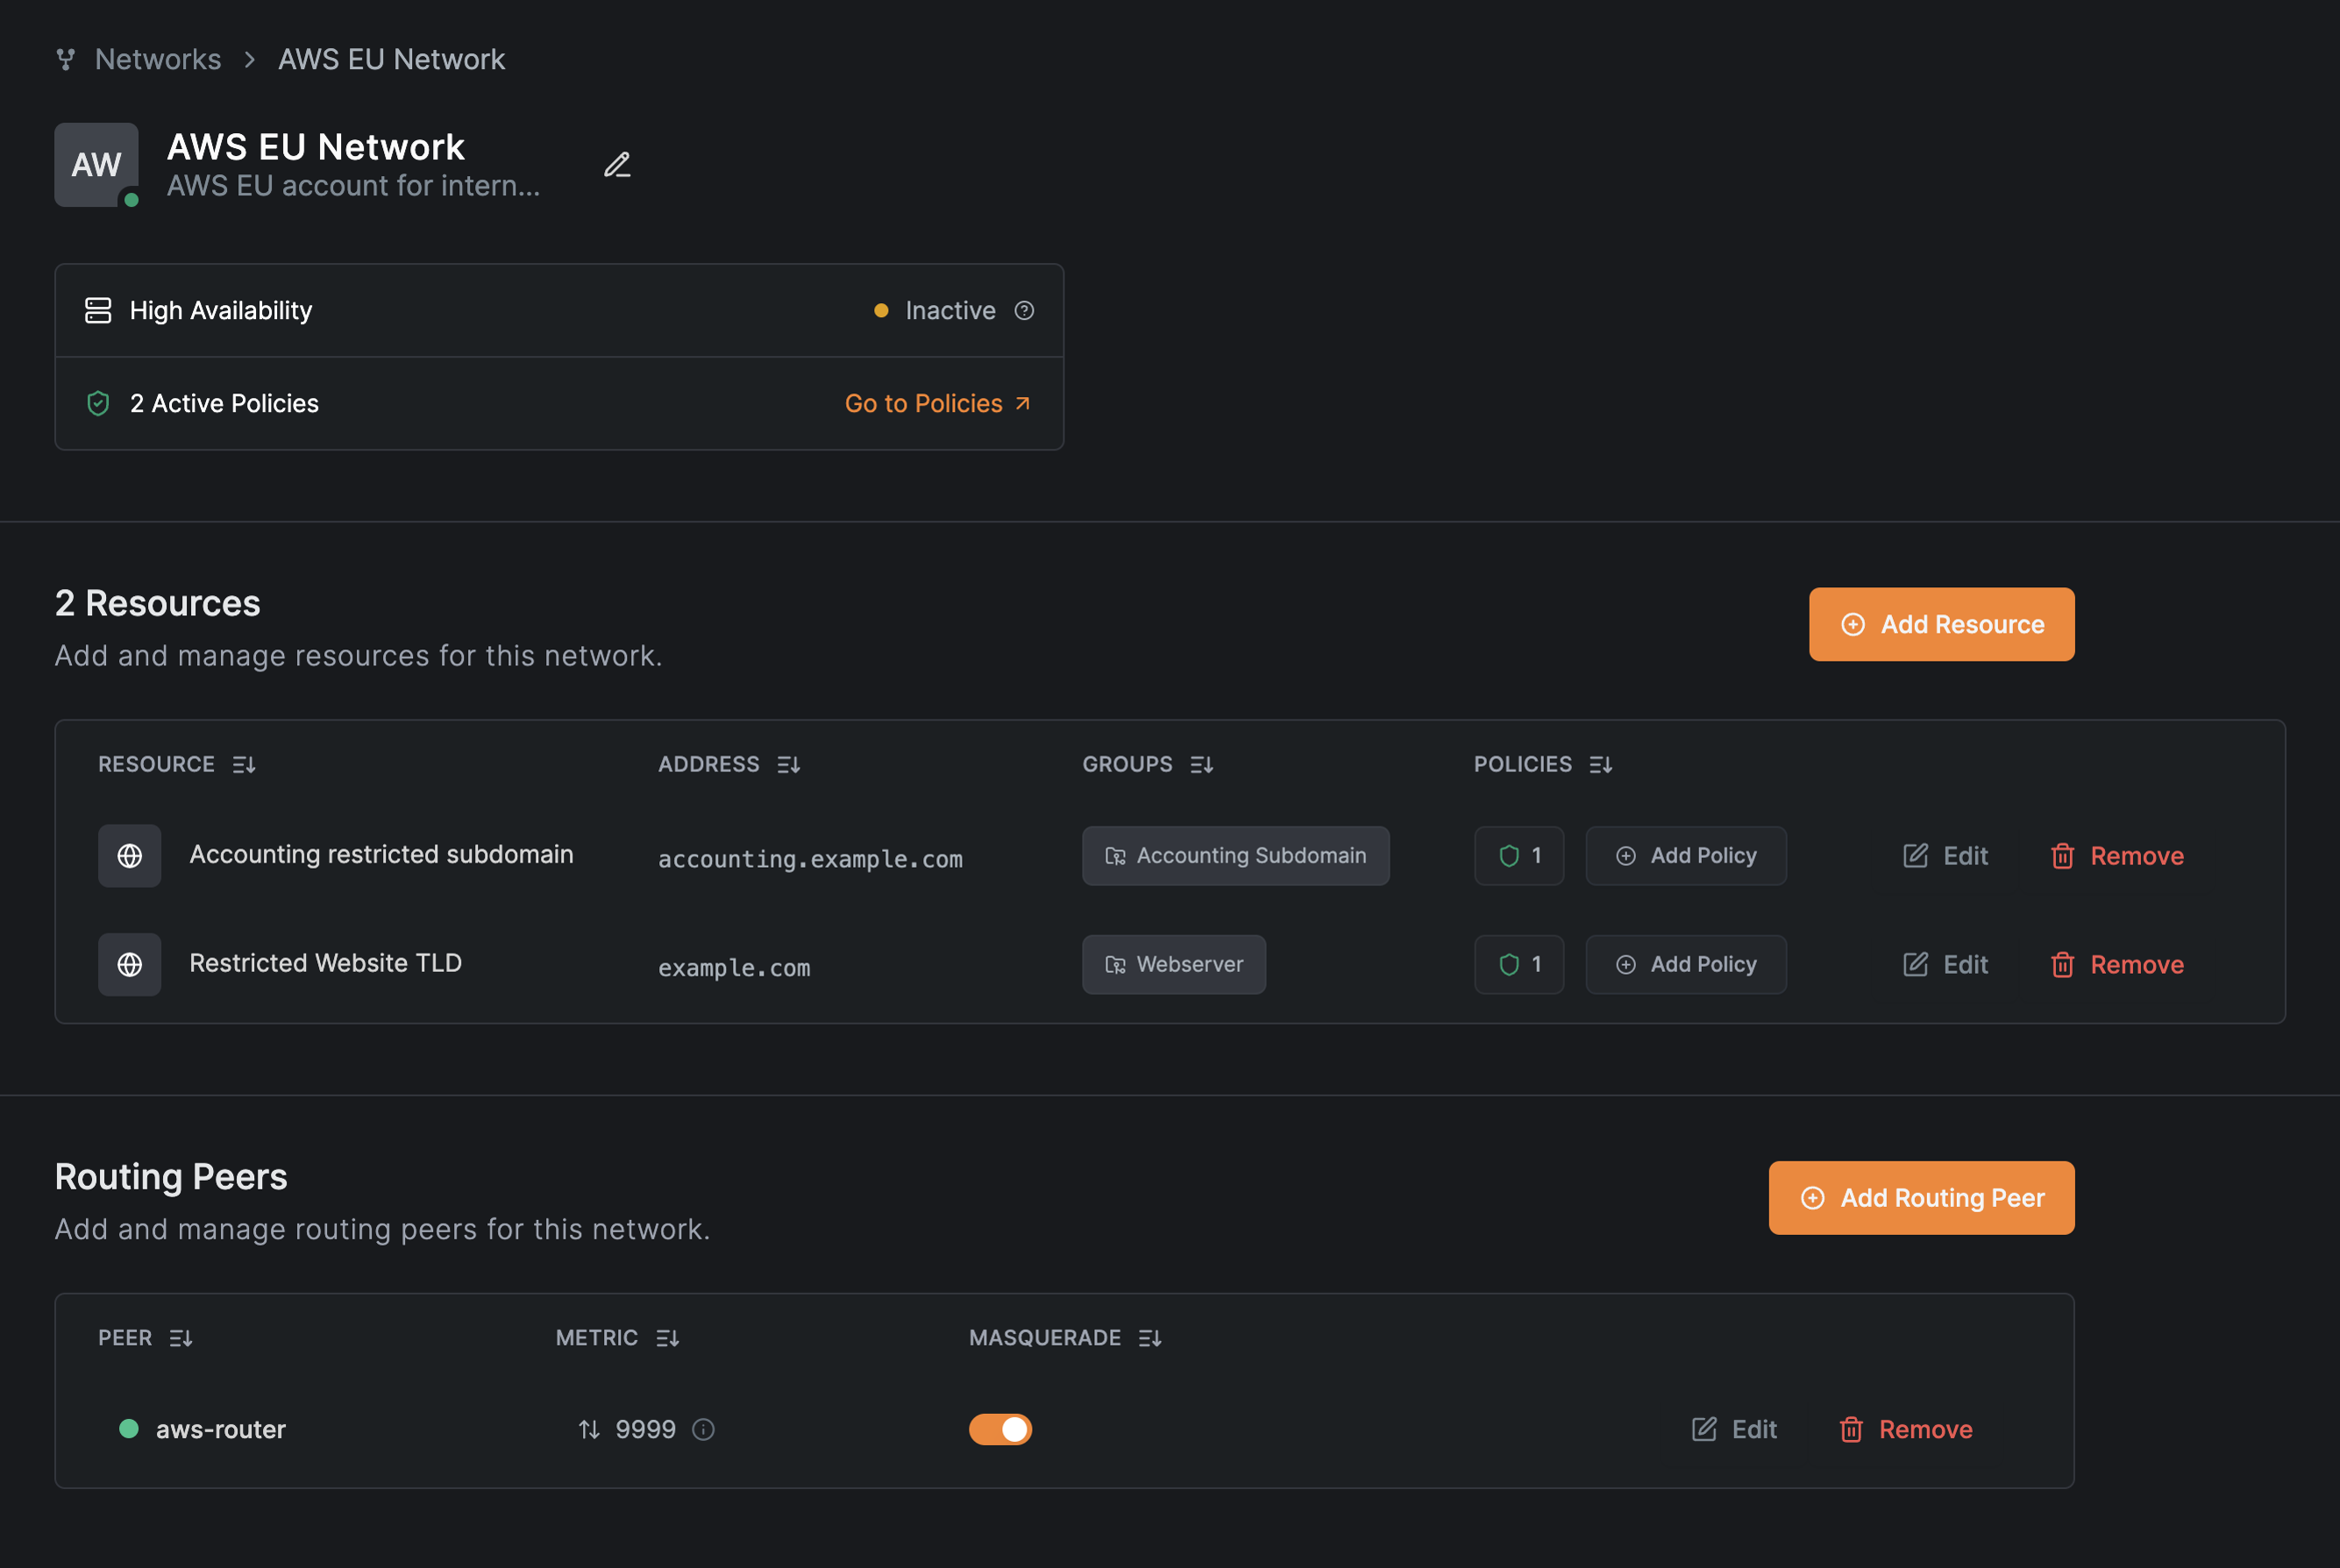
Verify the configuration
The completed network shows both resources with their access policies:
Use the NetBird CLI to verify access. From a finance team workstation:
$ netbird networks list
Available Networks:

  - ID: Accounting restricted subdomain
    Domains: accounting.example.com
    Status: Selected
    Resolved IPs: -

  - ID: Internal Web Services
    Domains: *.company.internal
    Status: Selected
    Resolved IPs: -
From a support team workstation:
$ netbird networks list
Available Networks:

  - ID: Internal Web Services
    Domains: *.company.internal
    Status: Selected
    Resolved IPs: -

  - ID: Restricted Website TLD
    Domains: example.com
    Status: Selected
    Resolved IPs:
      [example.com]: 93.184.215.14, 2606:2800:21f:cb07:6820:80da:af6b:8b2c
Each team sees only the resources they have access to, with appropriate port restrictions enforced by the access policies.