Configuring Exit Nodes for Internet Traffic
Updated
Exit nodes route all internet-bound traffic from your devices through a designated routing peer. This guide explains how to configure default routes for internet traffic.
This feature requires NetBird version 0.27.0 or later.
Concepts
Default Routes
A default route (0.0.0.0/0 for IPv4) directs all internet traffic through a designated routing peer.
When IPv6 overlay addressing is enabled for the peer, the management server automatically creates a matching ::/0 route so that both IPv4 and IPv6 internet traffic flow through the exit node. Peers without IPv6 enabled have their IPv6 traffic blocked to prevent leakage.
Routing Peer
The routing peer acts as the exit node for internet traffic. It applies masquerading so that traffic appears to originate from the routing peer's public IP address.
For the mental model — see How Routing Peers Work — Exit node mode.
Distribution Groups
Peers in the distribution groups send their internet traffic through the routing peer once it connects.
The minimum access policy required for peers to use an exit node is Users (source) → Routing Peer (destination) over ICMP. Ensure a policy with this configuration exists for the distribution groups assigned to the exit node route.
Exit Node Selection and Auto Apply
Administrators configure exit nodes from the dashboard and can enable Auto Apply to have clients automatically use the exit node.
- Auto Apply: When enabled, clients automatically use the exit node. Users can still disable it manually on their device.
- Client override: If a user selects or deselects an exit node on their device, that choice takes precedence over the server configuration.
The client user's explicit selection or deselection always takes precedence on that device.
Auto Apply requires NetBird client version 0.55.0 or later.
Existing Exit Node Routes
Exit node routes created before the Auto Apply feature was introduced are treated as having Auto Apply enabled. This preserves the previous behavior where exit nodes were applied automatically.
Clients running v0.55.0 or later auto-apply these routes unless the user has explicitly selected or deselected an exit node. Administrators can change the Auto Apply setting at any time.
Configuration Steps
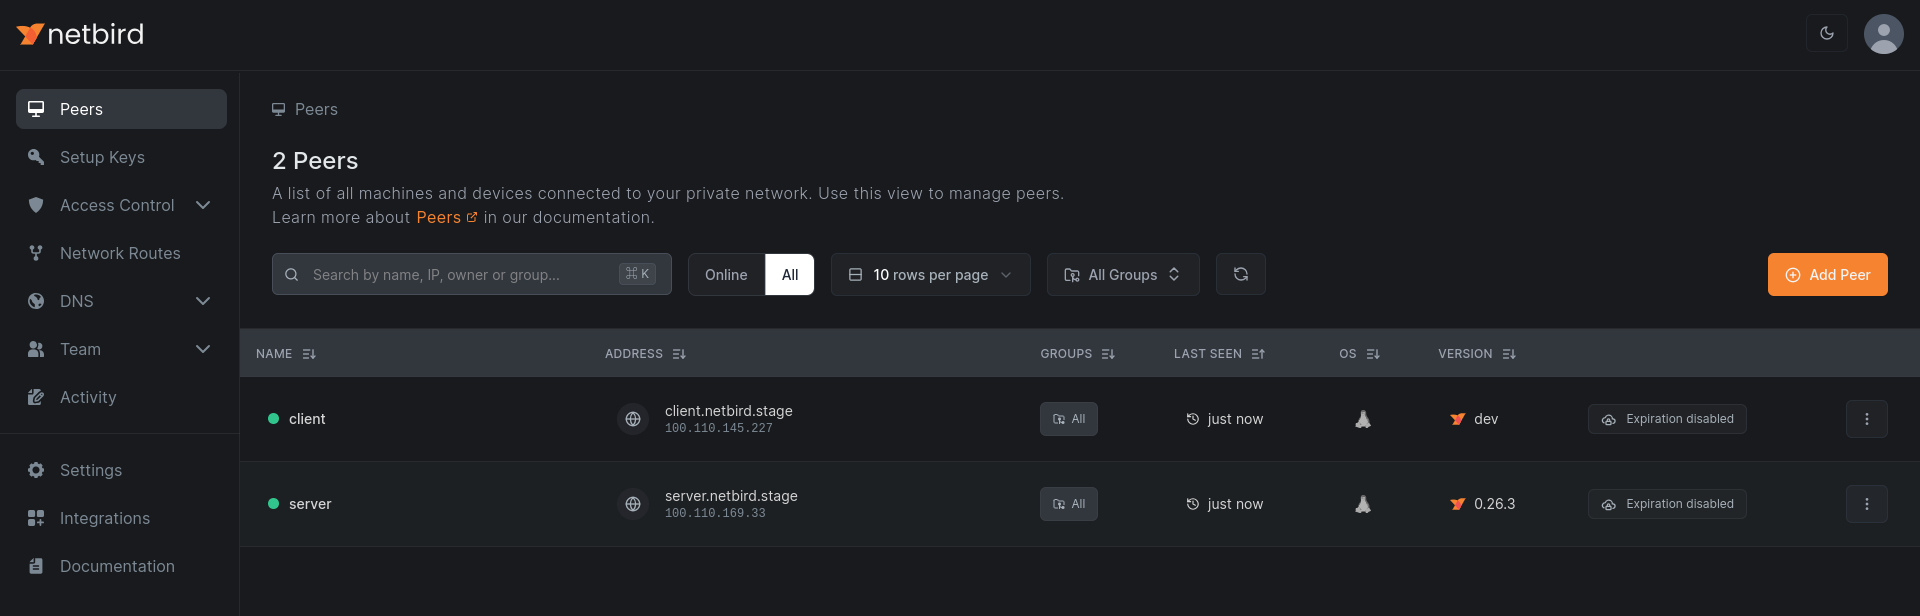
1. Open the Servers list
Navigate to the NetBird dashboard and open Peers (exit nodes are typically unattended machines like a VPS, router, or always-on host).
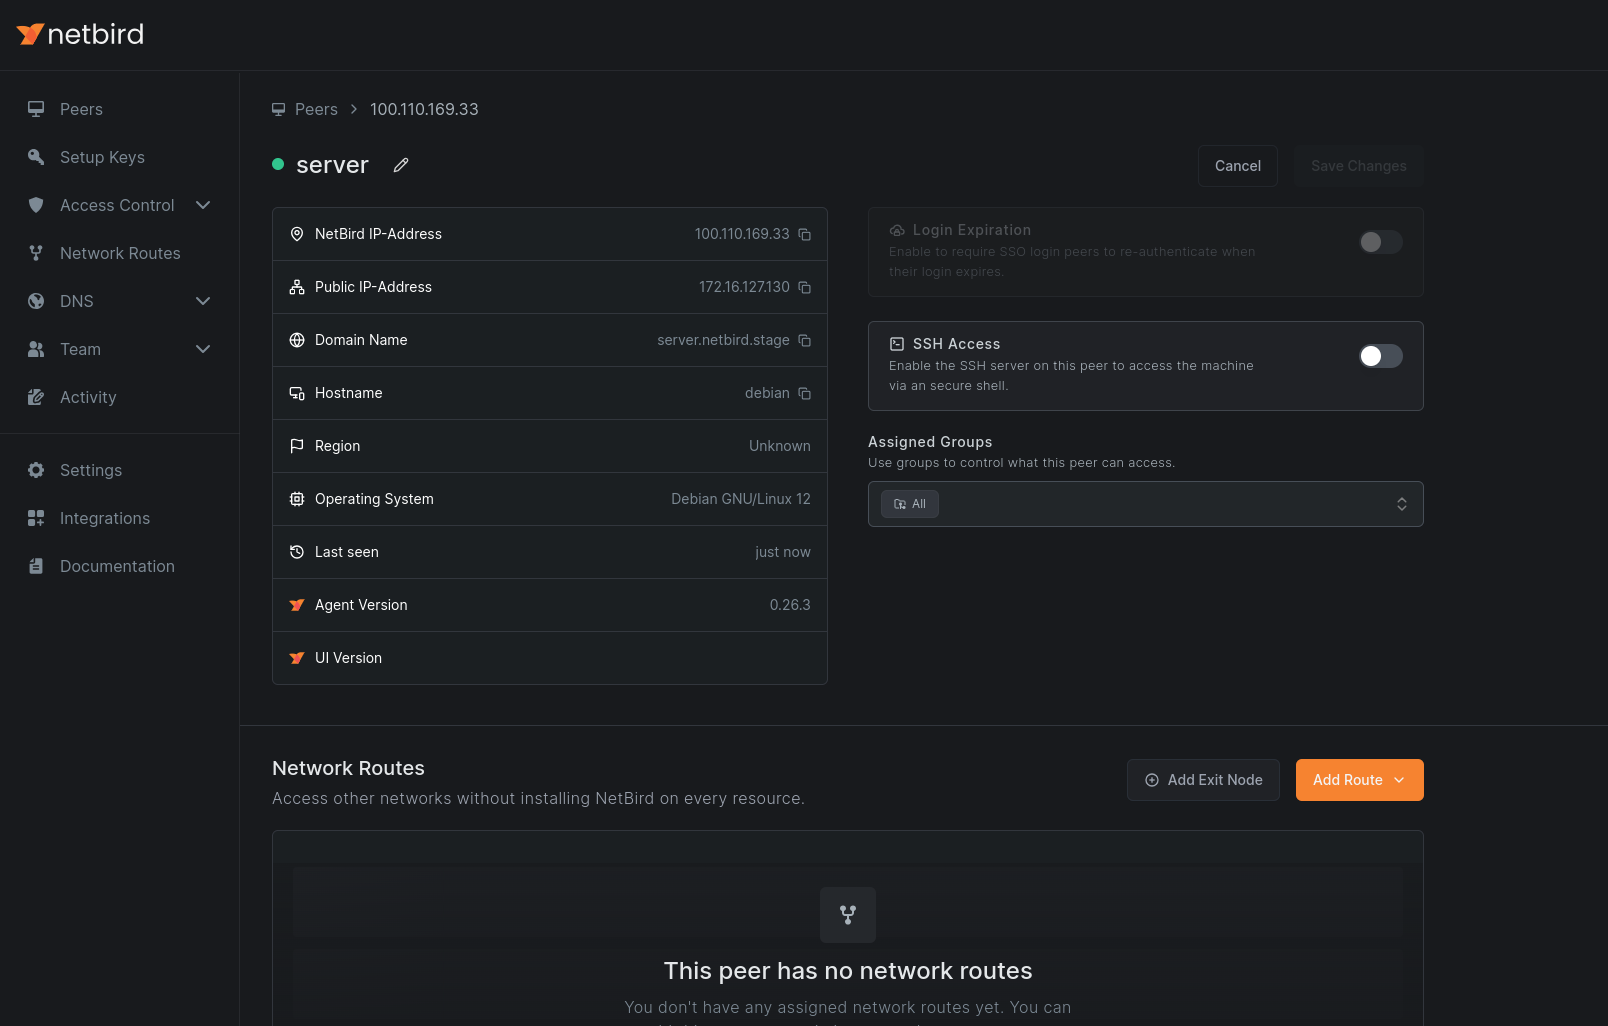
2. Select the Routing Peer
Choose the peer that will serve as your exit node.
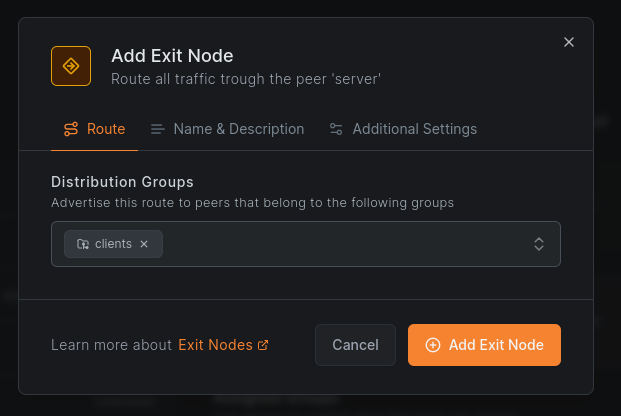
3. Configure the Exit Node
Click Add Exit Node. In the dialog, assign one or more distribution groups to specify which peers should use this exit node.
To make the exit node available without automatic activation, disable Auto Apply. Users can then enable it manually.
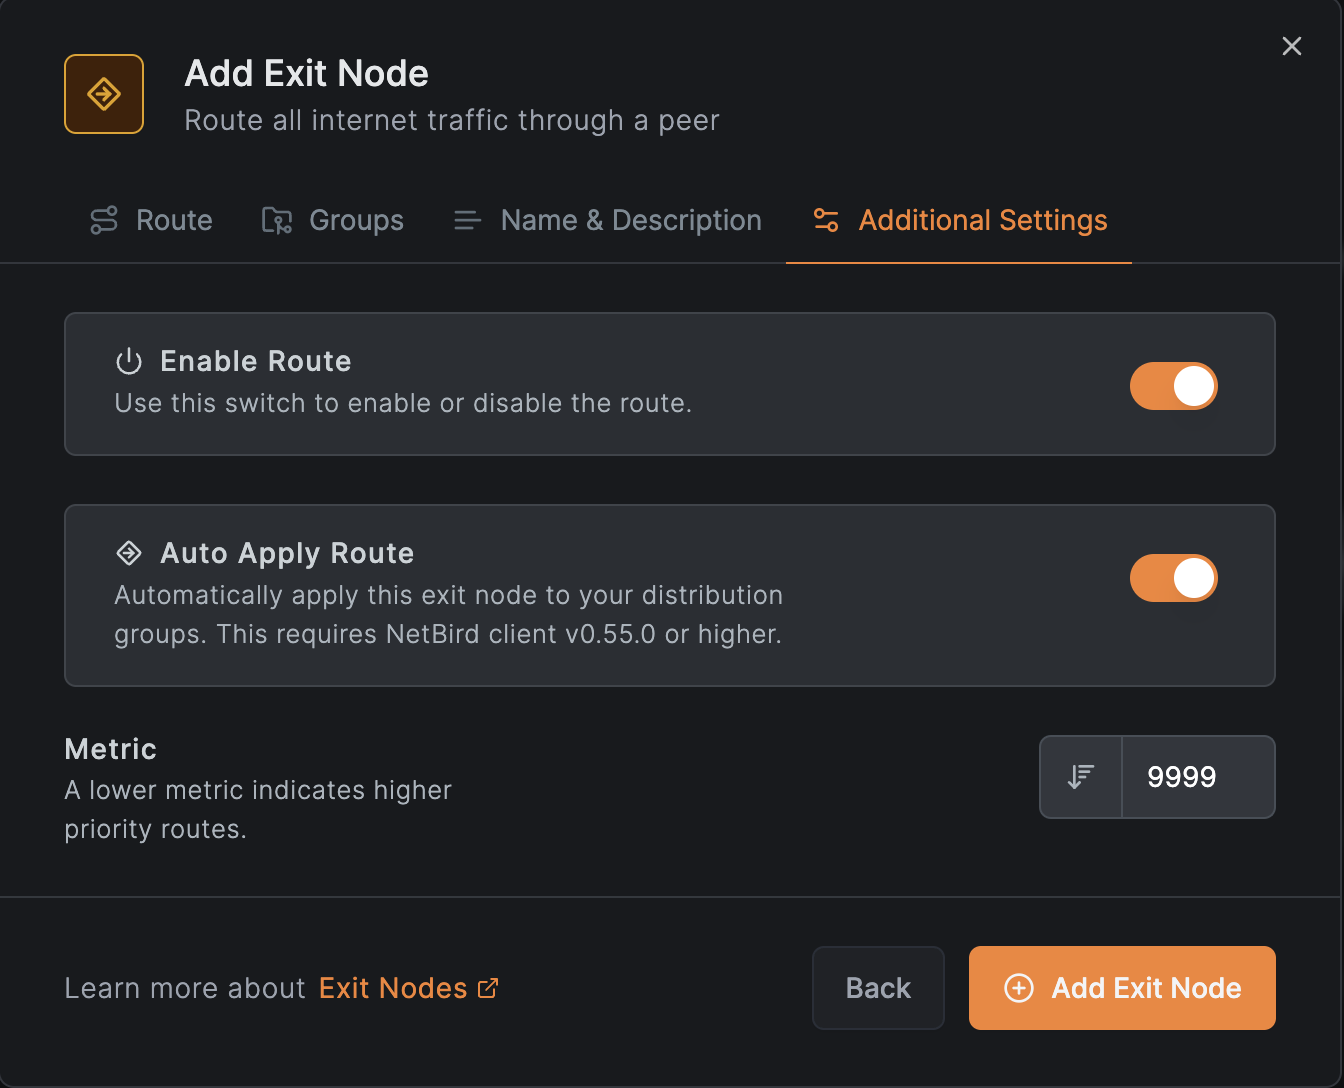
Click Add Exit Node to complete the configuration. Masquerading is enabled by default.
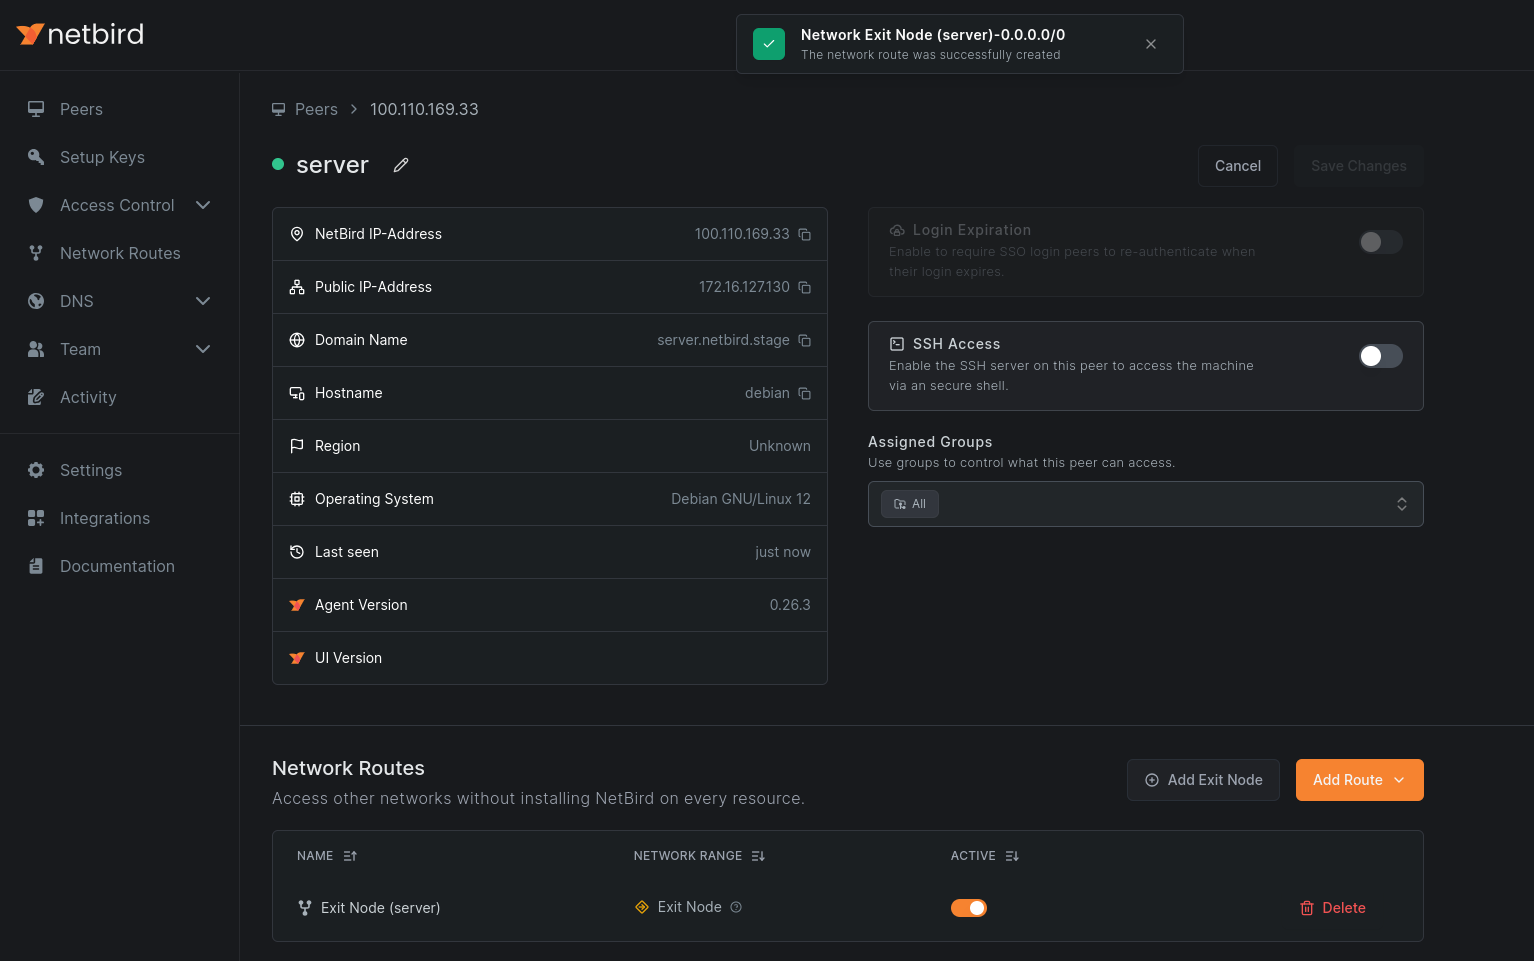
4. Verify the Configuration
Check the peer view to confirm the routing peer is marked as an exit node.
5. Configure DNS
Add a DNS server with the match domain set to ALL. Local DNS servers may not be accessible from the routing peer, and this also prevents DNS-based location leaks.
See Manage DNS in your network for details.
IPv6 Support
IPv6 overlay addressing requires NetBird v0.68.0 or later on both the routing peer and the clients.
When IPv6 is enabled in your account settings and the exit node peer supports it, the management server automatically generates a ::/0 route alongside the 0.0.0.0/0 route. No additional configuration is needed.
For peers that do not have IPv6 enabled (older clients, or accounts with IPv6 disabled), IPv6 traffic is blocked at the tunnel interface to prevent unintentional leakage through the exit node.
You can disable IPv6 on individual clients with the --disable-ipv6 flag:
netbird up --disable-ipv6
See IPv6 Overlay Addressing for more details on enabling IPv6 for your account.
High Availability
Exit nodes support high availability configurations. See Creating Highly Available Routes for more information.