DNS Settings

DNS Settings allow you to control whether NetBird manages DNS configuration for specific peer groups. This is useful when certain peers need to maintain their existing DNS setup.

Understanding DNS Management Modes

NetBird supports two DNS management modes per peer:

Managed Mode (Default)

When a peer's group is not in the disabled management list:

  • ✅ NetBird configures the system's DNS settings
  • ✅ All DNS queries route through NetBird's local resolver
  • ✅ Configured nameservers apply to this peer
  • ✅ Centralized DNS control from the dashboard

Use managed mode when: You want full control over DNS resolution for the peer.

Unmanaged Mode

When a peer's group is in the disabled management list:

  • ✅ NetBird does not modify system DNS settings
  • ✅ Peer uses its pre-existing DNS configuration
  • ✅ All configured nameservers are ignored for this peer
  • ✅ Peer maintains complete DNS independence

Use unmanaged mode when:

  • Peer has conflicting VPN or DNS requirements
  • Corporate policy requires specific DNS settings
  • Testing or troubleshooting DNS issues
  • Peer is in a restricted environment

Client-Side DNS Control

You can also disable DNS management directly on a peer using the --disable-dns flag:

# Disable DNS management on this peer
netbird up --disable-dns

# Enable DNS management on this peer
netbird up --disable-dns=true

This is useful when:

  • You need to disable DNS on a single peer without changing server-side settings
  • Testing DNS behavior locally
  • The peer has special DNS requirements not covered by group settings

Configuring DNS Settings

View Current Settings

  1. Log in to NetBird dashboard
  2. Navigate to DNS in the sidebar
  3. Click DNS Settings tab

You'll see:

DNS settings

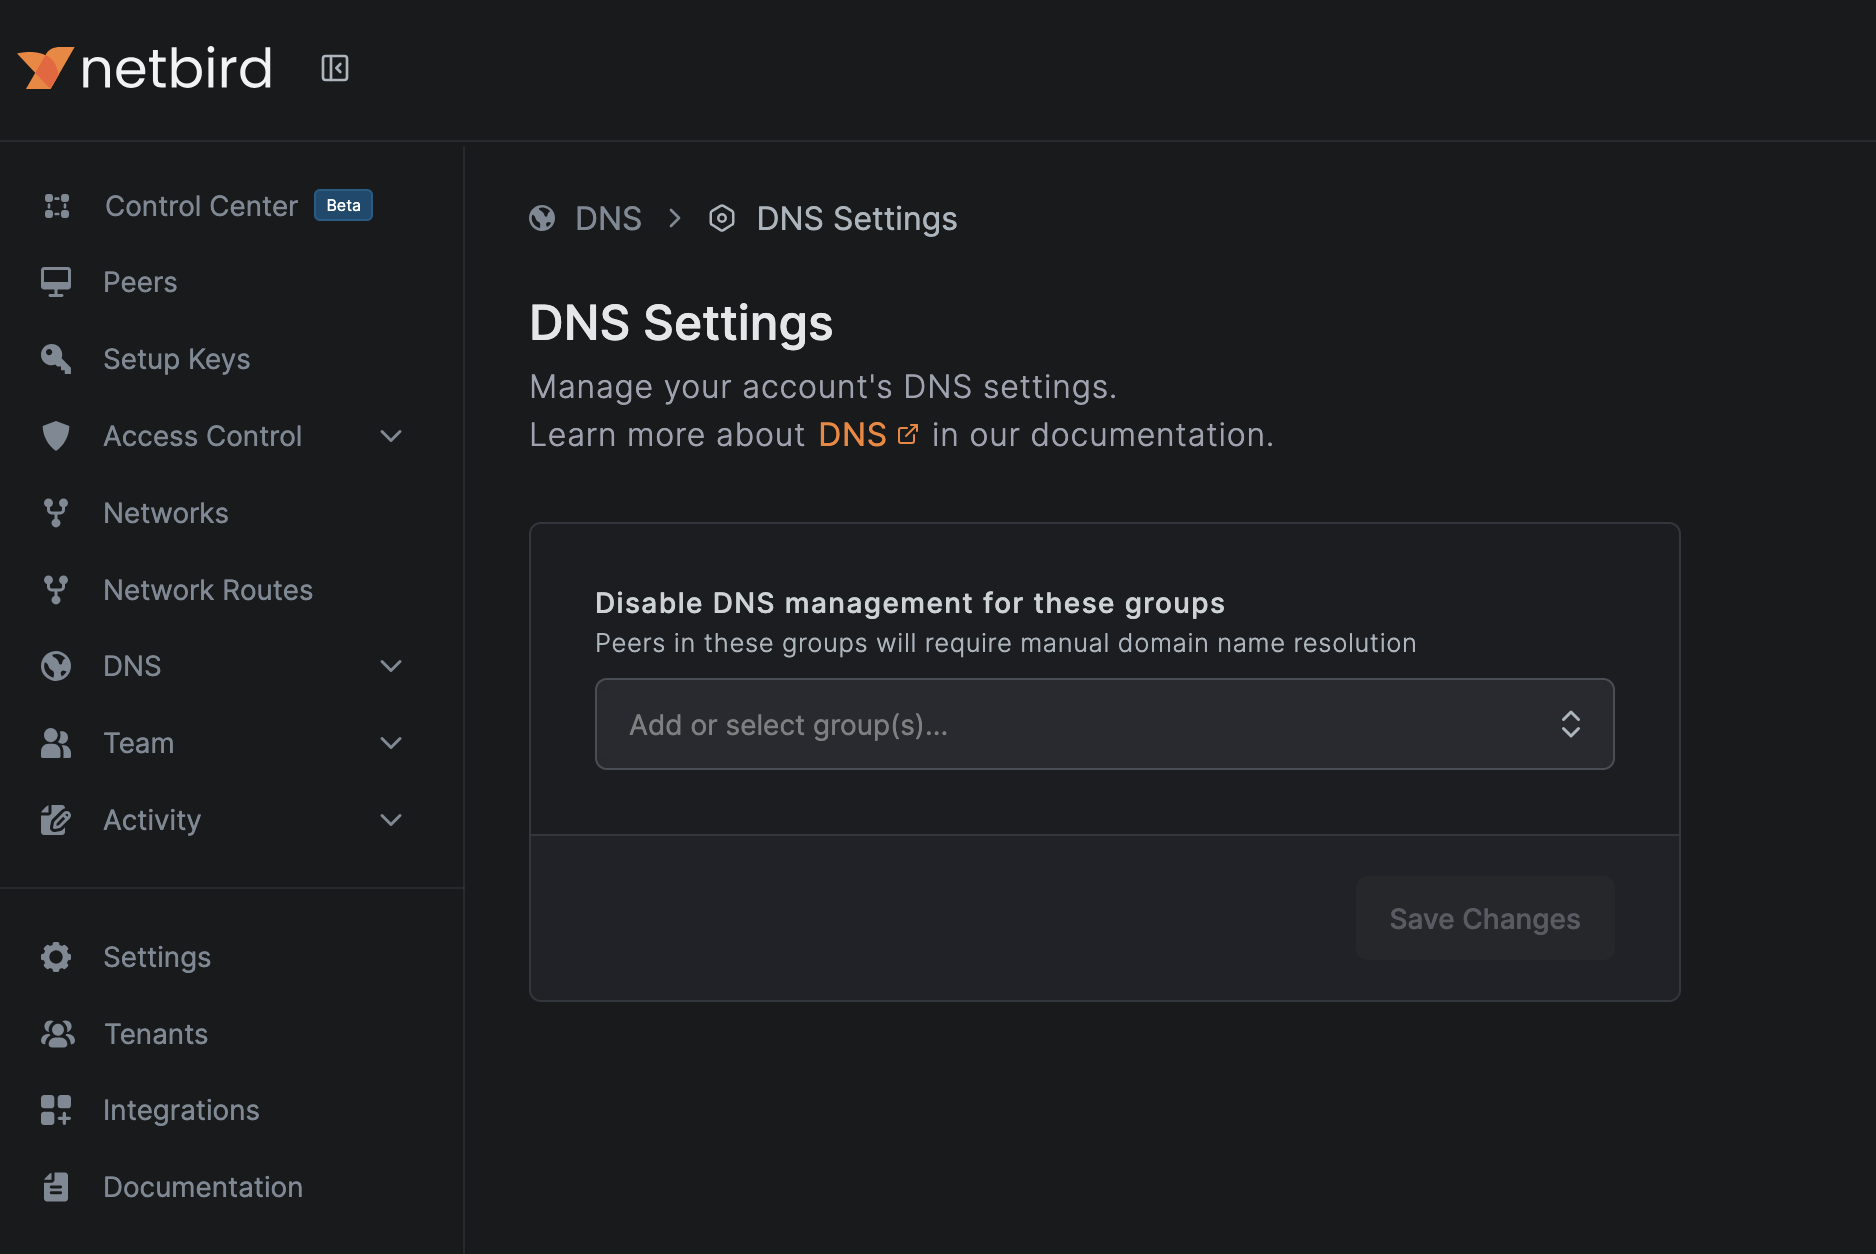
Disable DNS Management for a Group

To prevent NetBird from managing DNS for specific groups:

  1. Go to DNSDNS Settings
  2. Click the groups selection box and select groups existing groups, or type a new group name and press enter. This will create a new group inline and disable DNS management for said new group.
  3. Click 'Save Changes'.

Re-enable DNS Management

To restore NetBird DNS management:

  1. Go to DNSDNS Settings
  2. Remove the group from Disabled Management Groups
  3. Click 'Save Changes'.

The peer will start using configured nameserver groups again.


Common Use Cases

Use Case 1: VPN Conflict

Problem: Peers using another VPN conflict with NetBird's DNS management.

Solution:

  1. Create a distribution group for VPN users (e.g., "External VPN Users")
  2. Add this group to disabled management groups
  3. These peers keep their VPN's DNS settings

Use Case 2: Corporate DNS Policy

Problem: Company policy requires specific DNS servers on certain devices.

Solution:

  1. Group affected peers (e.g., "Compliance Devices")
  2. Disable DNS management for this group
  3. Manually configure DNS on these devices per policy

Use Case 3: Gradual Rollout

Problem: Want to test DNS changes on a subset of peers first.

Solution:

  1. Create "DNS Beta" and "DNS Production" groups
  2. Initially disable management for "DNS Production"
  3. Test with "DNS Beta" group
  4. Once validated, enable management for "DNS Production"

Use Case 4: Troubleshooting

Problem: Suspect NetBird DNS is causing connectivity issues.

Solution:

  1. Temporarily add peer's group to disabled management
  2. Test if issue persists with original DNS
  3. If fixed, investigate nameserver configuration
  4. If not fixed, issue is unrelated to NetBird DNS

How Peers Behave in Each Mode

Managed Mode Behavior

Peer Startup:
1. NetBird client starts
2. Receives nameserver configuration from management
3. Configures local DNS resolver (127.0.0.1:53)
4. Updates OS DNS settings to point to 127.0.0.1
5. Routes queries based on configured nameservers

During Operation:
- All DNS queries go through NetBird resolver
- Configuration updates apply automatically

Unmanaged Mode Behavior

Peer Startup:
1. NetBird client starts
2. Sees group is in disabled management list
3. Does NOT modify DNS settings
4. Does NOT start local DNS resolver for management
5. Uses existing system DNS configuration

During Operation:
- DNS queries use system's configured servers
- NetBird nameservers have no effect
- NetBird provides connectivity only

Checking Peer DNS Mode

Linux/macOS

# Check if NetBird resolver is active
cat /etc/resolv.conf
# Should show:
# nameserver <100.X.X.X> (NetBird IP - managed)
# or other IPs (unmanaged)

Windows

# Check DNS servers for NetBird adapter
Get-DnsClientServerAddress -InterfaceAlias "NetBird"

# Managed: Shows <100.X.X.X> (NetBird IP)
# Unmanaged: Shows other servers or nothing

Using the NetBird CLI

# Check NetBird status
netbird status -d

Example Output:

...
Nameservers:
  [1.1.1.1:53] for [.] is Available
...

Mixing Managed and Unmanaged Peers

You can have both modes in the same network:

Example Configuration:

  • All Peers group: Mixed management
    • Most peers: Managed (use configured nameservers)
    • VPN users: Unmanaged (keep VPN DNS)
    • Guest devices: Unmanaged (no internal DNS)

Result:

  • Managed peers can resolve internal domains
  • Unmanaged peers only see public DNS
  • Both can communicate over NetBird network

API Configuration

You can manage DNS settings programmatically:

Get Current Settings

curl -X GET https://api.netbird.io/api/dns/settings \
  -H "Authorization: Token <TOKEN>"

Update Settings

curl -X PUT https://api.netbird.io/api/dns/settings \
  -H "Authorization: Token <TOKEN>" \
  -H "Content-Type: application/json" \
  -d '{
    "disabled_management_groups": [
      "ch8i4ug6lnn4g9hqv7m0",
      "ch8i4ug6lnn4g9hqv7m1"
    ]
  }'

See full API Reference for more details.


Best Practices

1. Default to Managed Mode

Unless there's a specific reason, keep DNS managed for centralized control and consistency.

2. Use Groups Strategically

Create distribution groups that align with DNS management needs:

  • ✅ Good: "External VPN Users", "Compliance Devices", "Guest Devices"
  • ❌ Bad: Disabling management for individual peers repeatedly

3. Document Exceptions

Keep a record of why certain groups are unmanaged:

Disabled Management Groups:
- "External VPN Users" → Conflict with corporate VPN
- "Legacy Systems" → Cannot modify DNS (embedded systems)
- "DNS Beta" → Temporary during testing

4. Review Periodically

Regularly audit disabled groups:

  • Are they still needed?
  • Can peers be migrated to managed mode?
  • Are there security implications?

5. Consider Security

Unmanaged peers:

  • May bypass corporate DNS filtering
  • Could be vulnerable to DNS hijacking
  • Might not respect DNS-based access controls

Only use unmanaged mode when necessary.


Troubleshooting

Peer Not Respecting Nameservers

Symptom: Configured nameservers don't apply to a peer.

Check:

# On the dashboard
1. Go to DNS  DNS Settings
2. Check if peer's group is in disabled_management_groups

# If yes → Remove from list or expected behavior
# If no → Check peer logs for errors

Peer Reverting to Old DNS

Symptom: Peer keeps using previous DNS settings after configuration change.

Possible causes:

  1. Group added to disabled management
  2. Peer not receiving updates (connectivity issue)
  3. Peer not restarted after significant change

Solution:

# Restart NetBird client
netbird down
netbird up

# Or full restart
systemctl restart netbird  # Linux
# Windows: Restart NetBird service

Cannot Disable Management for Group

Symptom: Changes to DNS settings don't save or revert.

Check:

  • Permissions: Do you have admin rights?
  • API errors: Check browser console for error messages
  • Group exists: Verify the group ID is correct

Migration Scenarios

Moving from Unmanaged to Managed

When enabling DNS management for a previously unmanaged group:

  1. Communicate: Warn users about DNS changes
  2. Prepare: Create and test nameservers
  3. Schedule: Choose low-impact time
  4. Enable: Remove group from disabled list
  5. Verify: Check peers are using NetBird DNS
  6. Monitor: Watch for issues in first 24 hours

Moving from Managed to Unmanaged

When disabling DNS management:

  1. Document: Note reason for change
  2. Disable: Add group to disabled management
  3. Verify: Confirm peers revert to system DNS
  4. Configure: Manually set DNS if needed
  5. Test: Ensure connectivity still works

Next Steps