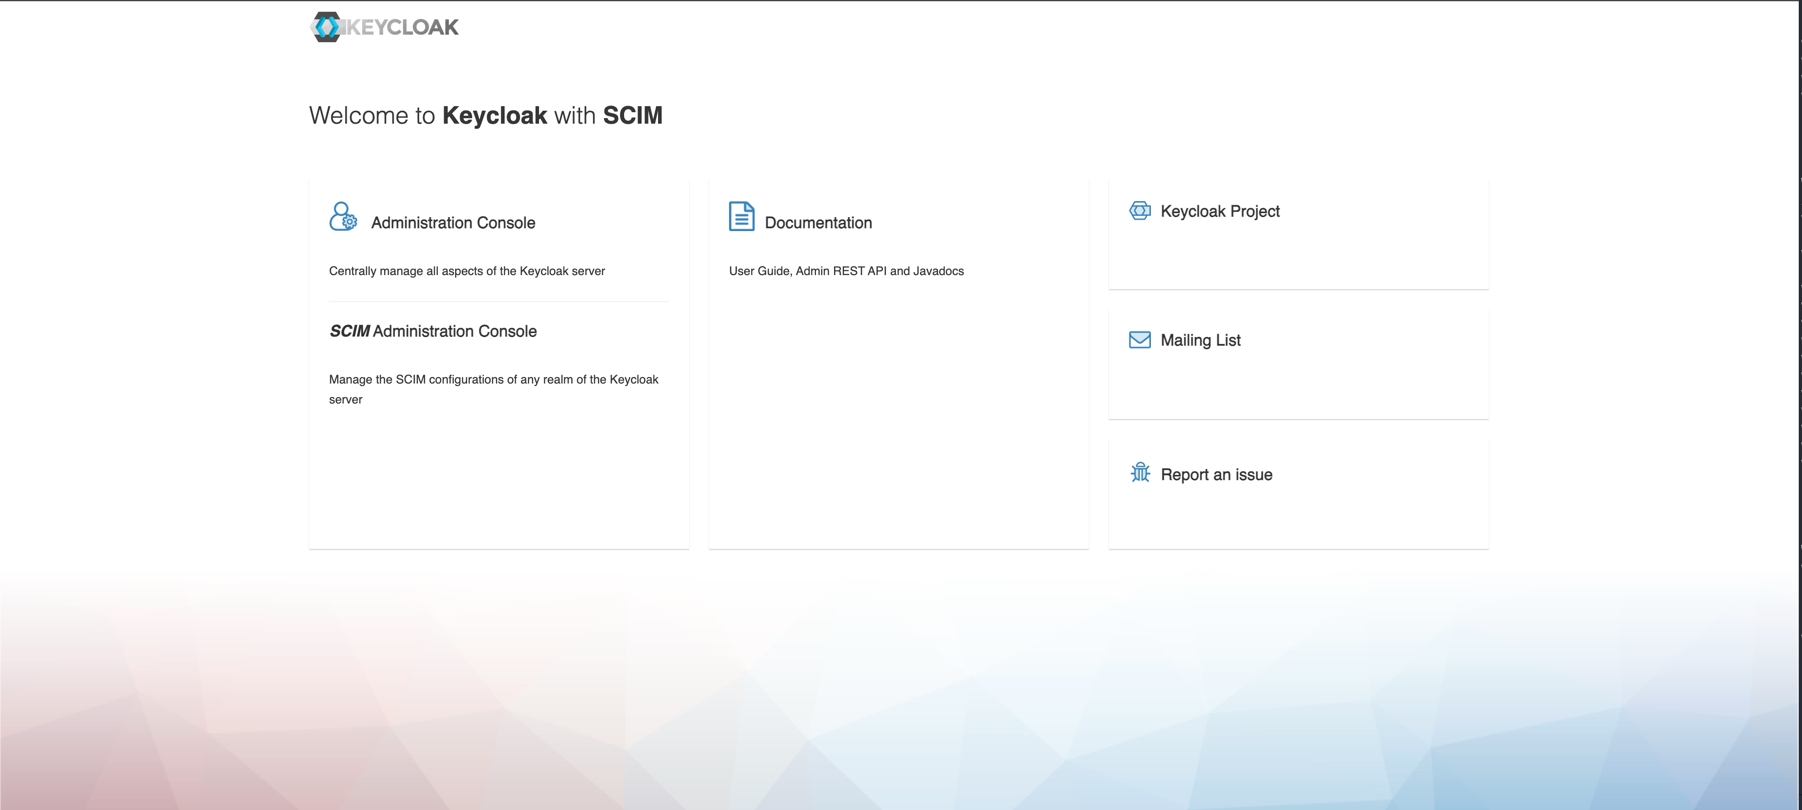
Provision Users and Groups From Keycloak
Keycloak is an open-source identity and access management solution that provides features like single sign-on (SSO), multi-factor authentication (MFA), user federation, and centralized identity management to help organizations secure and manage access to their applications and resources.
NetBird's Keycloak integration enhances user management by allowing you to utilize Keycloak as your identity provider. This integration automates user authentication in your network, adds SSO and MFA support, and simplifies network access management to your applications and resources.
Prerequisites
Before you begin the integration process, ensure you have the necessary permissions in Keycloak. You need:
- The
scim-adminorrealm-adminrole assigned to your user to access the SCIM Administration Console - SCIM for Keycloak plugin installed
Once the SCIM plugin is installed, you should see the SCIM section available in your Keycloak admin console.
Setting Up SSO with Keycloak
Before configuring SCIM provisioning, you must first set up Single Sign-On (SSO) with Keycloak. Please follow the detailed setup instructions in our Single Sign-On guide for Keycloak.
Once SSO is configured, and you can successfully log in to NetBird using your Keycloak credentials, you can proceed with the SCIM setup below.
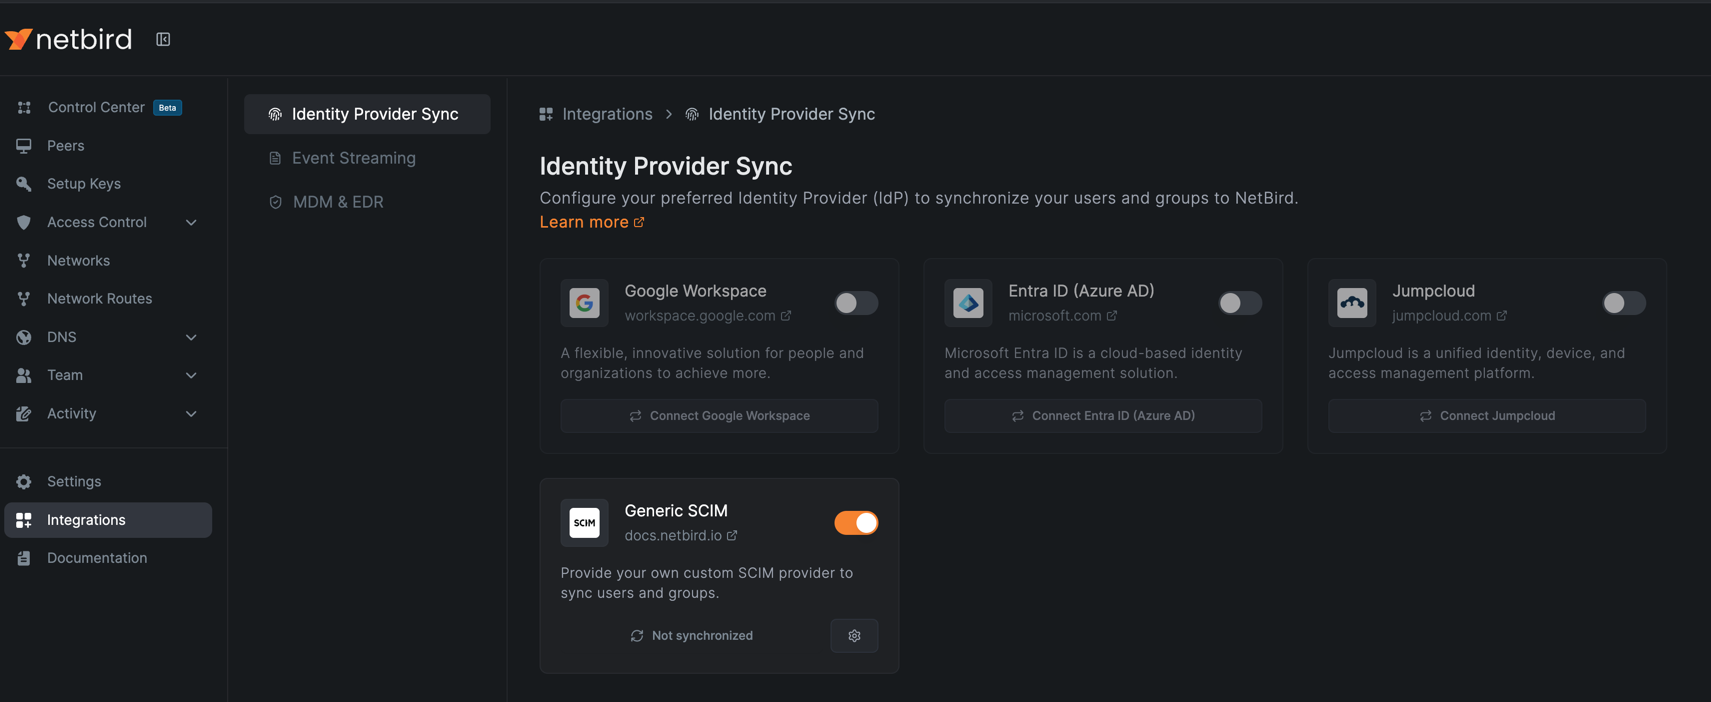
Enabling Keycloak SCIM in NetBird
To enable SCIM synchronization in NetBird, navigate to Integrations > Identity Provider Sync in your NetBird dashboard.
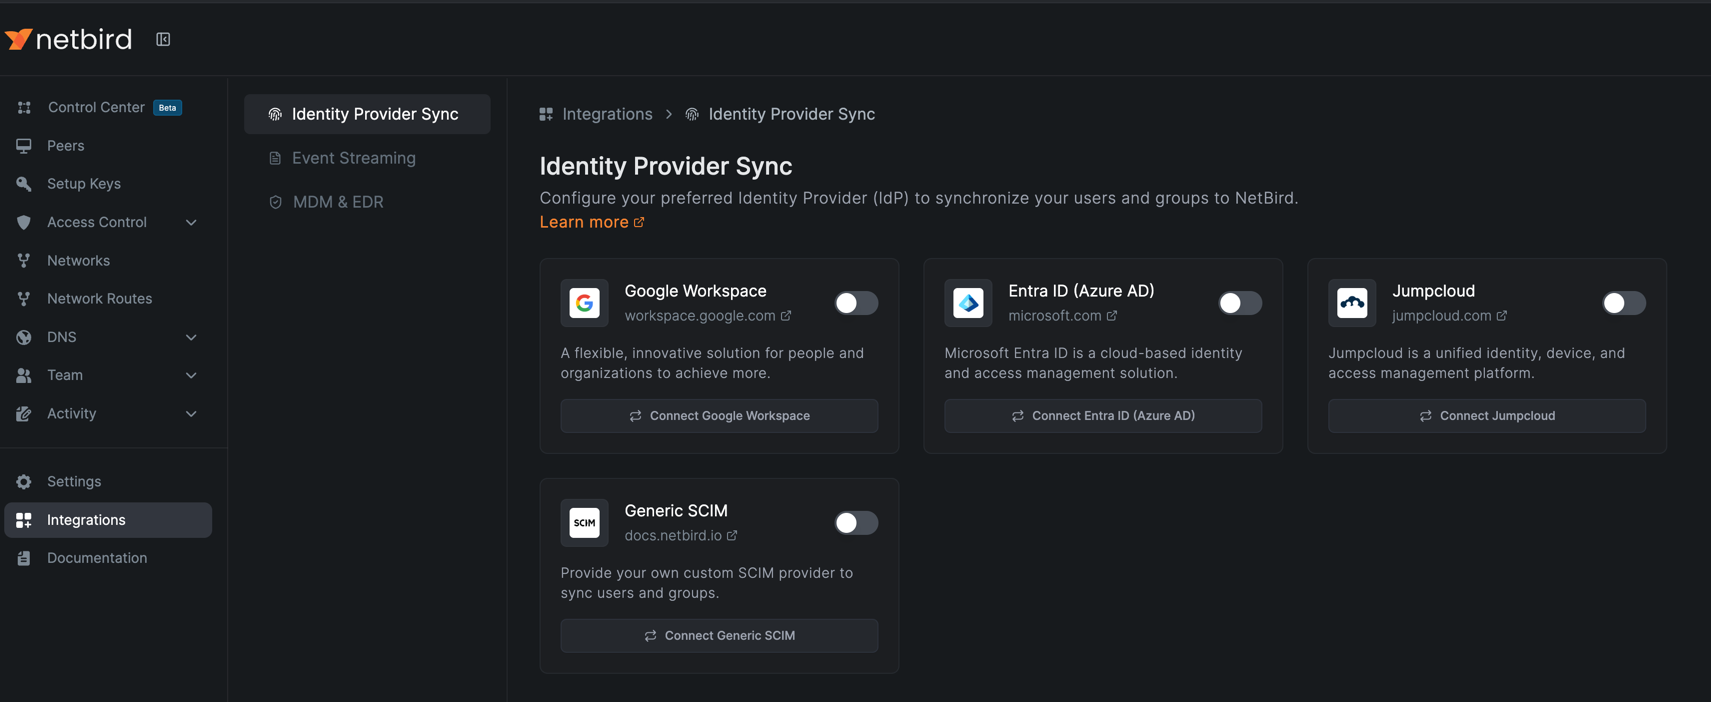
Click the Connect Generic SCIM button to begin the configuration process.
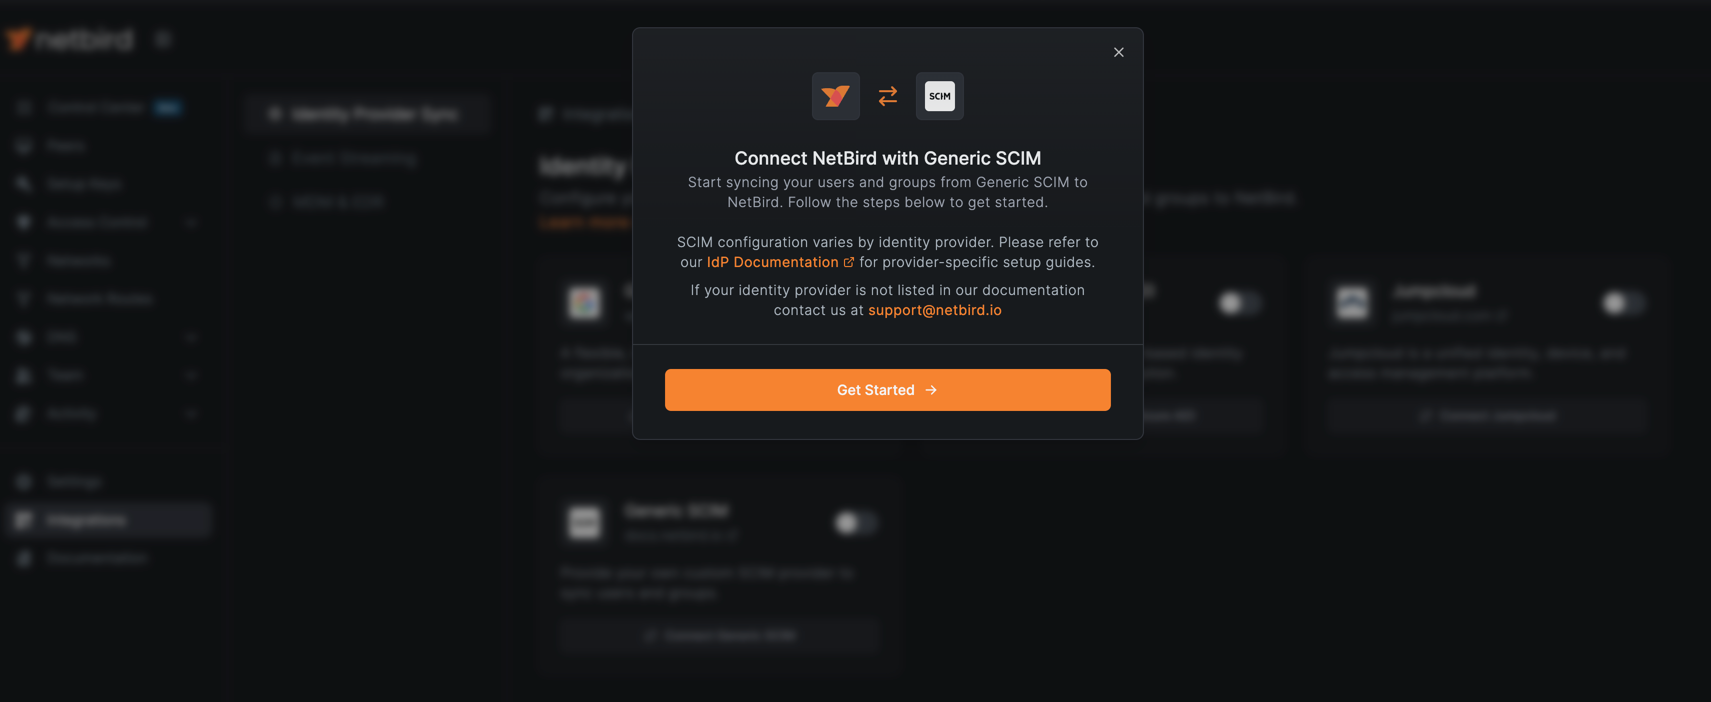
Click Get Started to launch the configuration wizard. You will be guided through several configuration options:
Groups to be synchronized
By default, all groups mapped in the Keycloak SCIM client will be synchronized. If you want to synchronize only groups that start with a specific prefix, you can specify them in the filter. Keep in mind that the prefix matching is case-sensitive.

Click Continue to proceed to the next step.
Users to be synchronized
By default, all users from the mapped groups will be synchronized. If you want to further filter and synchronize only users from specific groups, you can specify those group names in the filter. The group name matching is case-sensitive.
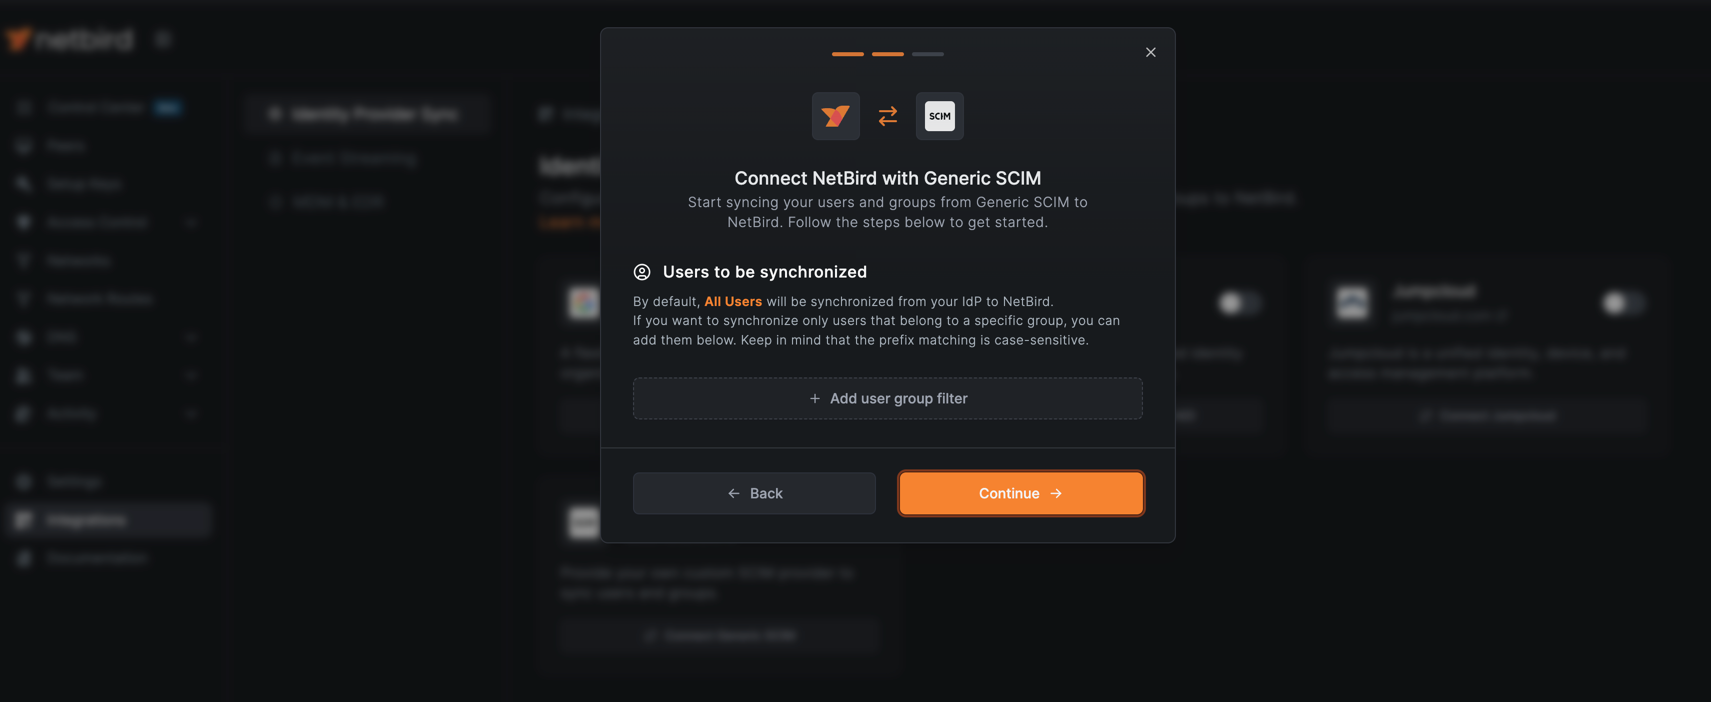
Click Continue to generate your SCIM credentials.
SCIM Credentials
NetBird will generate the SCIM credentials required to configure Keycloak. Make note of both the Base URL and Token Key as you will need them in the next section to complete the Keycloak configuration.

Click Finish Setup to complete the NetBird SCIM configuration.
You can now proceed to configure the SCIM client in Keycloak using the credentials generated above.
Configure SCIM Client in Keycloak
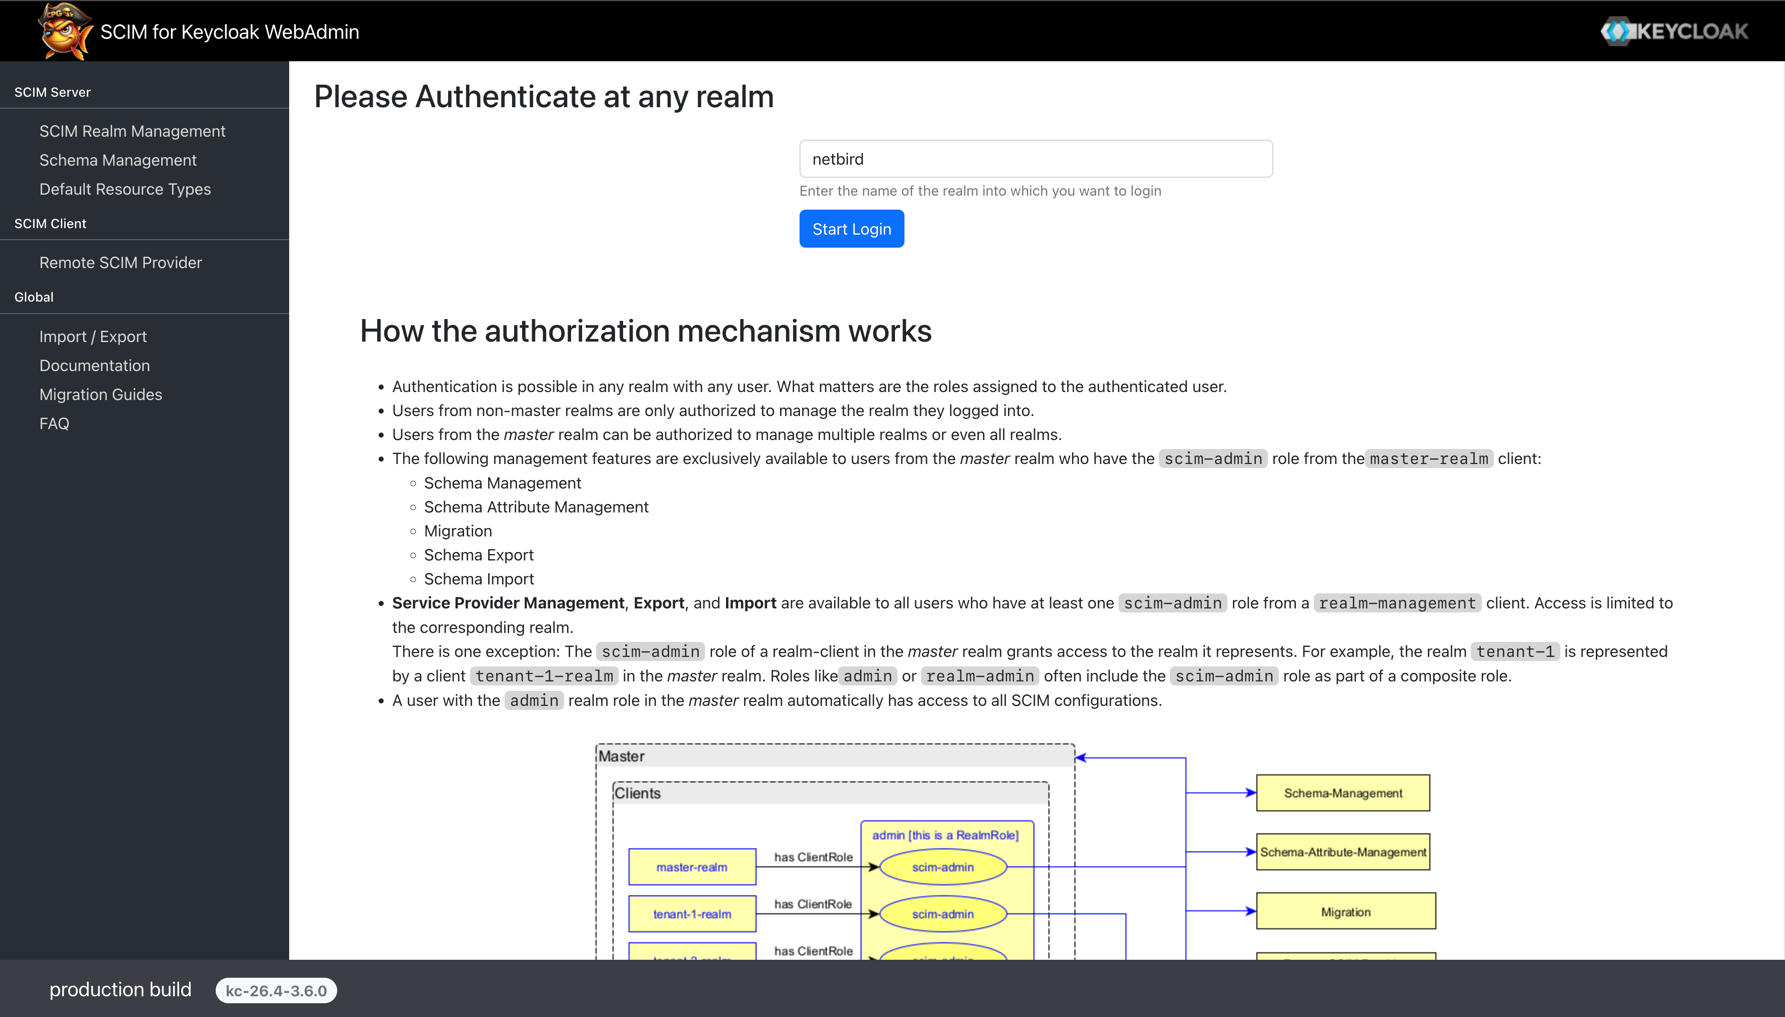
To configure SCIM in Keycloak, you need to access the SCIM Administration Console and create a service provider configuration.
Navigate to the SCIM Administration Console. On the first login screen, enter your realm name (e.g., netbird) and click Start Login.
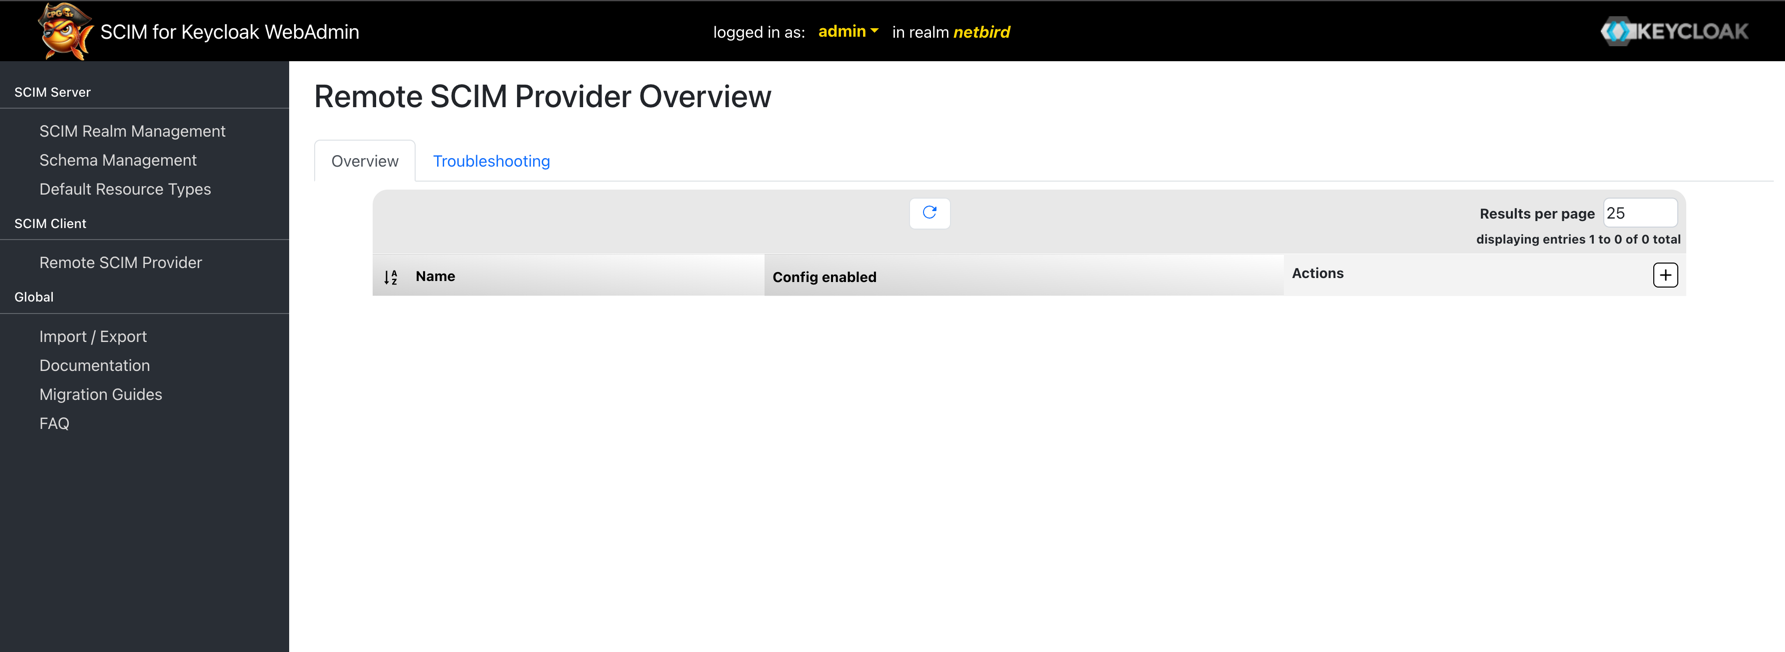
Once logged in, navigate to the SCIM Client menu and click on Remote SCIM Provider. Then click the + button to add a new service provider configuration.
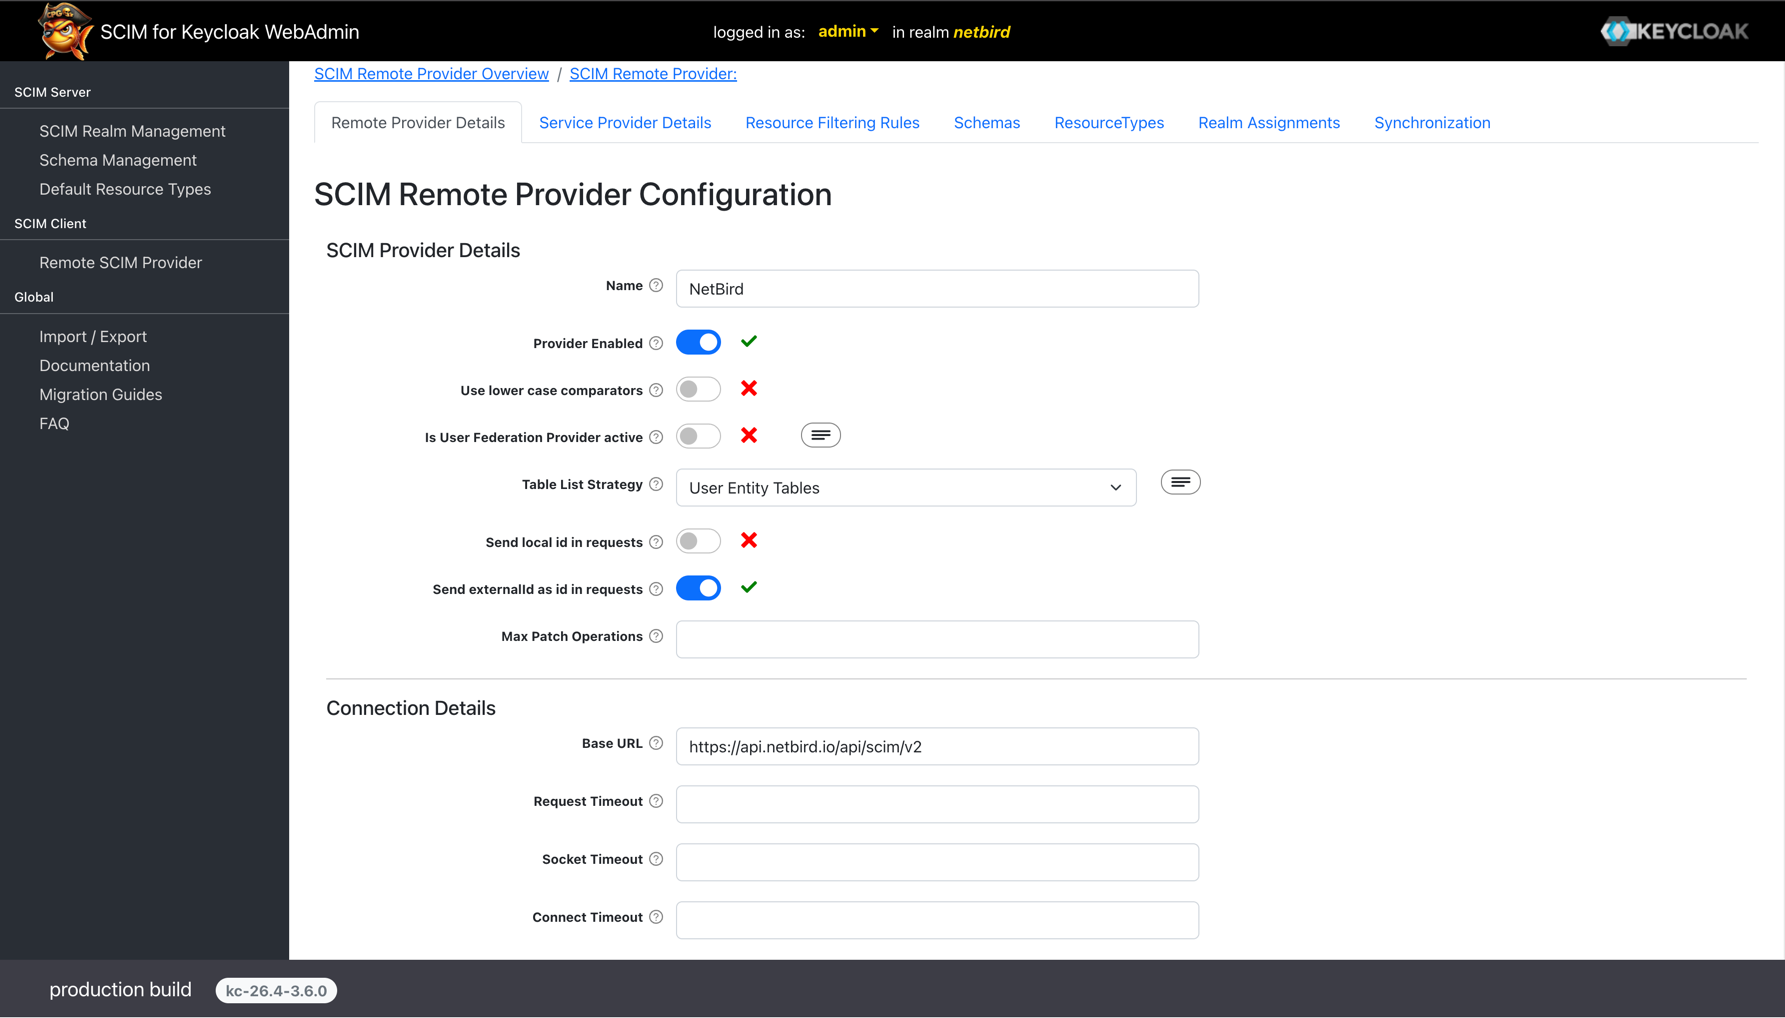
In the SCIM Remote Provider Configuration form, fill out the following sections:
SCIM Provider Details:
- Name:
NetBird - Provider Enabled: Enable this checkbox
- Is User Federation Provider active: Enable this checkbox only if you are using a federation provider like LDAP. Otherwise, leave it disabled
- Send externalId as id in requests: Enable this checkbox
Connection Details:
- Base URL: Paste the Base URL you copied from NetBird (e.g.,
https://api.netbird.io/api/scim/v2) - Hostname-Verifier Enabled: Enable this checkbox
Authentication:
- Authentication Type: Select
Long Life Bearer Token Authentication - Bearer Token: Paste the Token Key you copied from NetBird
Click Add to save the configuration.

After adding the configuration, click Save Configuration and then click Use default Configuration to apply the settings.
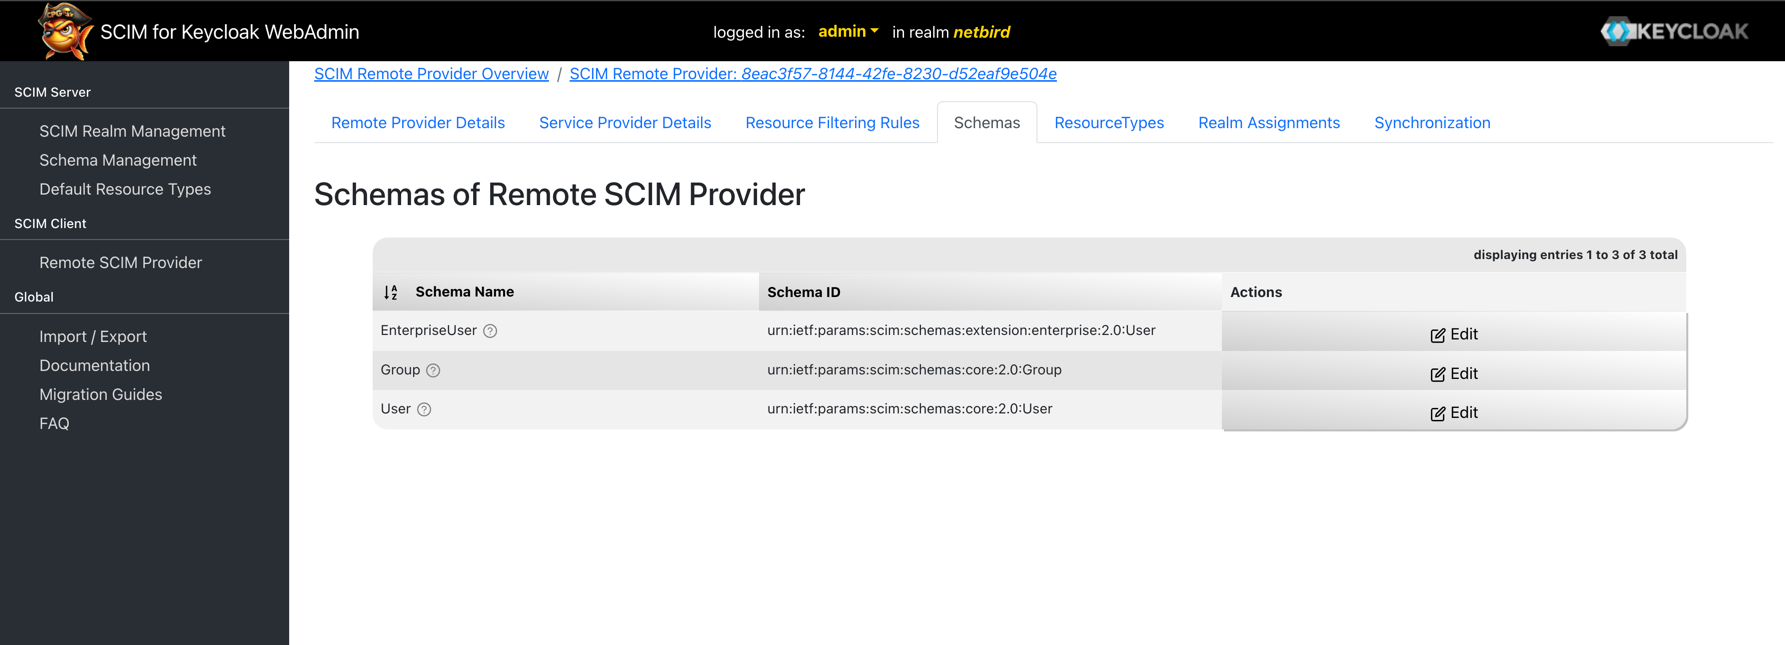
The default schema for the SCIM provider will be created automatically.
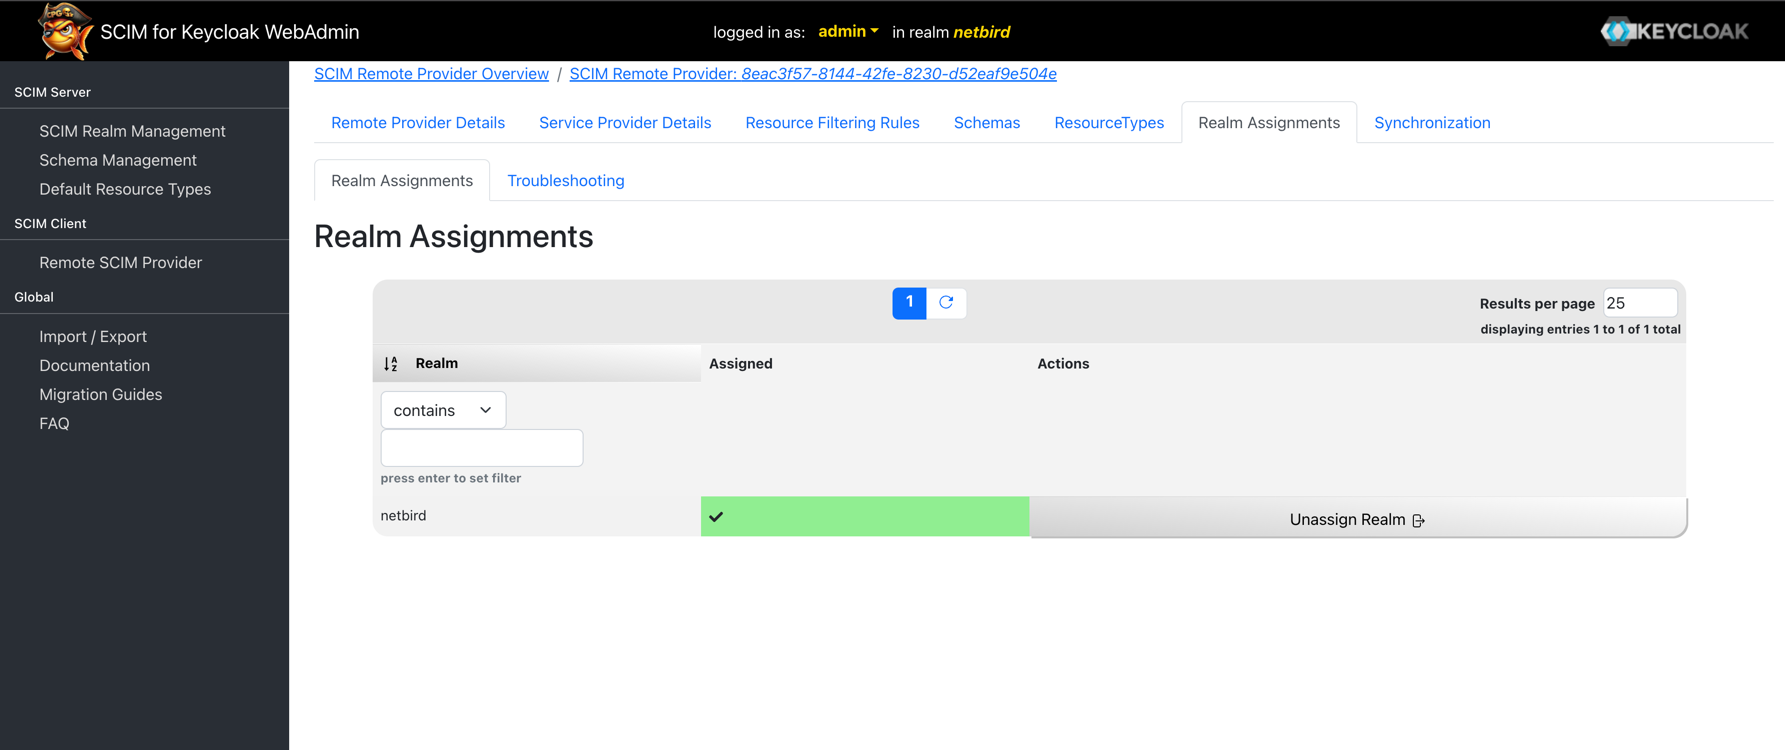
Next, assign the SCIM provider to your realm. Click the Realm Assignment tab to view all available realms.
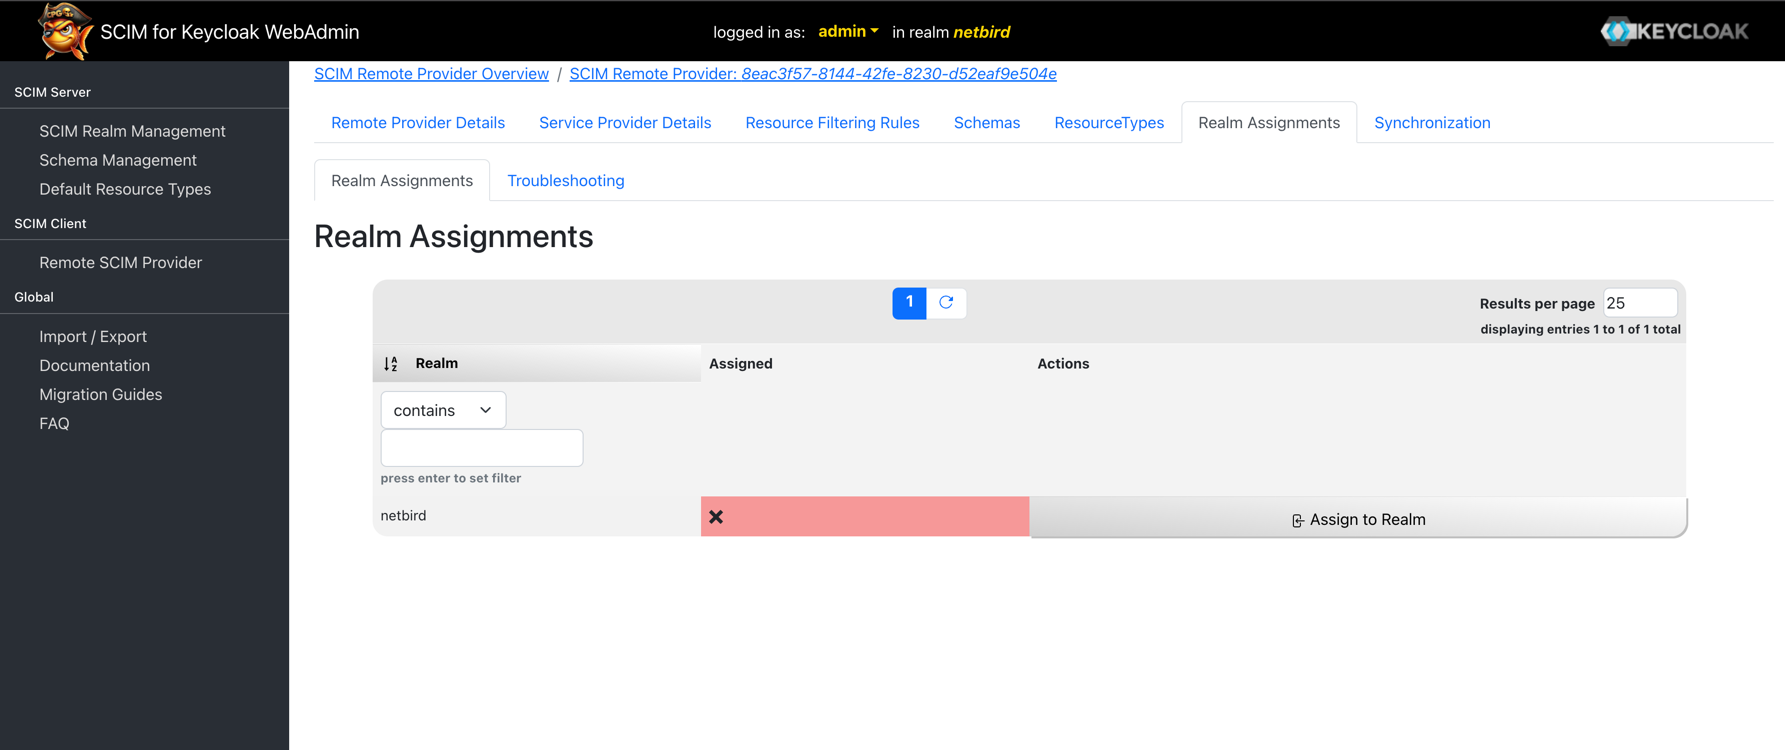
Find your realm (e.g., netbird) and click Assign to Realm to enable SCIM synchronization for that realm.
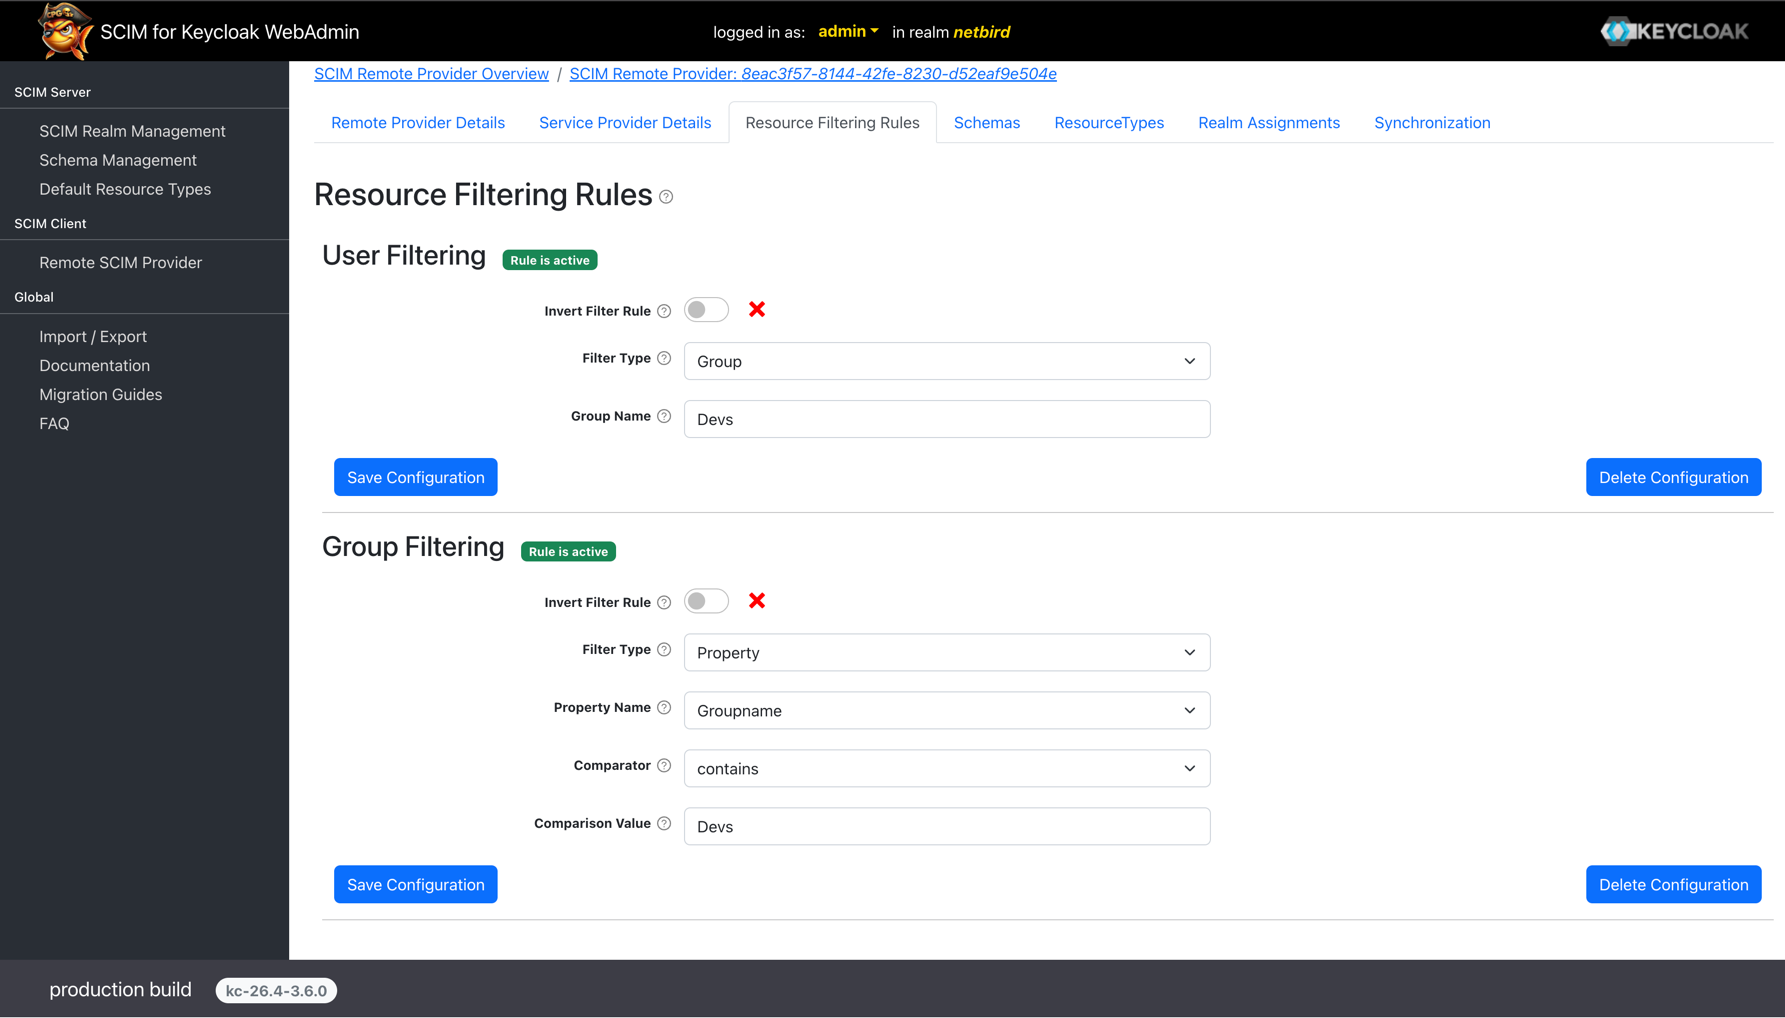
Configure Resource Filtering
By default, the SCIM provider will synchronize all groups and users from your Keycloak realm to NetBird. To control which specific groups and users should be synchronized, you need to configure resource filtering rules.
Under the SCIM Client menu section, click on Remote SCIM Provider, then click Edit in the NetBird provider row.
Select the Resource Filtering Rules tab.
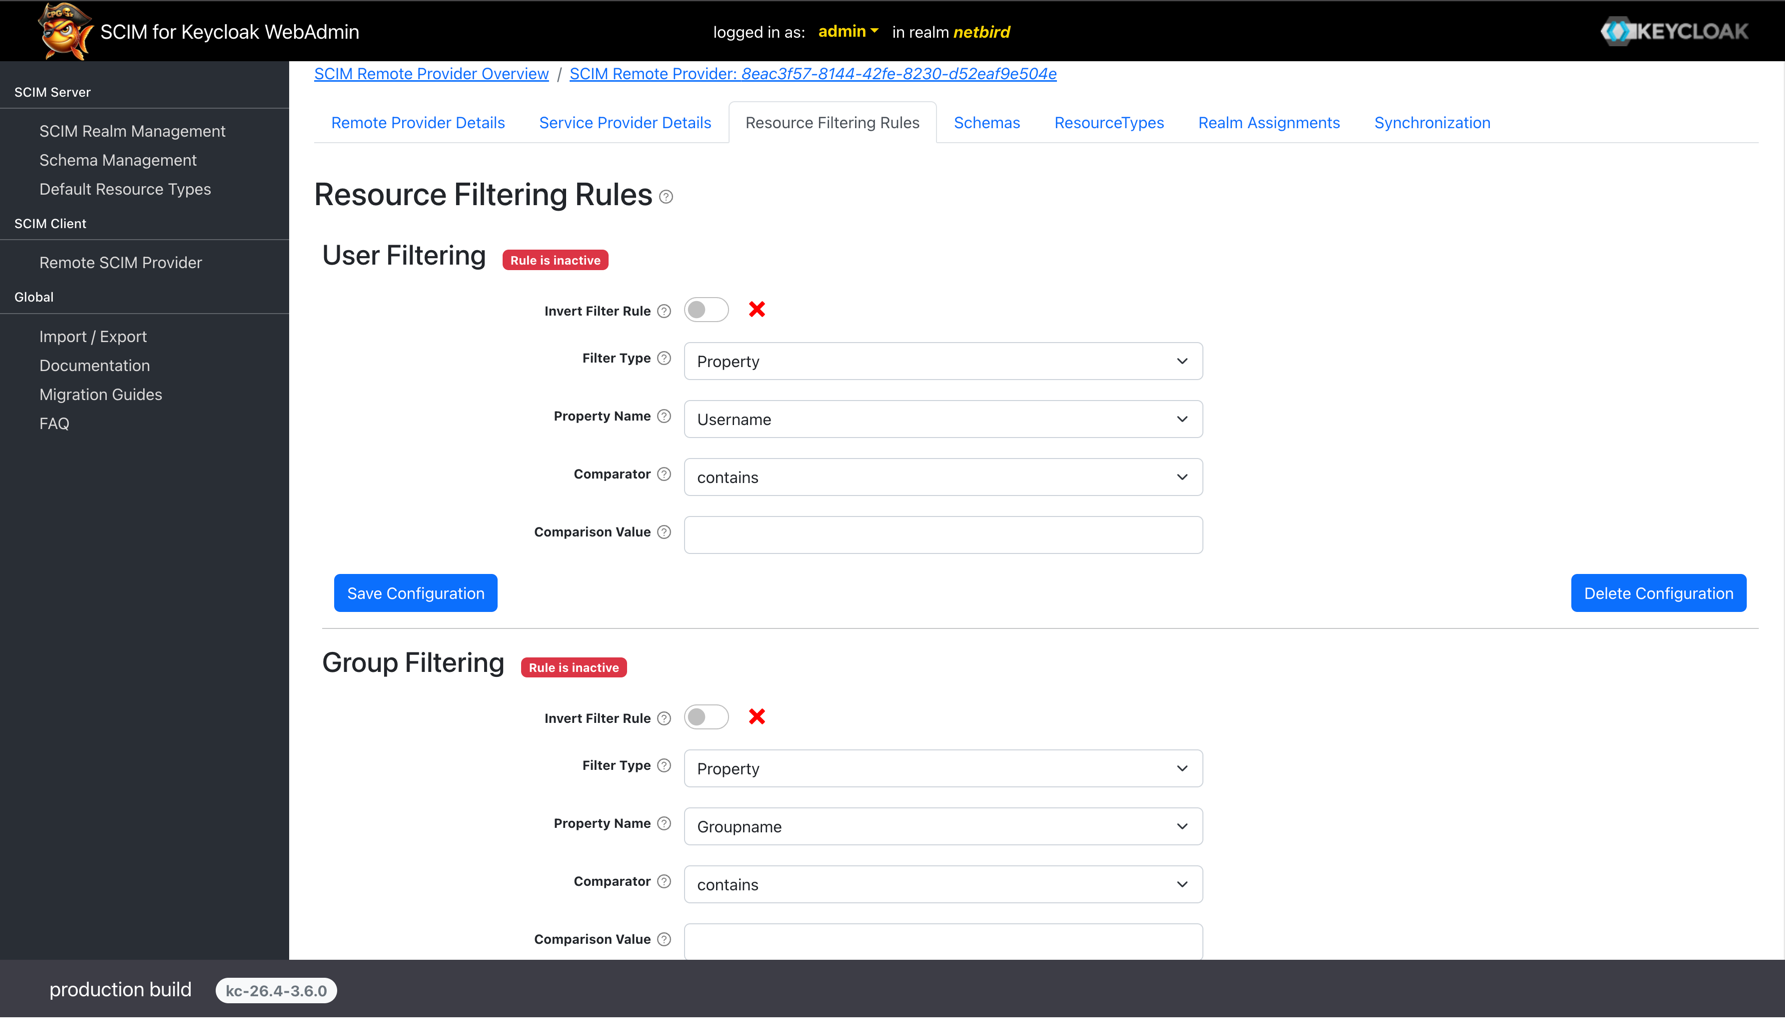
User Filtering
To synchronize only users from specific groups, configure the user filtering rule and click Save Configuration:
- Invert Filter Rule: Leave this checkbox disabled
- Filter Type: Select
Group - Group Name: Enter the name of the group to sync users from
Group Filtering
To synchronize only groups that match specific criteria, configure the group filtering rule and click Save Configuration:
- Invert Filter Rule: Leave this checkbox disabled
- Filter Type: Select
Property - Property Name: Enter
Groupname - Comparator: Select
Contains - Comparison Value: Enter the text that should be contained in the group name
By default, Keycloak SCIM will not automatically push existing users and groups after the initial configuration.
To synchronize existing resources, navigate to Synchronization tab. Here you will find two tabs for Users and
Groups where you can manually trigger the initial sync.
Verify Synchronization
After configuring mappings in Keycloak, the synchronization will begin based on your schedule settings. You can verify that users and groups
have been successfully synchronized by navigating to Team > Users in your NetBird dashboard.
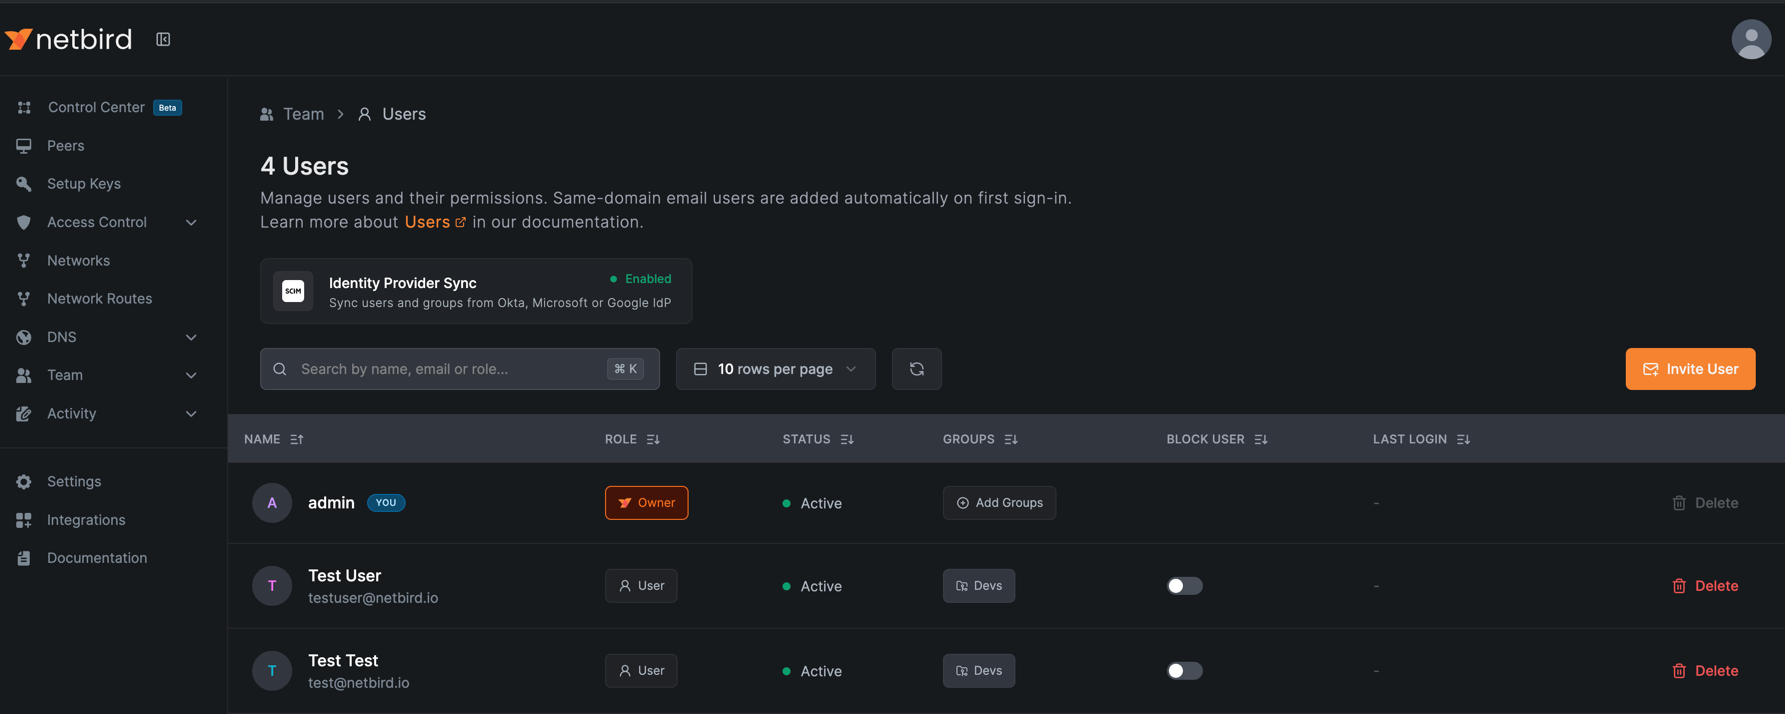
SCIM provisioning will manage only resources that are created through Keycloak. Any resources created directly in NetBird will not be managed by SCIM.
Synced groups will only be available for membership and will not change the role of user in NetBird