Enable NetBird for Microsoft Entra ID
Updated
Before your organization can use Microsoft Entra ID features with NetBird — such as user provisioning, group sync, or single sign-on — you need to enable the NetBird enterprise application in your Entra ID tenant and grant admin consent.
Prerequisites
- A Microsoft Entra ID tenant
- An account with Global Administrator or Cloud Application Administrator role
Step 1: Find the NetBird Enterprise Application
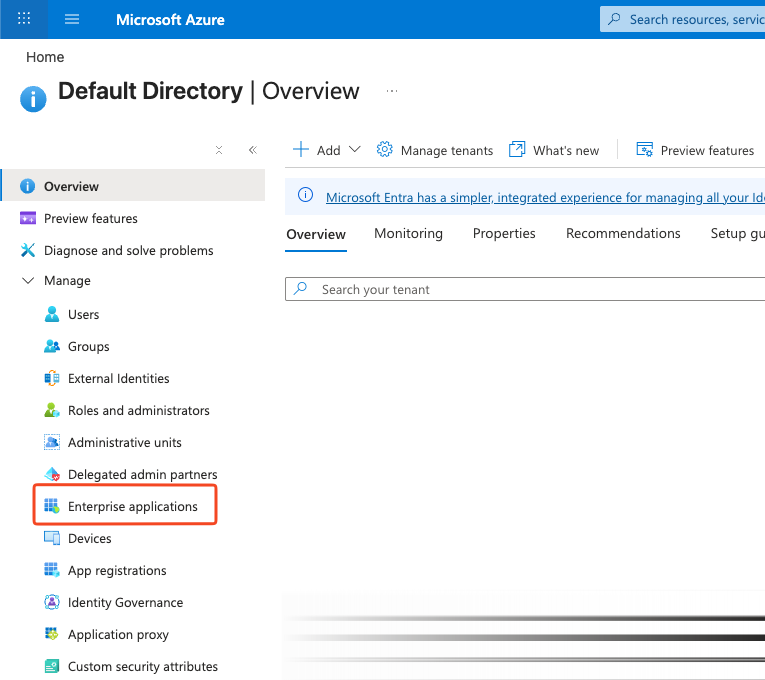
- Sign in to the Azure portal
- Navigate to Home → Microsoft Entra ID → Enterprise Applications
- Search for the application with Application ID:
7a7538de-b7ed-4e49-befe-edbe74d5e0a1 - Select the NetBird application from the results
Step 2: Grant Admin Consent
- In the NetBird application overview, click Permissions in the left menu
- Click Grant admin consent for Default Directory
- Review the requested permissions and confirm

Granting admin consent allows NetBird to access the necessary directory data for your organization. This is a one-time setup step.
Next Steps
Once admin consent is granted, you can configure Entra ID integration with NetBird: