Zitadel on NetBird Cloud
Updated
You can use Zitadel as your Identity Provider with NetBird, but it will require some additional configuration steps. Zitadel is an open-source, API-first identity infrastructure platform built with multi-tenancy at its core. It provides single sign-on, passwordless authentication, role-based access control, and supports OpenID Connect, OAuth 2.0, and SAML.
Support for OIDC-compliant IdPs is available on the Team plan and higher. The Free plan supports Google, Microsoft, and social logins.
Step 1: Create a New Project (Optional)
This step is optional. You can skip it and create the application directly in an existing project.
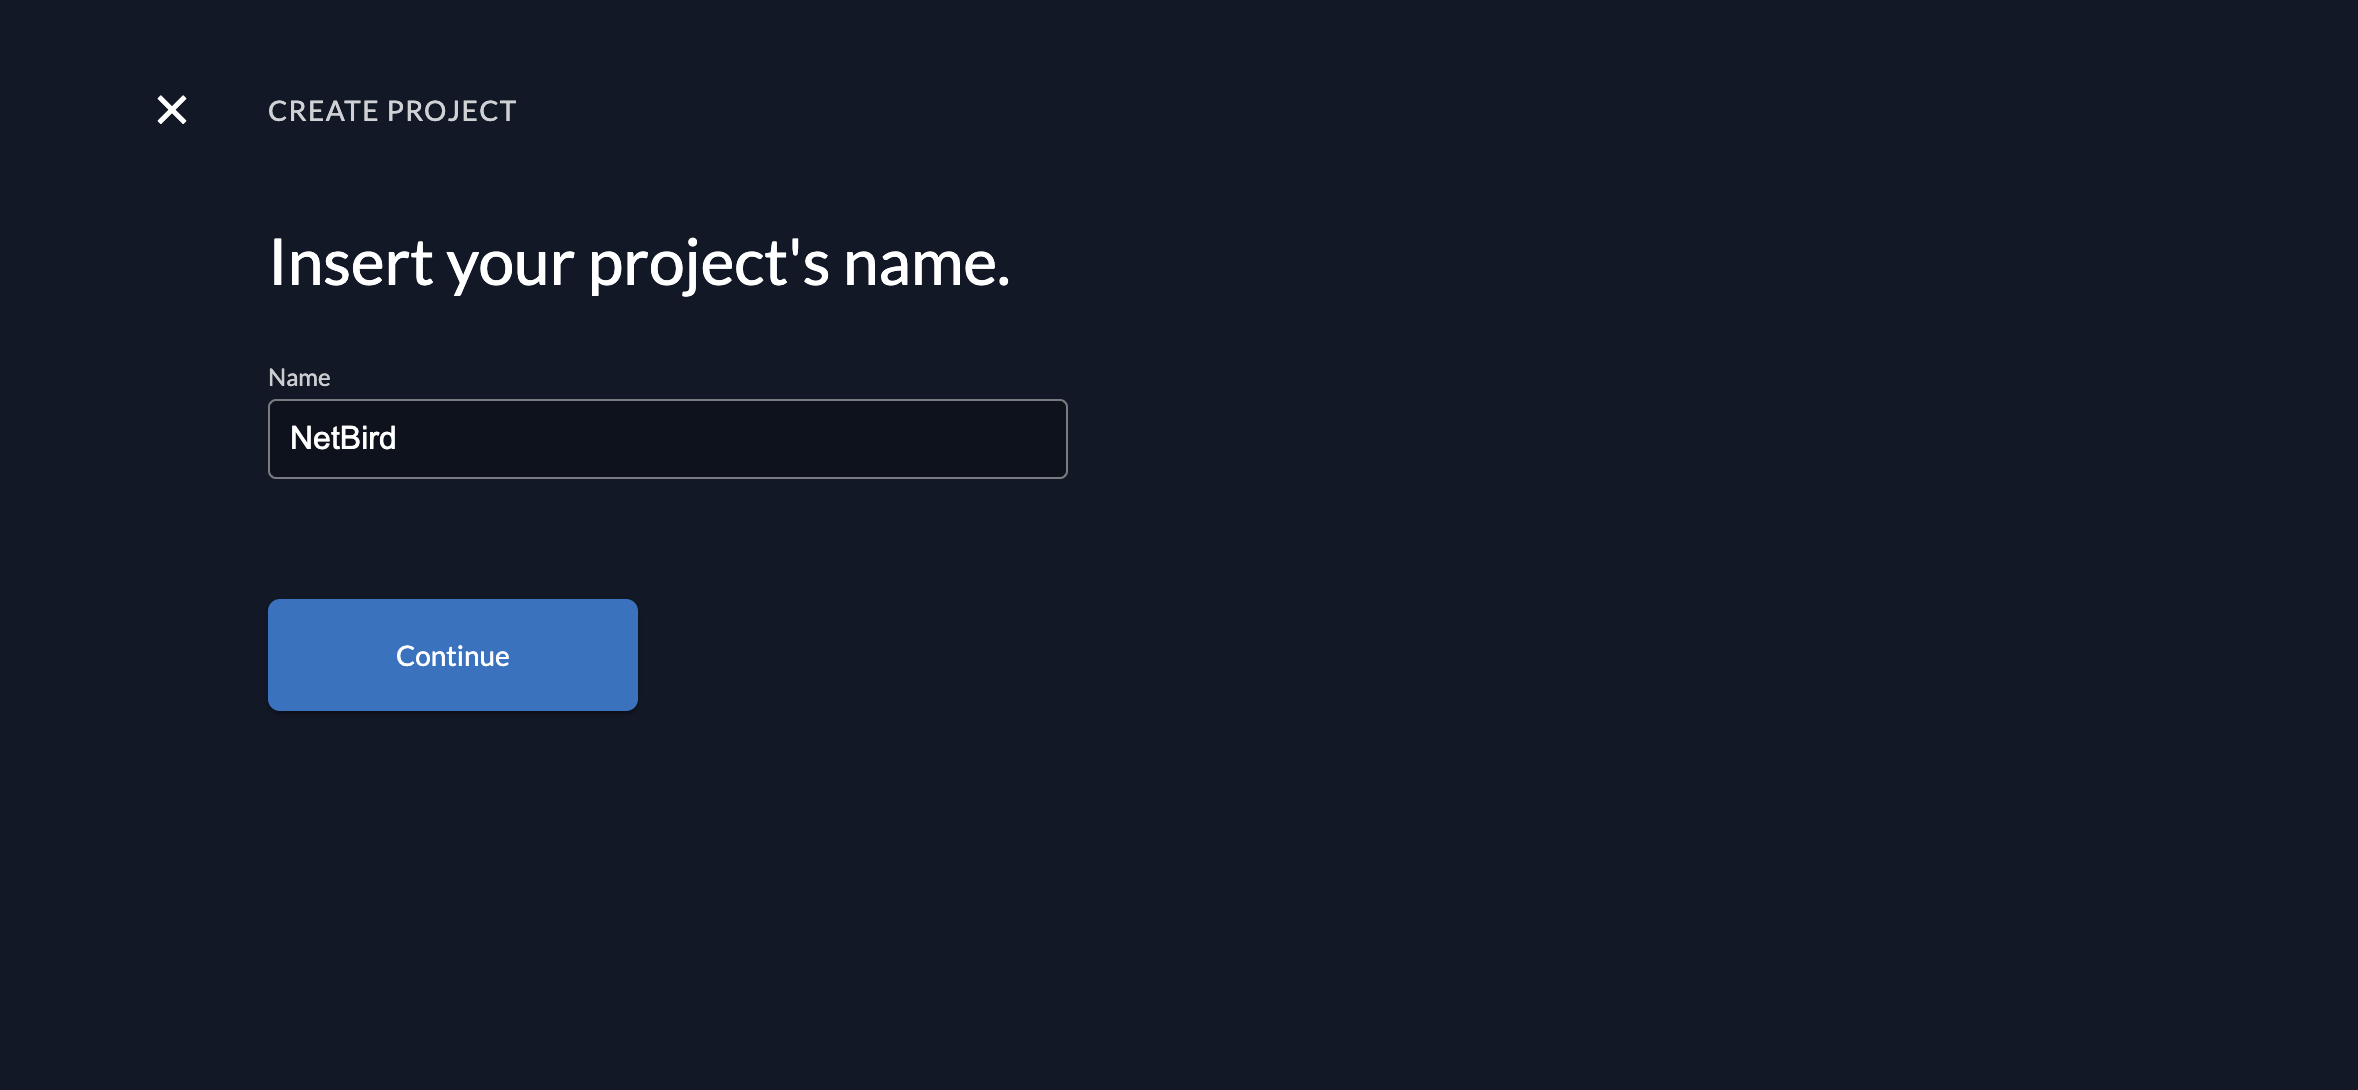
Log in to your Zitadel console at https://<your-instance>.zitadel.cloud. Navigate to Projects and click + Create New Project. Enter NetBird as the project name and click Continue.
You should see the project dashboard once the project is created.
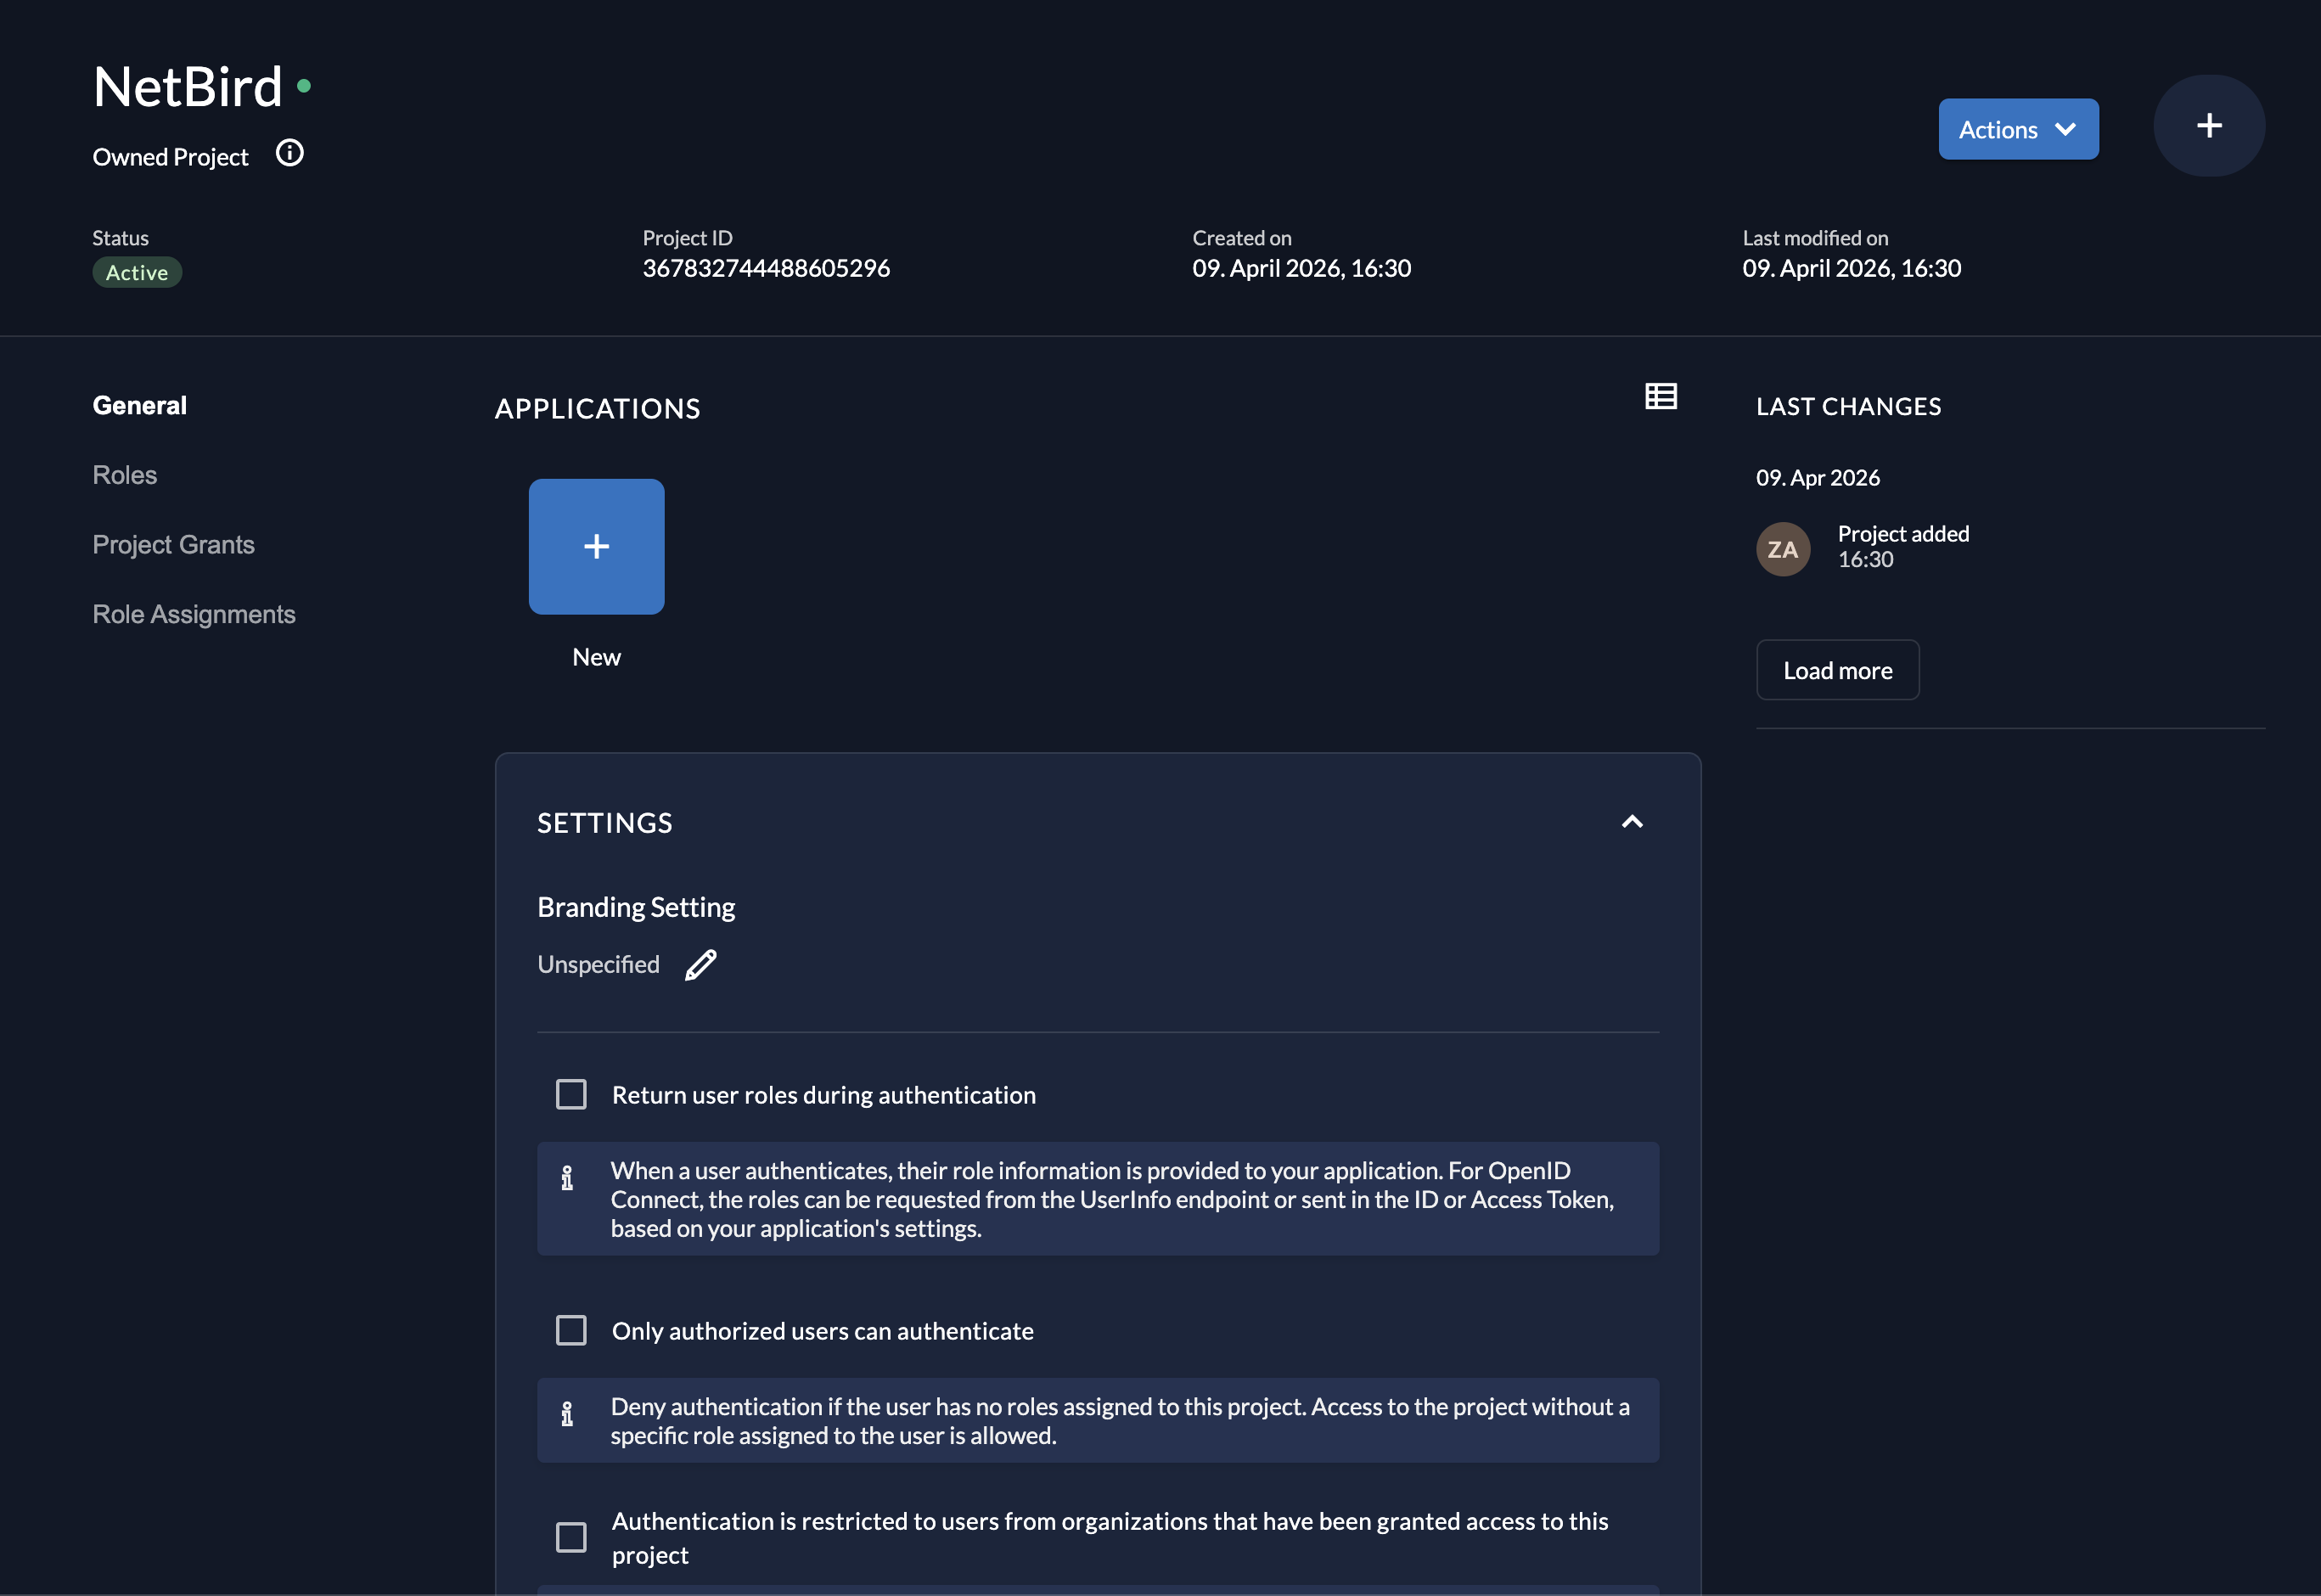
Step 2: Create a New Application
Inside your project, click + New to create a new application. Configure the following:
- Name:
NetBird - Type:
Web
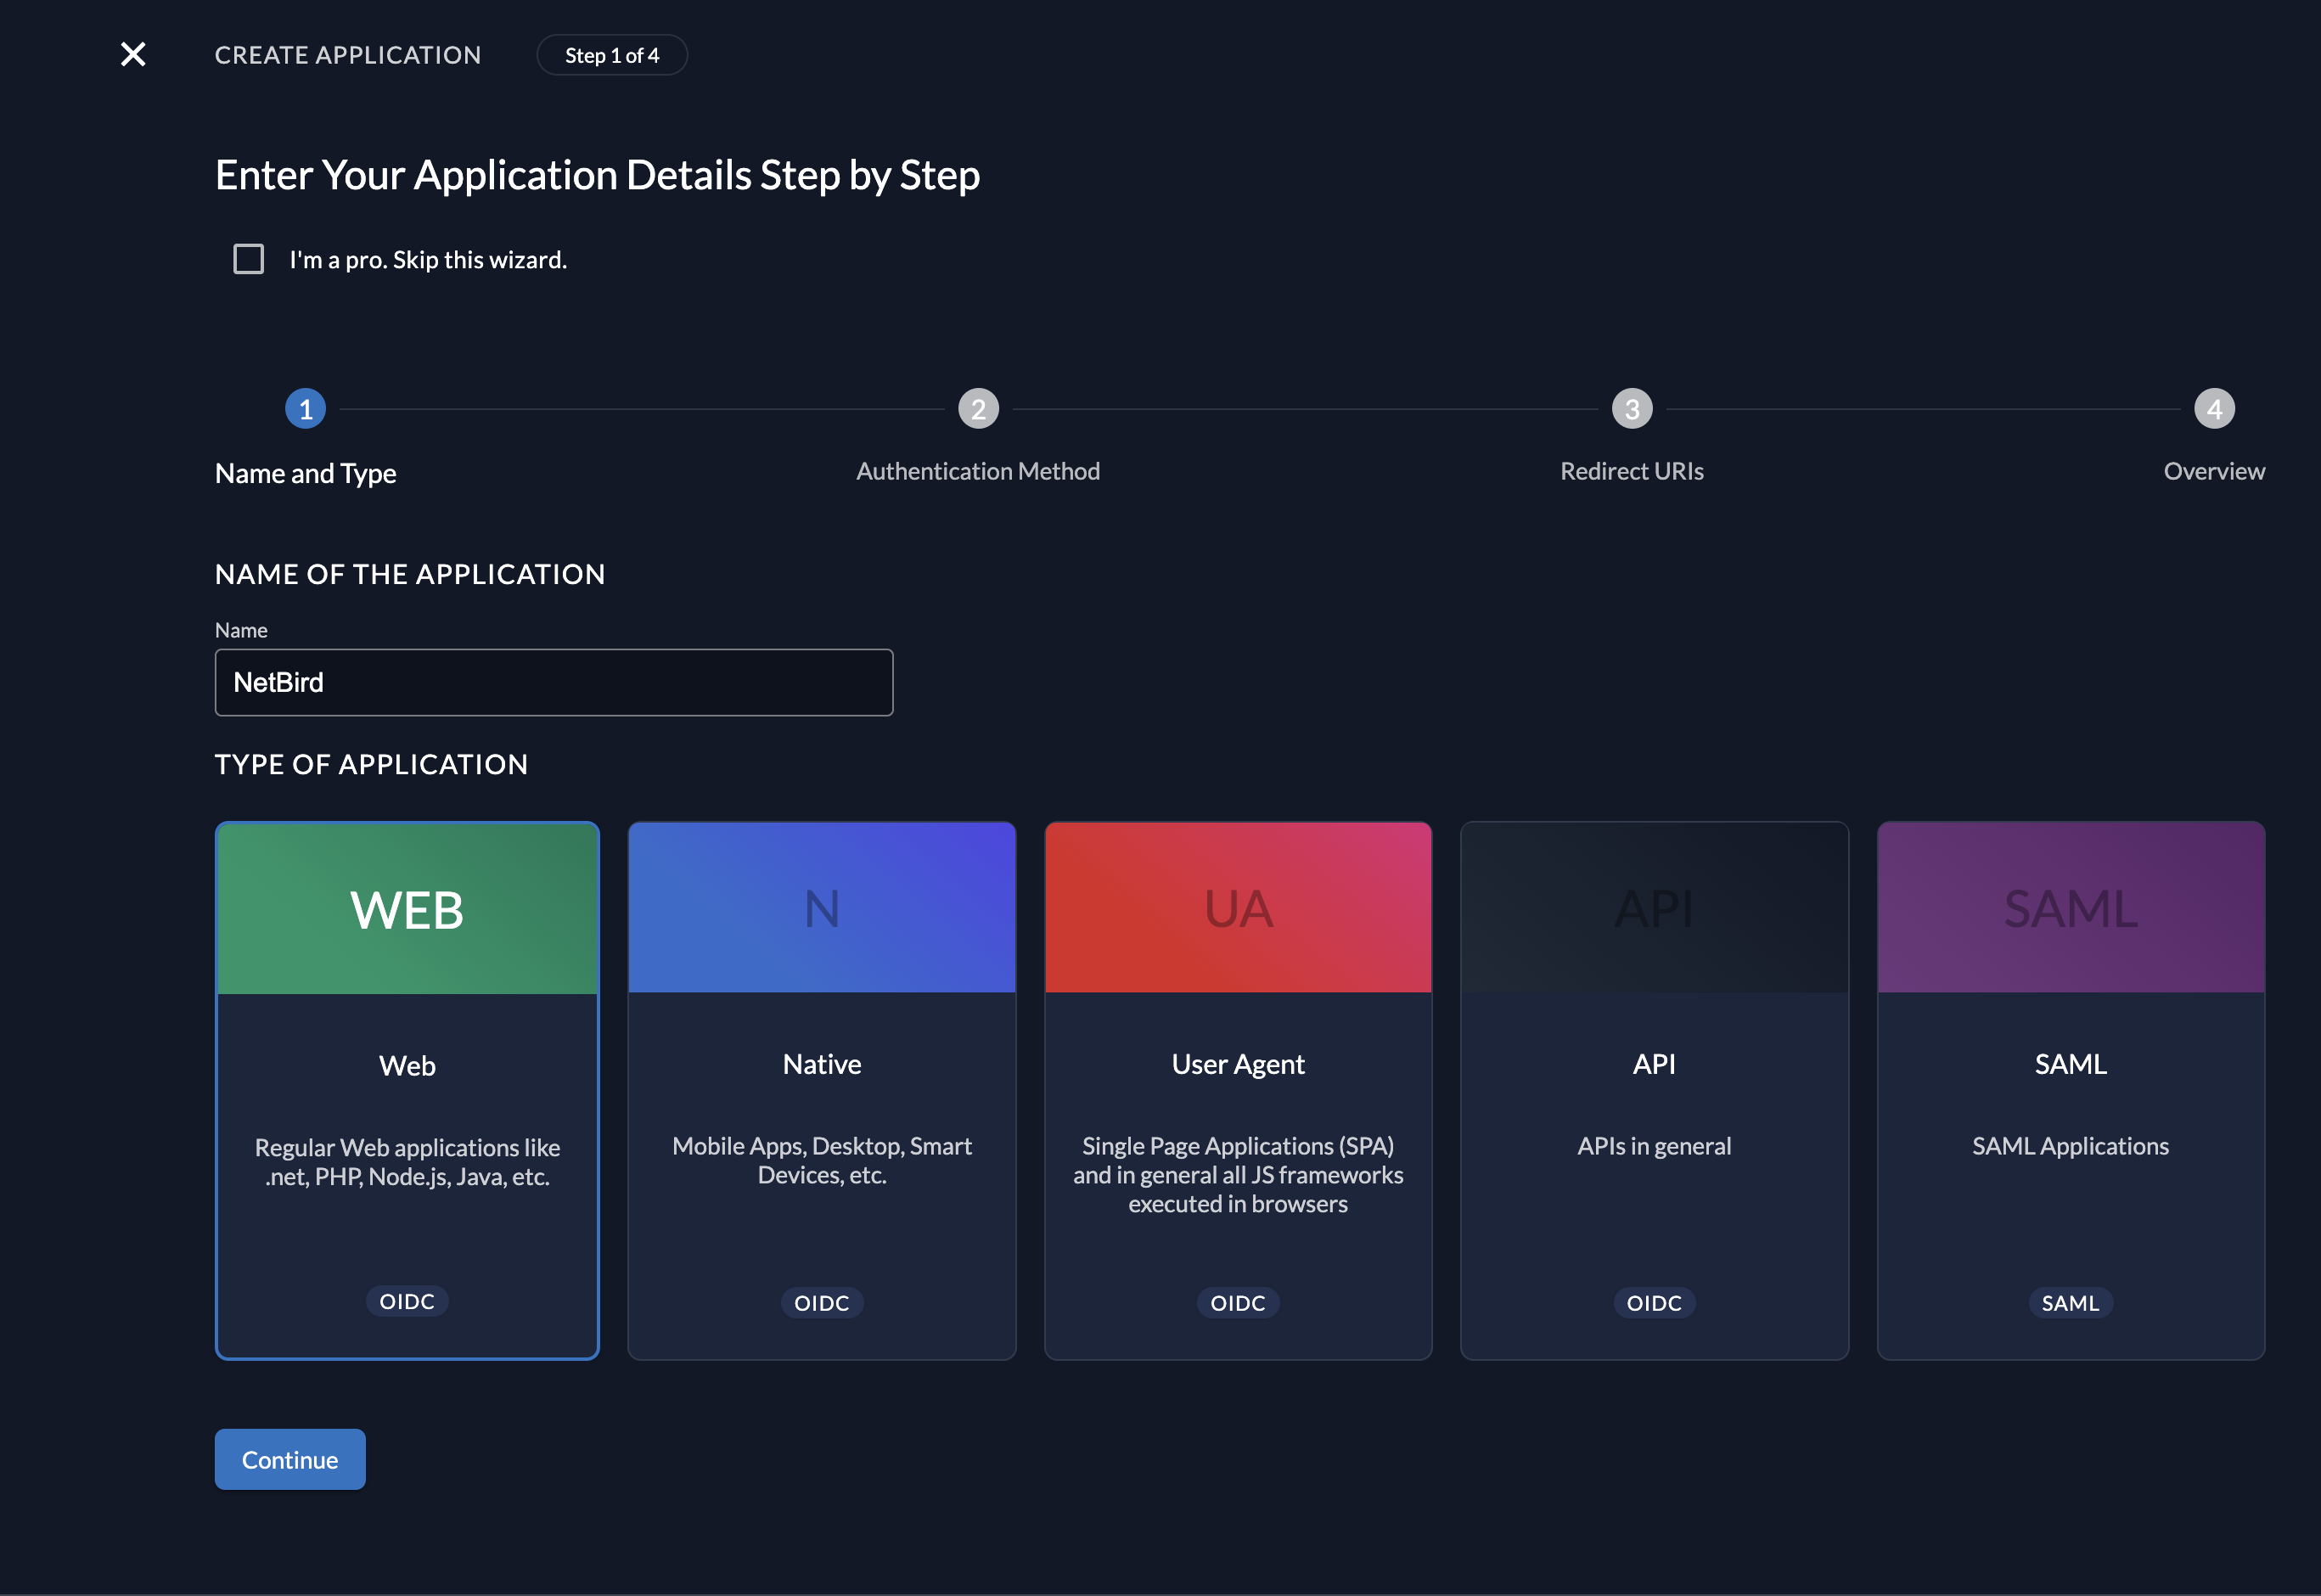
Click Continue.
Step 3: Configure Authentication Method
Select Code as the authentication method. This enables the Authorization Code flow with a client secret.
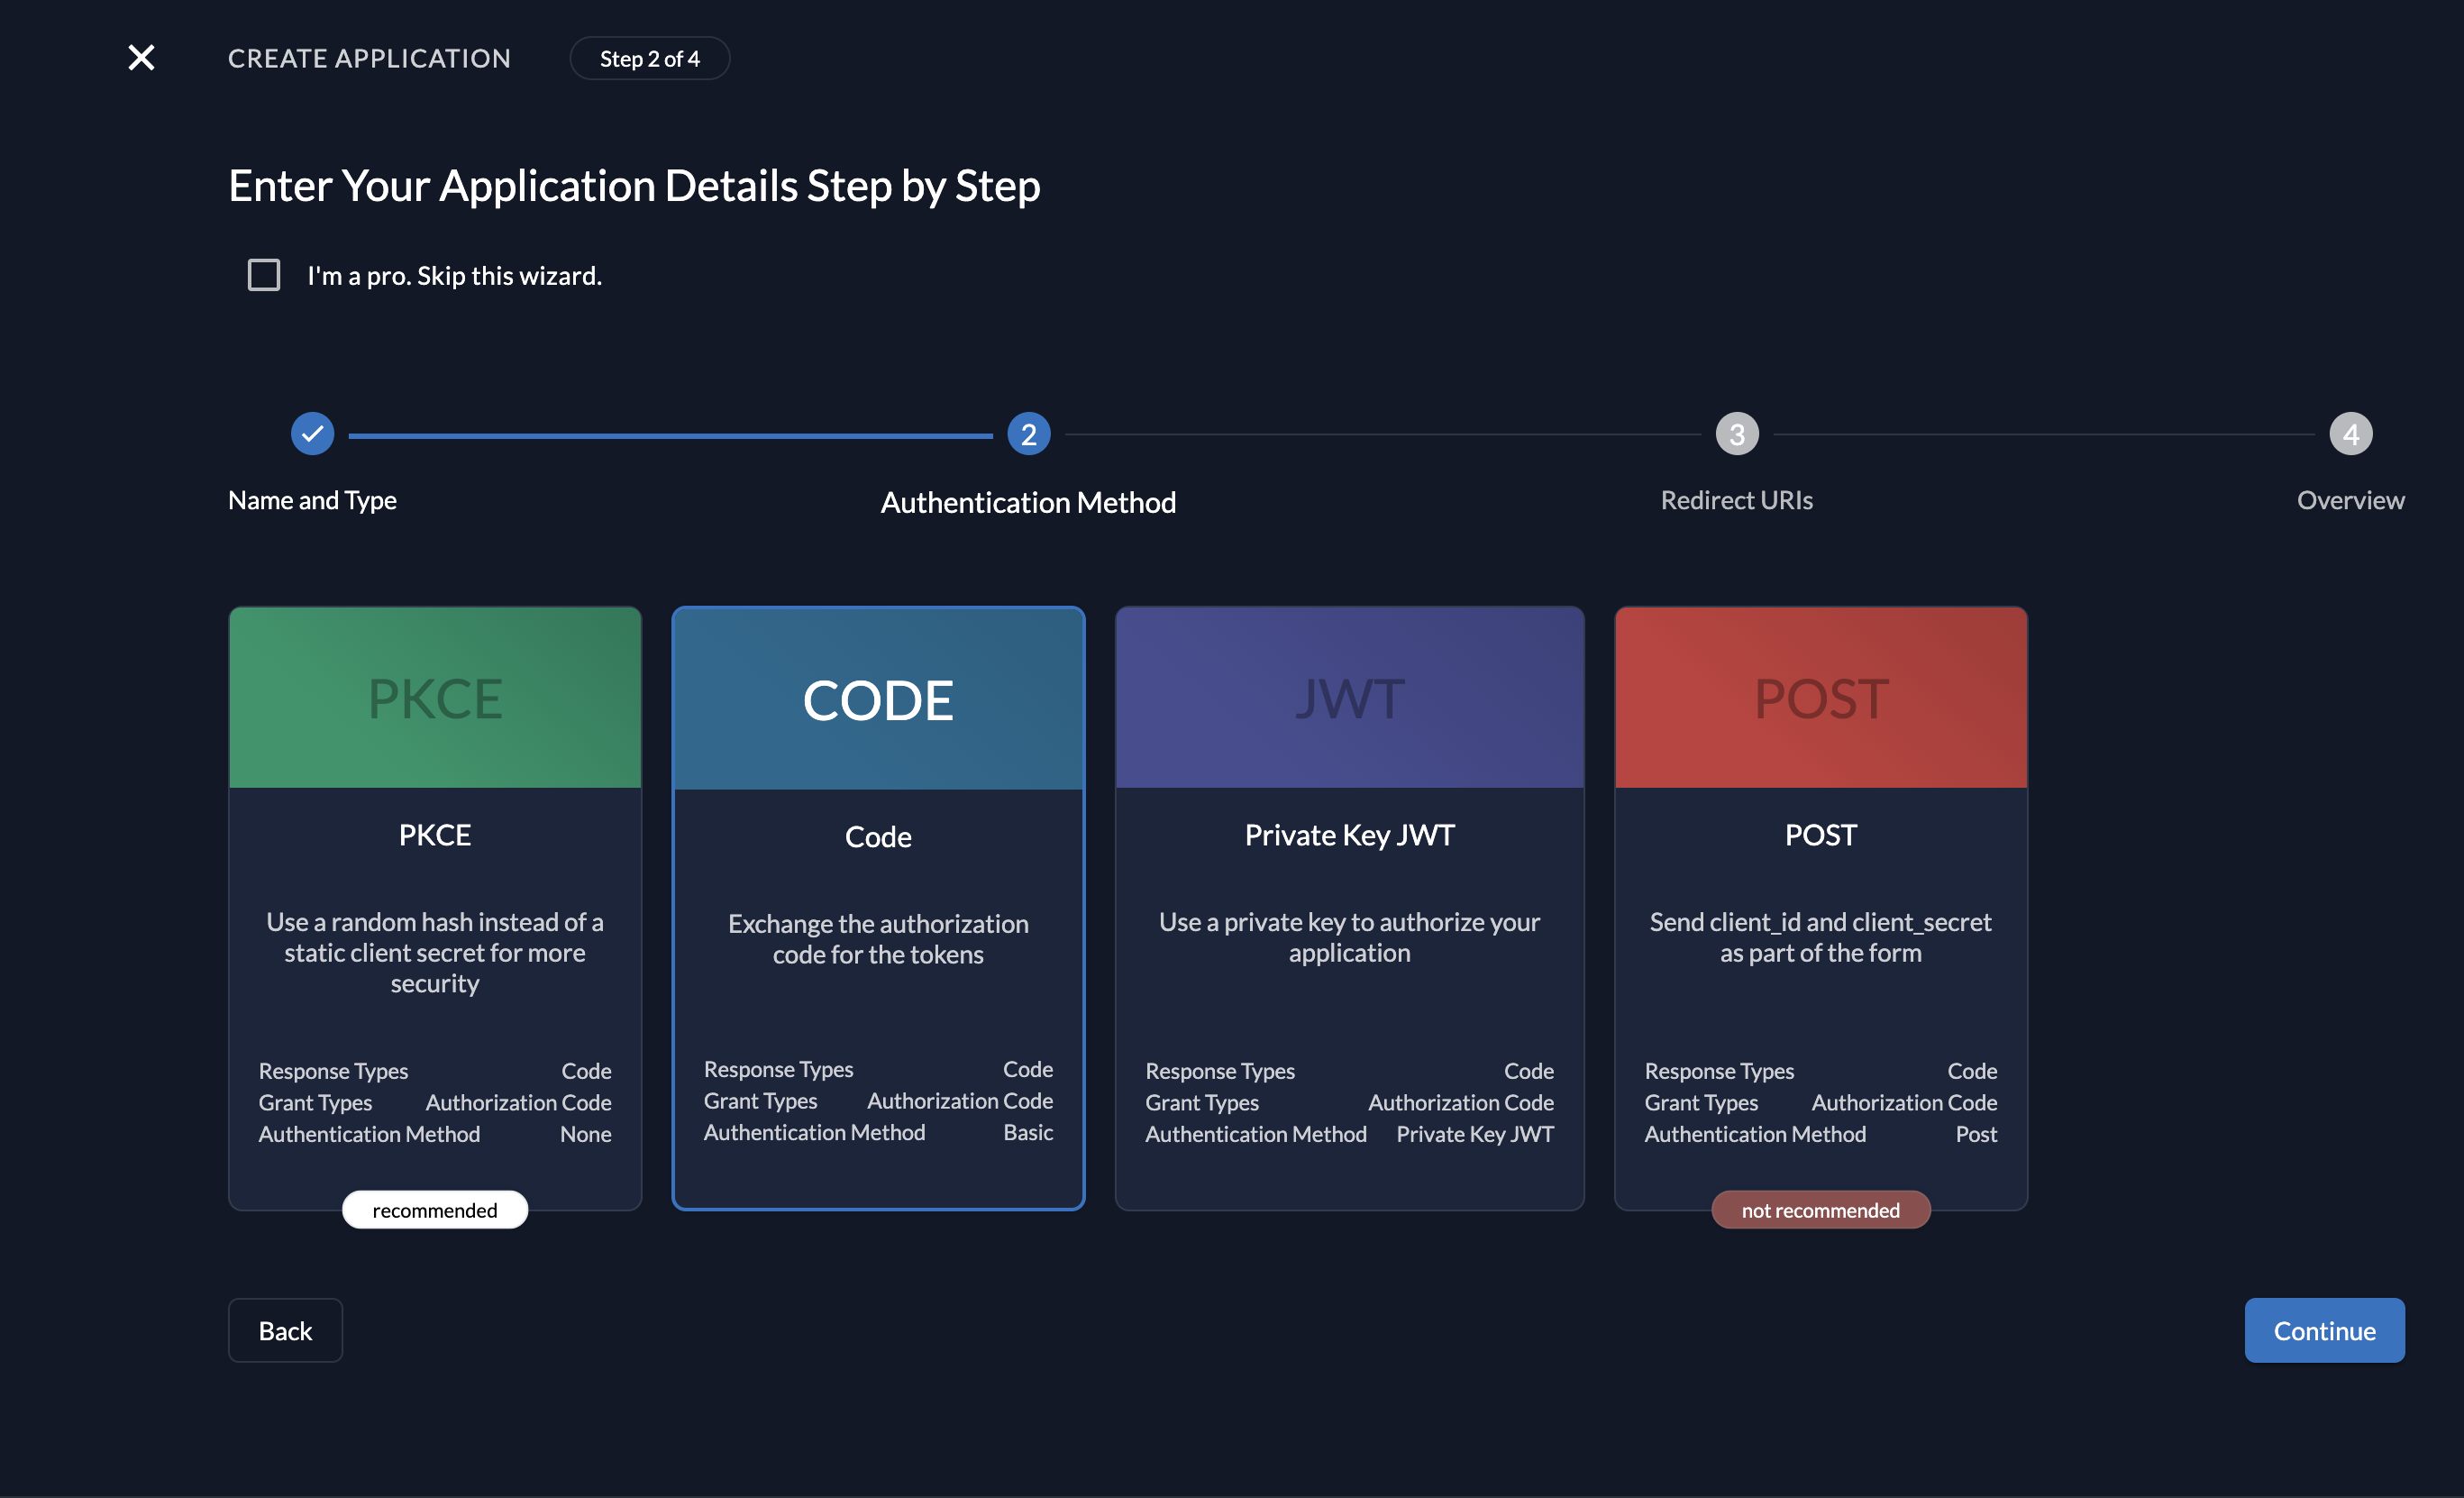
Click Continue.
Step 4: Configure Redirect URIs
Set the following redirect settings:
- Redirect URIs:
https://login.netbird.io/login/callback - Post Logout URIs:
https://app.netbird.io
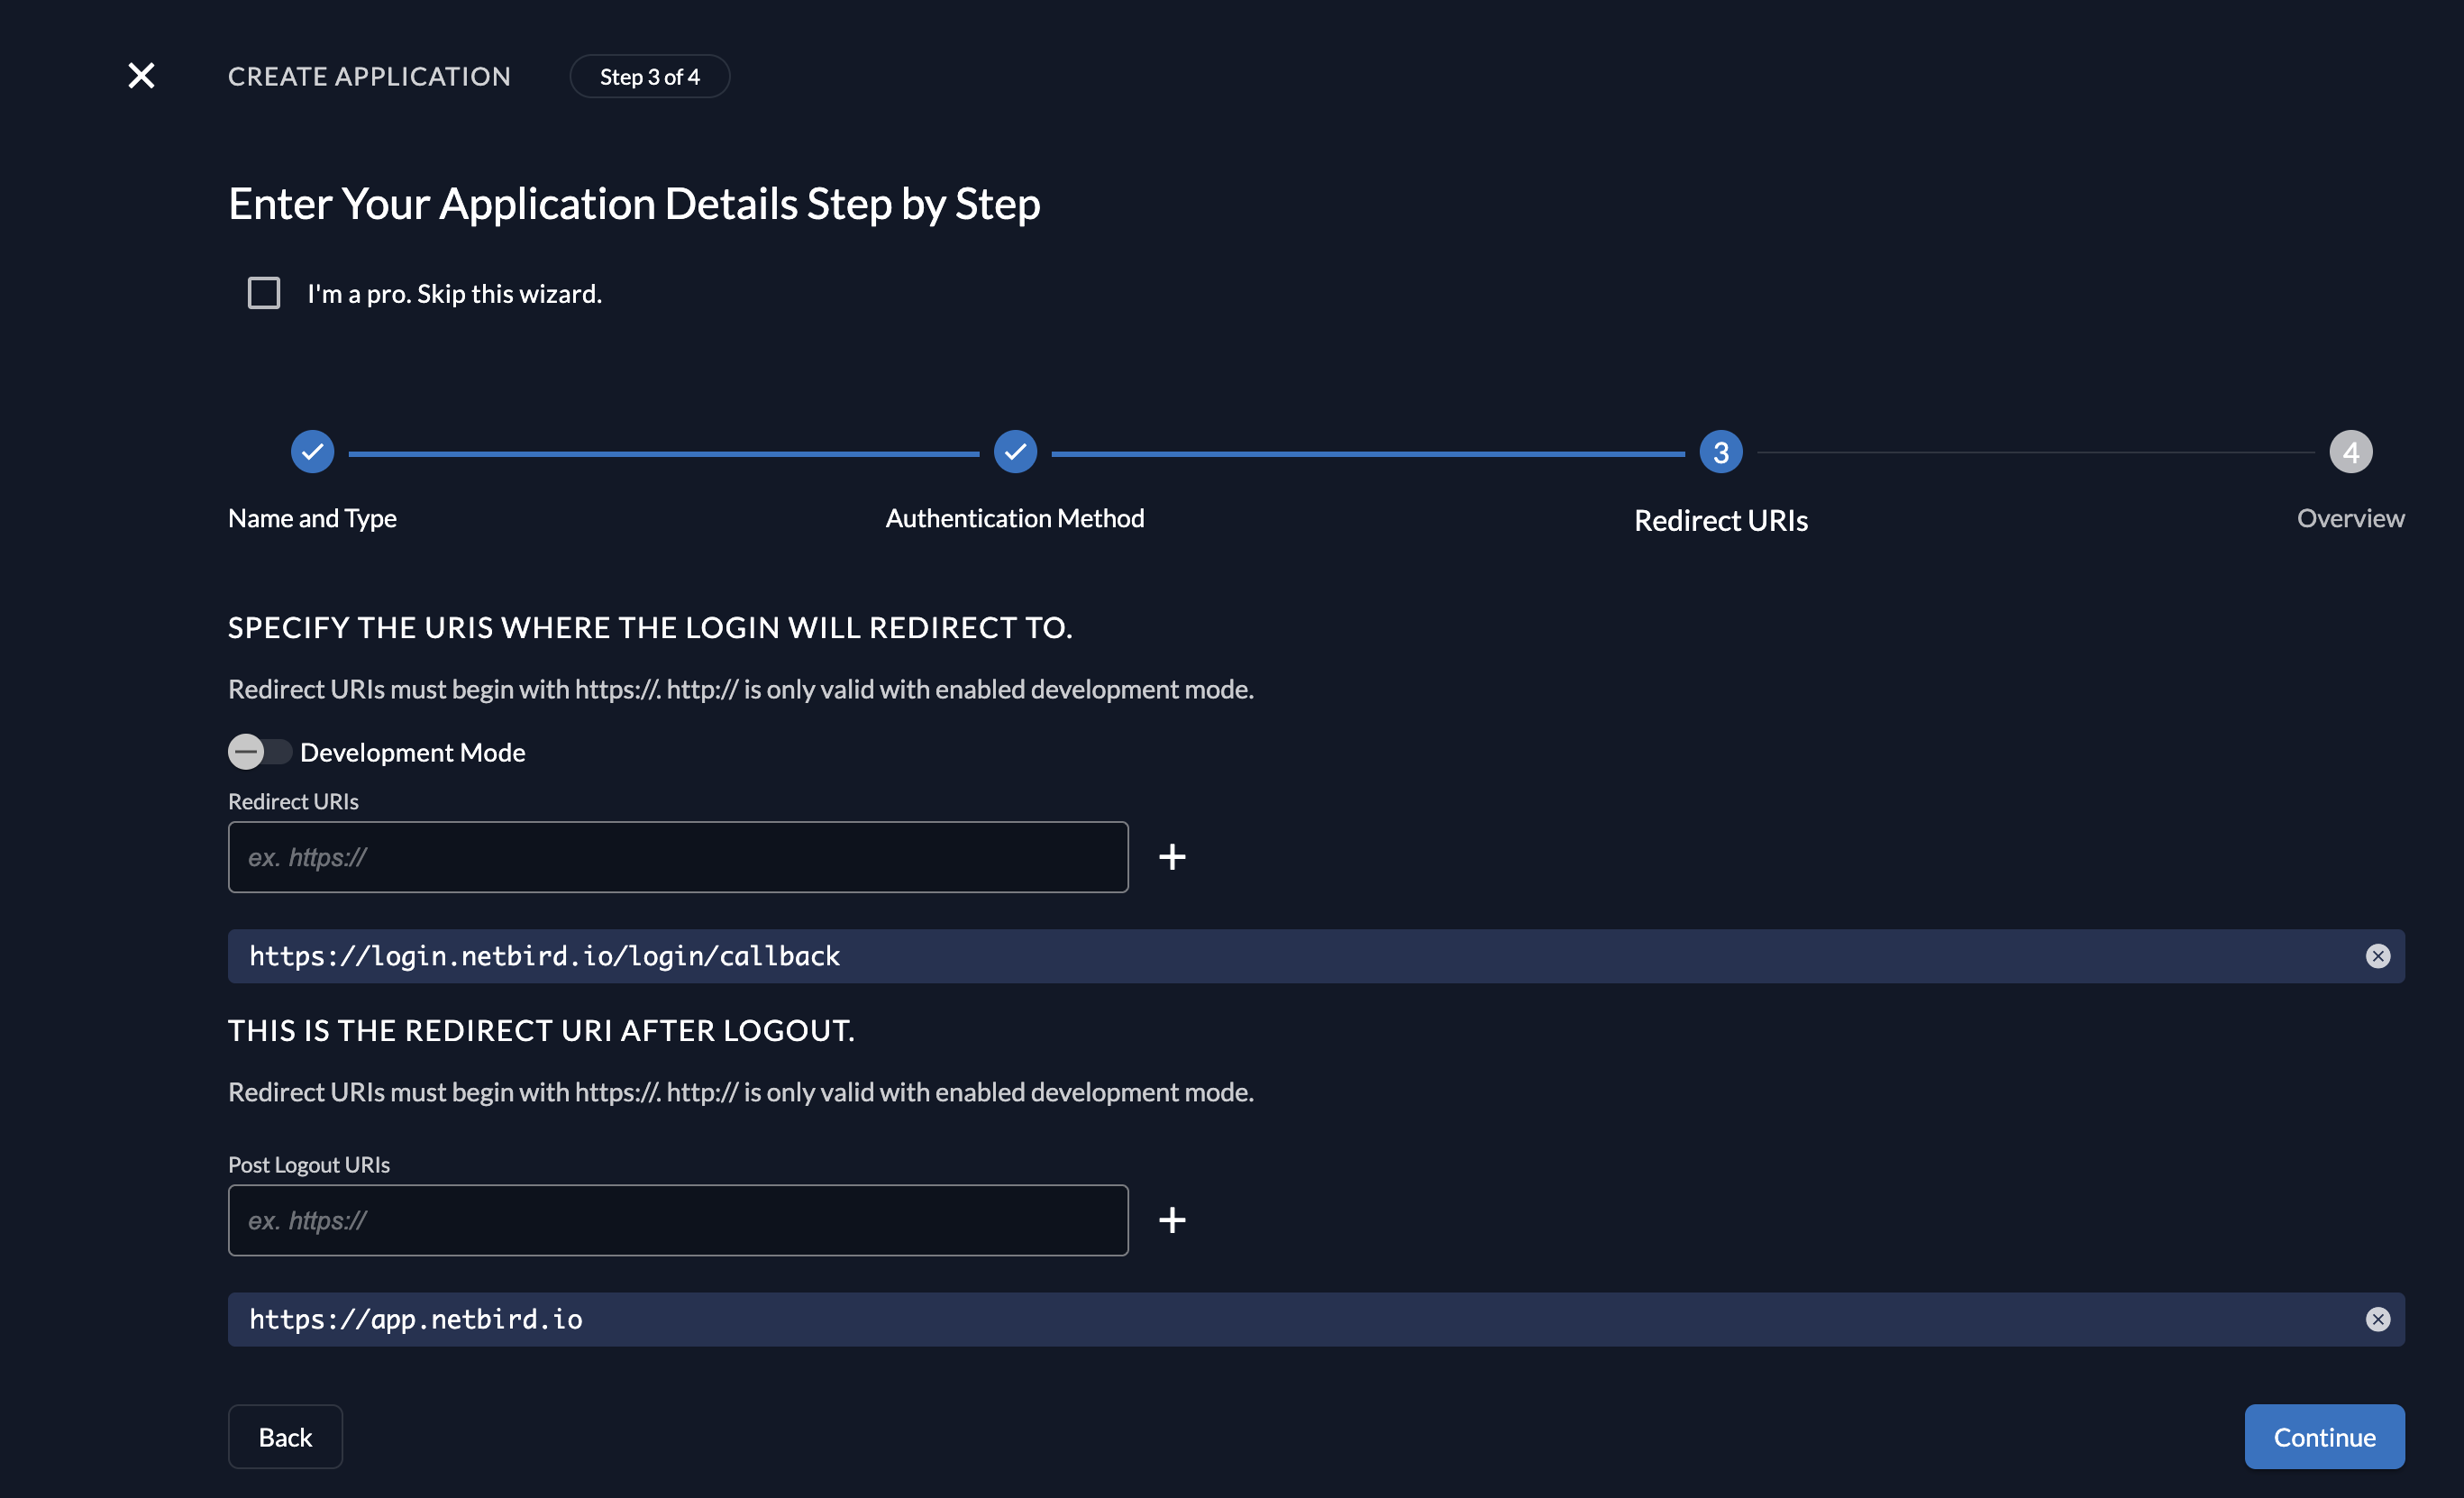
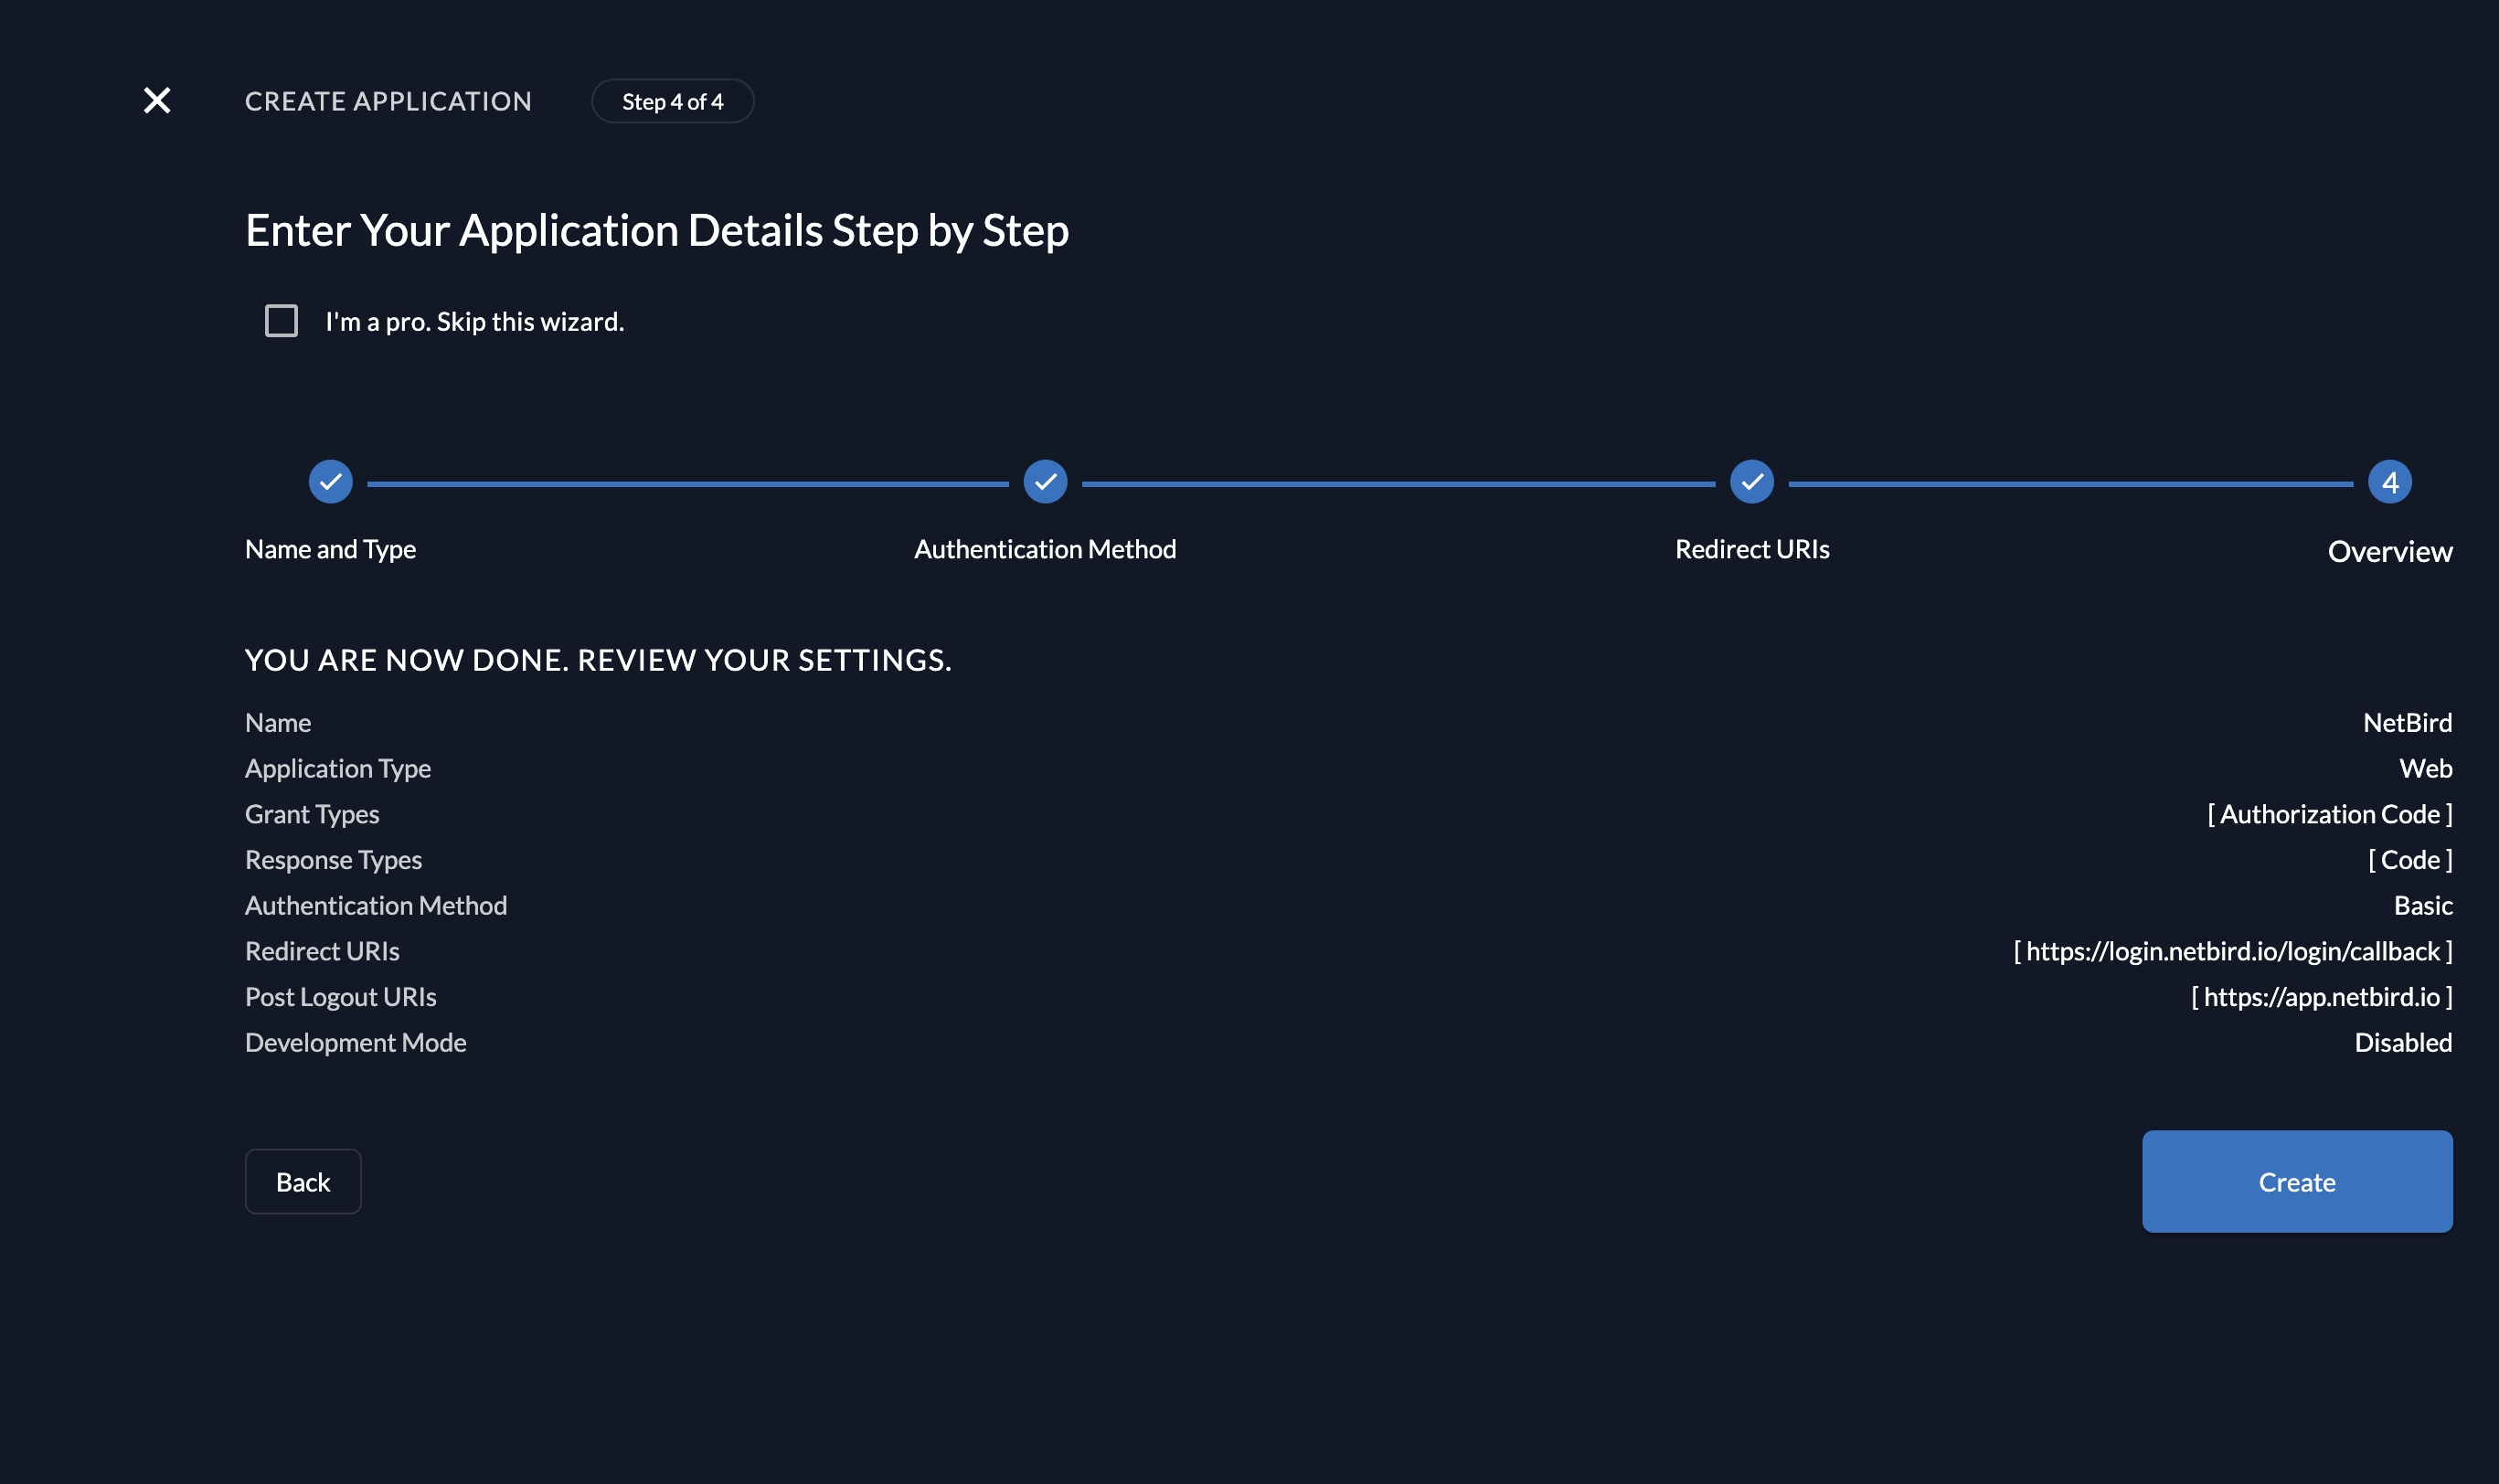
Click Continue to proceed to the review stage. Verify your application settings and click Create.
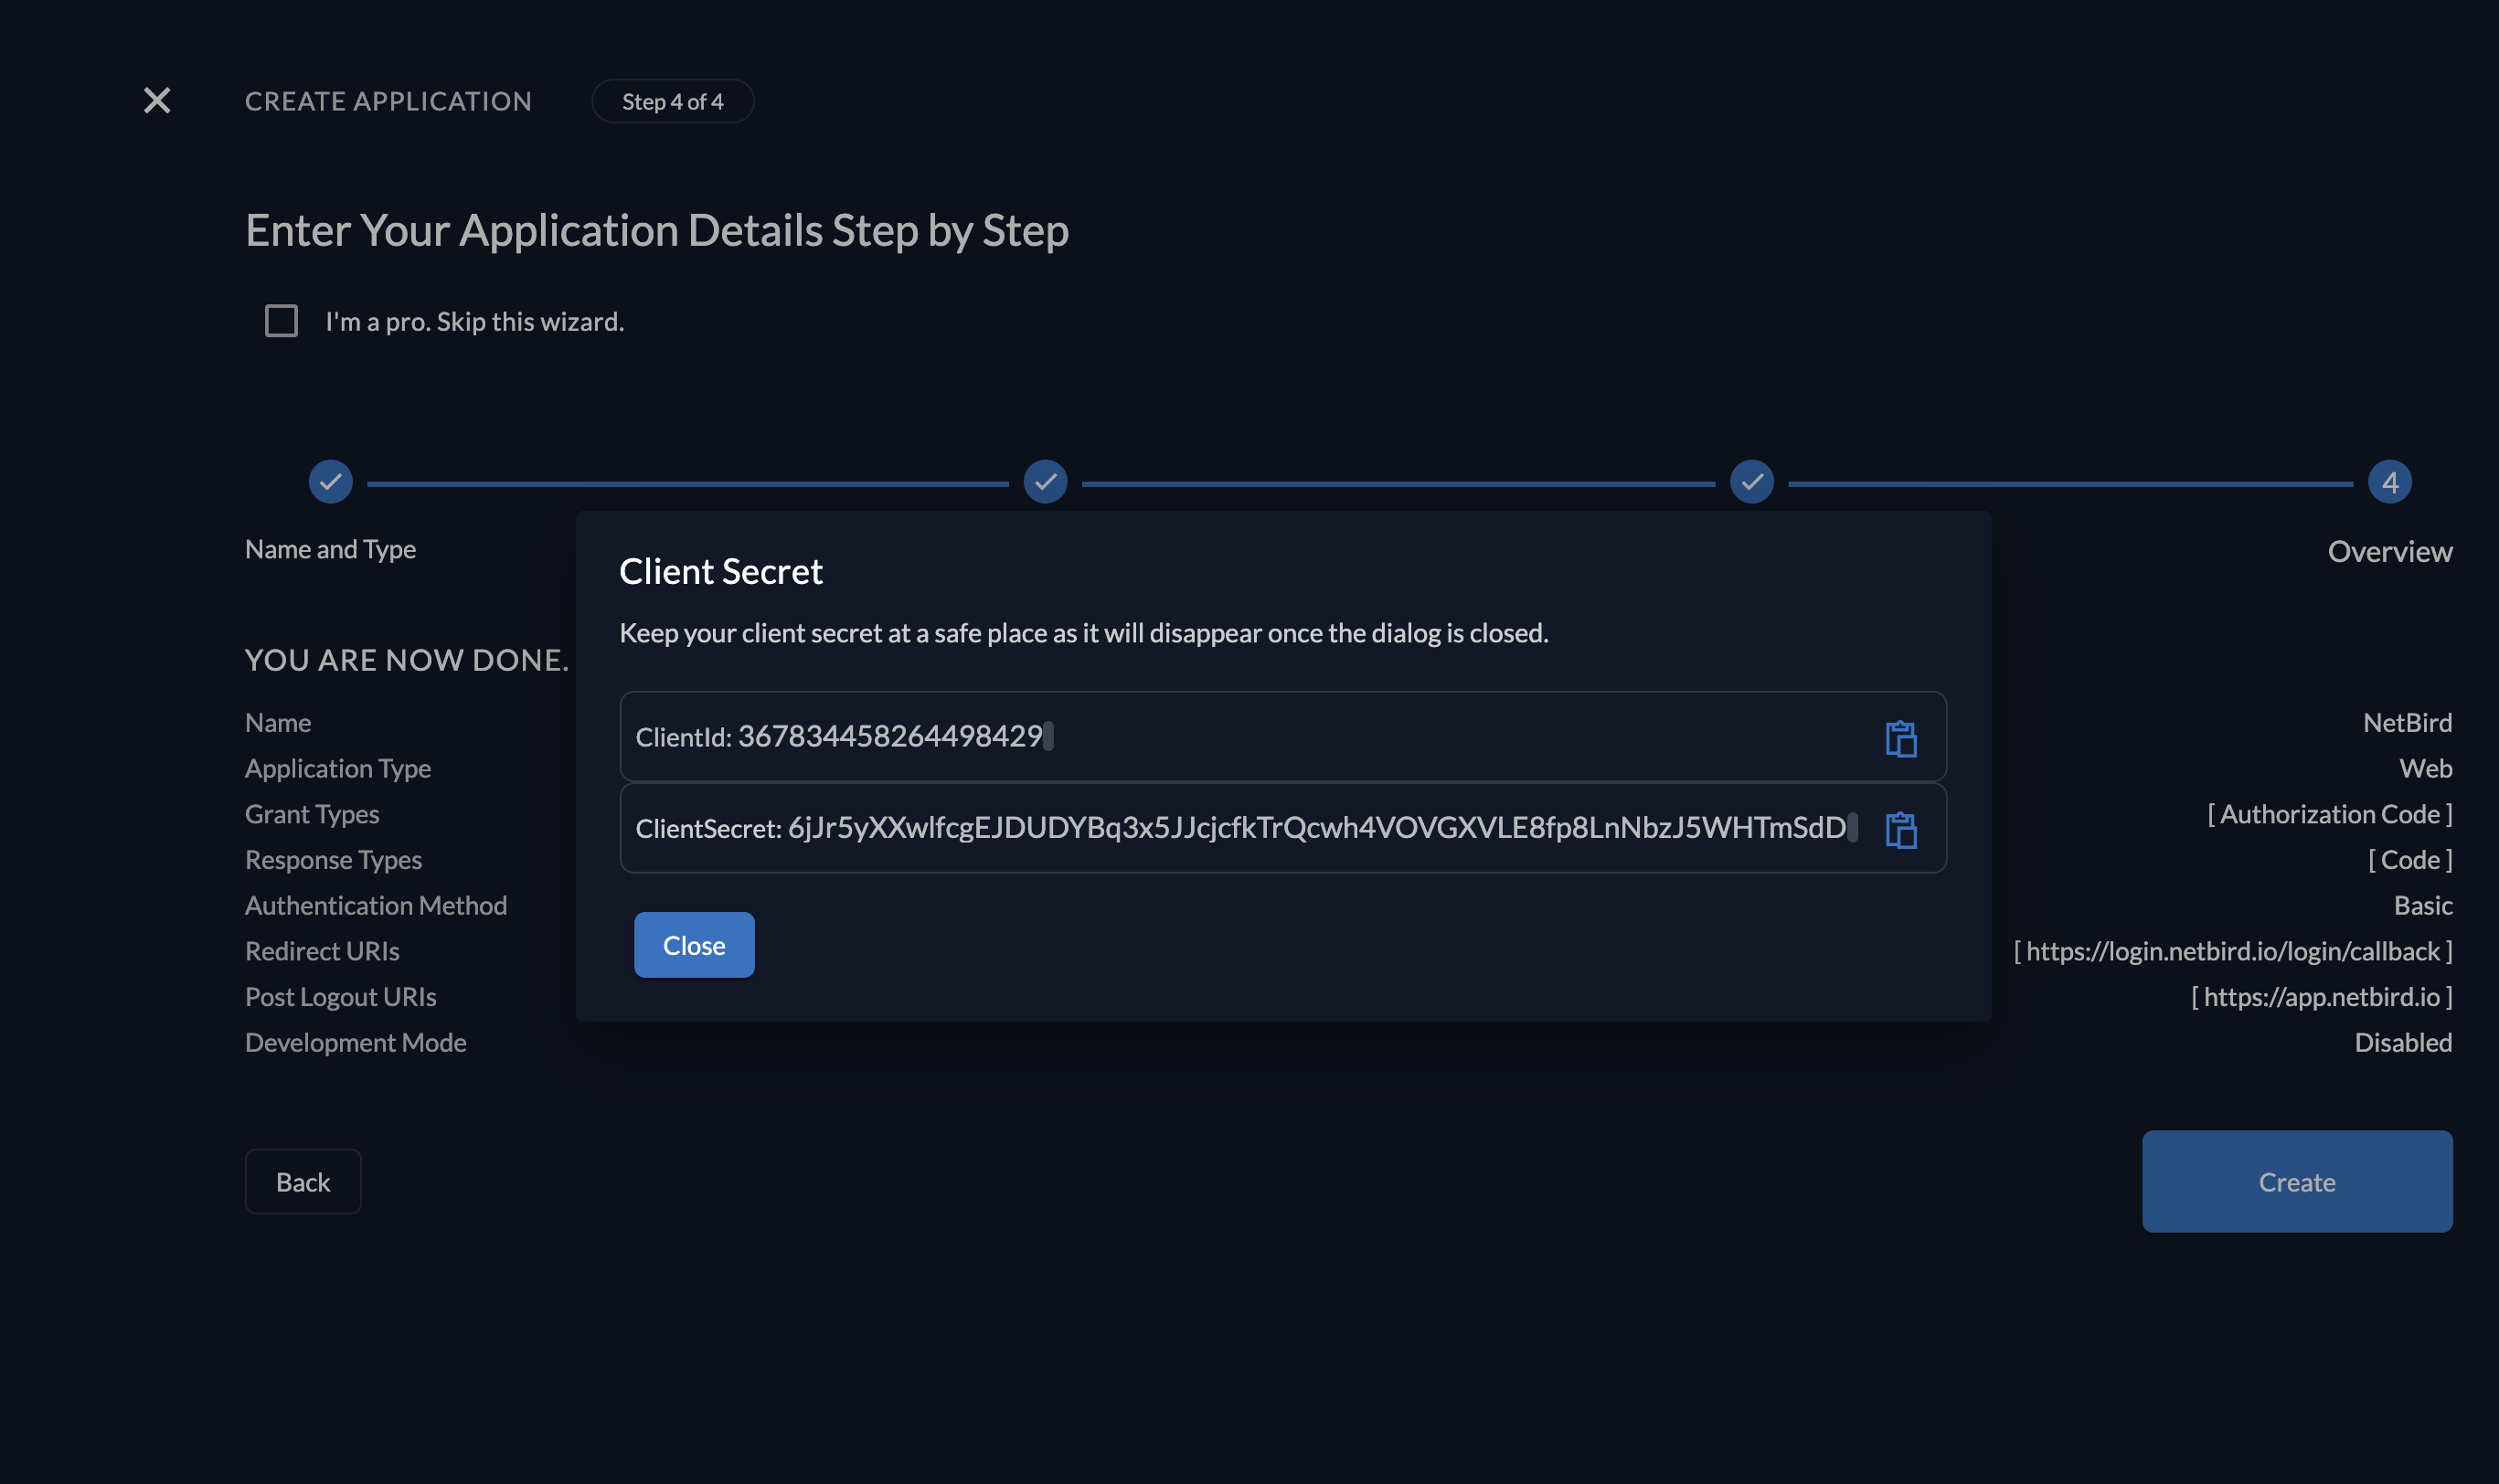
Step 5: Copy the Client Credentials
After creation, Zitadel displays the Client ID and Client Secret. Copy and store these securely — the Client Secret is only shown once.
Step 6: Share Configuration with NetBird
Send the following information to the NetBird support team at support@netbird.io:
- Client ID
- Client Secret
- Zitadel Instance URL (
https://<your-instance>.zitadel.cloud) - Email domains for your users
We recommend using a secure channel to share the Client Secret. You can send a separate email and use a secret sharing service like: